Are you tired of towels slipping off your bathroom counter or floor? Hanging up a towel rack is the simple solution you need to keep your space neat and your towels within easy reach.
But if you’ve never installed one before, the task might feel tricky or overwhelming. Don’t worry—this guide will walk you through every step, using easy tips that save you time and effort. By the end, you’ll have a sturdy towel rack ready to use, making your bathroom look cleaner and more organized.
Ready to get started? Let’s dive in!

Credit: diy.stackexchange.com
Tools And Materials Needed
Hanging a towel rack needs the right tools and materials. Using proper tools makes the job easier and ensures the rack stays secure. Gather everything before starting. This saves time and avoids frustration.
Essential Tools
Start with a drill to make holes in the wall. A screwdriver helps tighten screws. A level ensures the rack is straight. Use a measuring tape to find the right spot. Wall anchors keep the rack steady on drywall. A pencil marks where to drill. Safety goggles protect your eyes from dust.
Choosing The Right Towel Rack
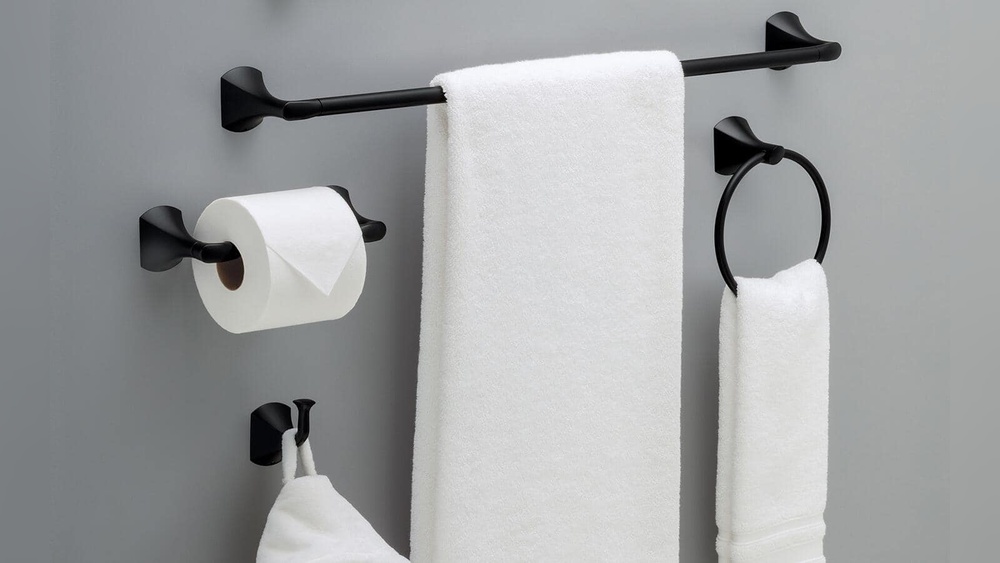
Select a towel rack that fits your space and needs. Metal racks are strong and last longer. Plastic racks are lighter and cheaper. Choose a size that fits your towels. Look for racks with easy installation features. Match the rack style with your bathroom decor. Check if the rack comes with mounting hardware.
Credit: mollicait.com.br
Choosing The Location
Choosing the right spot for your towel rack is important. It affects how easy the rack is to use and how well it fits the space. The location should be both practical and neat. Think about how you move in the bathroom and where you usually need your towel.
Ideal Height And Position
Place the towel rack at a height that is easy to reach. About 48 inches from the floor is a good average. This height works for most people. Keep the rack near the shower or sink. This makes it simple to grab a towel quickly. Avoid placing it too close to the floor or too high up. Both can cause discomfort and inconvenience.
Wall Surface Considerations
Check the wall type before installing the rack. Drywall is common but may need anchors for support. Tile walls look nice but require special tools to drill without damage. Avoid weak or crumbly surfaces. Solid walls hold the rack better and keep it stable. Use a stud finder to locate strong points behind the wall. This helps secure the rack safely.
Marking And Measuring
Marking and measuring are the first important steps to hang a towel rack correctly. Taking time to do these steps carefully helps avoid mistakes. Precise measurements and clear markings make the installation smooth and the towel rack sturdy. This section guides you through measuring for accuracy and marking drill points.
Measuring For Accuracy
Start by choosing the right height for your towel rack. Measure from the floor or counter to decide where the rack will be comfortable to reach. Use a tape measure to find the exact spot. Check the distance between the towel rack brackets. Measure twice to be sure. Keep your tape straight and steady. Accurate measuring prevents the rack from being crooked or uneven.
Marking Drill Points
After measuring, mark the spots for drilling holes. Use a pencil to make small marks where the screws will go. Align the towel rack brackets with these marks. Double-check the marks to ensure they match the bracket holes. Marking clearly helps the drill go in the right place. This step keeps the rack stable and balanced on the wall.
Drilling And Anchoring
Drilling and anchoring are key steps to hang a towel rack securely. Correct drilling ensures the rack stays strong on your wall. Anchors give extra support, especially on drywall or hollow walls.
Taking time on these steps avoids loose racks or wall damage. Follow simple guidelines for drilling and choosing anchors. This helps your towel rack hold towels safely for years.
Selecting Drill Bits
Choose a drill bit that fits the size of your screws. A bit too big makes holes loose. A bit too small makes drilling hard and can crack the wall.
For wood, use a standard twist bit. For tile or masonry, use a carbide or diamond bit. Check the rack’s instructions for recommended drill bit sizes.
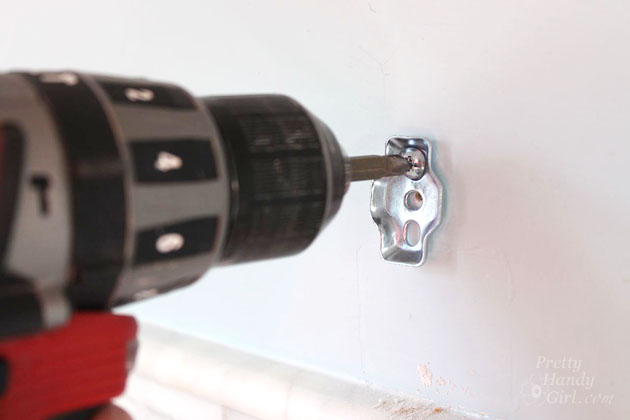
Installing Wall Anchors
Wall anchors hold screws firmly in drywall or hollow walls. Pick anchors that fit your wall type and rack weight. Plastic anchors work for light racks. Metal or toggle anchors suit heavier racks.
Drill a hole slightly smaller than the anchor. Push or tap the anchor into the hole until flush with the wall. Insert screws into anchors and tighten gently for a secure hold.
Mounting The Towel Rack
Mounting the towel rack is a key step to keep towels tidy and accessible. Proper mounting ensures the rack stays firm and holds weight. This section guides you through aligning and securing the towel rack with screws for a safe fit.
Aligning The Rack
Start by choosing the perfect spot for the towel rack. Use a level tool to keep the rack straight. Mark the holes on the wall through the rack’s mounting brackets. Double-check the marks to avoid mistakes. Correct alignment prevents the rack from tilting or falling.
Securing With Screws
Drill holes where you marked earlier. Use wall anchors if the wall is drywall. Insert the anchors to hold screws firmly. Screw the mounting brackets tightly into the wall. Make sure the rack feels secure and does not wobble. Tight screws keep the rack stable for daily use.
Final Adjustments And Tips
After installing your towel rack, some final touches make a big difference. These small steps help keep your rack safe and useful for a long time. Focus on checking stability and maintaining the rack properly.
Checking Stability
Press gently on the towel rack. It should not move or wiggle. If it moves, tighten the screws carefully. Use a screwdriver to secure any loose parts. Make sure the rack stays firmly on the wall. Check both ends and the middle if it has one. Stability ensures your towels stay safe and the rack lasts longer.
Maintenance Advice
Clean the towel rack regularly with a soft cloth. Avoid harsh chemicals that can damage the finish. Dry the rack after cleaning to prevent rust or mold. Check screws every few months. Tighten any that feel loose. Replace any damaged parts quickly. Good care keeps your towel rack looking new and working well.

Credit: www.youtube.com
Frequently Asked Questions
How Do I Choose The Right Wall For A Towel Rack?
Select a wall near your shower or sink for easy towel access. Ensure the wall is sturdy enough to hold the rack securely. Avoid walls with electrical wiring or plumbing inside to prevent damage.
What Tools Are Needed To Hang A Towel Rack?
Common tools include a drill, screwdriver, level, measuring tape, and wall anchors. These ensure precise placement and secure mounting of your towel rack for long-lasting use.
How High Should I Install A Towel Rack?
Install the towel rack about 48 inches from the floor for easy reach. Adjust height based on user preference and towel length to maximize comfort and functionality.
Can I Hang A Towel Rack On Drywall Without Studs?
Yes, use heavy-duty wall anchors or toggle bolts designed for drywall. This prevents the rack from pulling out and supports the weight of wet towels safely.
Conclusion
Hanging a towel rack is easier than it seems. With the right tools and steps, you can do it yourself. Measure carefully and use a level to keep it straight. Secure the rack firmly to hold your towels well. A well-installed towel rack keeps your bathroom neat and organized.
Take your time and enjoy the simple upgrade to your space. Now, your towels will dry better and stay off the floor. Small projects like this bring big satisfaction. Try it and see the difference today.