Are you tired of manually turning your LED string lights on and off every day? Imagine coming home to a beautifully lit space without lifting a finger.
Setting a timer on your LED string lights can save you time, energy, and hassle. In this guide, you’ll learn simple, step-by-step ways to set a timer that fits your needs perfectly. Keep reading to discover how easy it is to automate your lights and create the perfect ambiance effortlessly.
Choosing The Right Timer
Choosing the right timer for your LED string lights helps save energy and adds convenience. It ensures your lights turn on and off at set times without manual effort. Picking a suitable timer depends on the type of lights and your needs. Understanding timer options makes the selection easier and more effective.
Types Of Timers For String Lights
Mechanical timers are simple and affordable. They use a dial to set on and off times. Digital timers offer more precision and multiple settings. Some have countdown or random modes. Smart timers connect to Wi-Fi and allow control from a phone app. Each type suits different preferences and budgets.
Compatibility With Led Lights
Not all timers work well with LED lights. LEDs use low voltage and may need special timers. Check if the timer supports LED technology. Using the wrong timer can cause flickering or damage. Look for timers labeled “LED compatible” to avoid issues.
Features To Consider
Consider ease of use and programming options. Some timers have simple buttons, others have screens. Think about how many on/off cycles you need per day. Choose timers with backup batteries to keep settings during power outages. Weatherproof timers work better outdoors. Pick features that match your lifestyle.
Credit: www.ollny.com
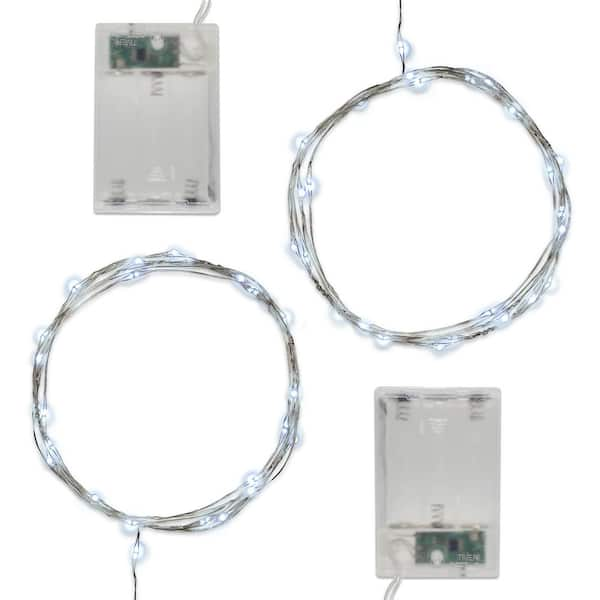
Preparing Your Led String Lights
Preparing your LED string lights is the first step before setting a timer. It helps ensure safety and smooth operation. Taking time to check and organize your lights saves trouble later. Follow these key steps to get ready.
Checking Light Specifications
Read the label on your LED string lights carefully. Look for voltage, wattage, and timer compatibility. Confirm if the lights support timers or smart plugs. Check if the lights are designed for indoor or outdoor use. Knowing these details prevents damage and safety risks.
Ensuring Safe Outdoor Use
Choose LED string lights marked for outdoor use if placing outside. Make sure all plugs and sockets have waterproof covers. Avoid placing lights near water or wet areas. Use outdoor-rated extension cords and timers. Safety comes first to avoid electric shocks or fire hazards.
Organizing The Setup Area
Clear the area where you will hang or place the lights. Remove debris, sharp objects, or anything that might damage the wires. Lay out the string lights to check for broken bulbs or frayed wires. Keep your timer and power source close to avoid stretching cords. A neat setup makes installation easier and safer.
Installing The Timer
Installing a timer on your LED string lights helps save energy and adds convenience. The process is simple and quick. Follow clear steps to set it up correctly.
Plugging In The Timer
Start by finding a power outlet near your LED string lights. Plug the timer into the outlet firmly. Make sure the timer is switched off before plugging it in. This step ensures safety and prevents power surges.
Connecting The String Lights
Next, connect the LED string lights to the timer. Insert the plug of the string lights into the timer’s socket. Check that the connection is secure and tight. Loose connections can cause the lights to flicker or not work.
Testing The Connection
Turn on the timer to test the connection. Set the timer to manual or “on” mode. Observe if the LED string lights light up. If they do not, recheck the plugs and timer settings. This test confirms the timer controls the lights properly.

Credit: www.koopower.com
Setting The Timer Manually
Setting the timer manually on LED string lights lets you control exactly when the lights turn on and off. This feature helps save energy and keeps your lights shining only at the right times. Manual setting is simple and does not require any app or remote. You can adjust the timer directly on the device. Follow the steps below to set your timer easily and accurately.
Adjusting On And Off Times
Start by deciding the time you want the lights to turn on. Then, choose the time for the lights to turn off. Most timers use a 24-hour or 12-hour format. Make sure to check the format before setting. Set the on and off times carefully to match your daily schedule. This helps your lights work automatically without wasting power.
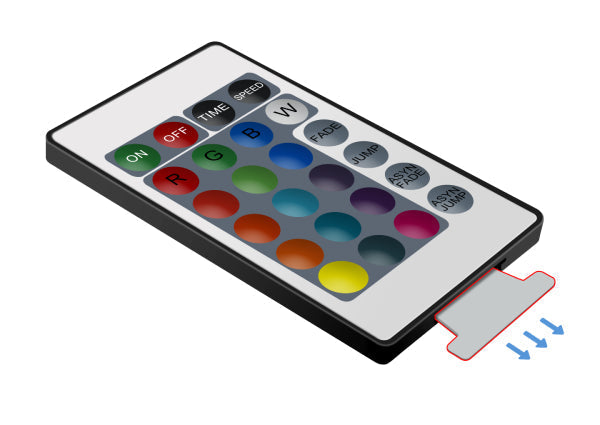
Using Dial Or Button Controls
Many LED string lights come with a dial or buttons for timer control. Use the dial to turn and set the time. Turn clockwise or counterclockwise to adjust the hours and minutes. If your timer has buttons, press them to increase or decrease the time. Some models have separate buttons for hours and minutes. Check your device’s manual for exact instructions.
Tips For Accurate Timing
Set the current time on the timer first before adjusting on/off times. Use a watch or phone to match the timer’s clock. Avoid setting times too close together to prevent confusion. Test the timer after setting to confirm the lights turn on and off as planned. Reset the timer if the lights do not respond correctly. Keep the timer in a dry place to protect it from damage.
Using Smart Timers And Apps
Smart timers and apps make setting timers on LED string lights simple. They allow you to control your lights without manual effort. You can turn lights on and off using your phone. This technology adds convenience and saves energy.
Let’s explore how to use smart timers and apps for your LED lights.
Linking With Wi-fi Or Bluetooth
First, connect your LED string lights to your home Wi-Fi or Bluetooth. Most smart lights come with built-in Wi-Fi or Bluetooth modules. Use the light’s app to find and connect to your network. This link lets your phone communicate with the lights from anywhere in the house.
Scheduling Via Smartphone
Open the app on your smartphone to set schedules. You can choose specific times for the lights to turn on or off automatically. Set daily or weekly timers to fit your routine. Some apps allow you to create different schedules for weekdays and weekends. This feature keeps your lights working only when you need them.
Benefits Of Smart Control
Smart control saves energy by preventing lights from staying on too long. It improves home security by turning lights on at night. You can adjust brightness or colors with just a few taps. Smart timers also remove the hassle of manual switching. All these benefits make smart lighting a smart choice.
Credit: www.homedepot.com
Troubleshooting Common Issues
Setting a timer on LED string lights can be simple. But sometimes, issues arise. Troubleshooting helps fix common problems fast. This keeps your lights working perfectly and saves energy.
Timer Not Turning Lights On Or Off
Check if the timer is set to the right time. Make sure the AM and PM settings are correct. Confirm the timer is in “auto” mode, not “off” or “on.” Look for any loose connections in the plug or socket. Sometimes, the timer’s internal battery may need replacing.
Power Supply Problems
Ensure the power outlet works by plugging in another device. Look for damaged cords or frayed wires on your string lights. Avoid overloading the outlet with too many devices. Use a surge protector to prevent power spikes. Confirm the string lights match the voltage of the power supply.
Resetting The Timer
Unplug the timer from the power source. Press and hold the reset button for a few seconds if available. Wait a minute before plugging it back in. Reprogram your timer settings carefully. Resetting clears errors and helps the timer work correctly again.
Tips For Enhancing Ambiance
Setting a timer on LED string lights helps create the perfect mood easily. It allows you to enjoy beautiful lighting without worrying about switching them off. Timers make your space cozy and save energy at the same time.
Use these tips to enhance the ambiance with your LED string lights and timer.
Timing For Different Occasions
Set your timer based on the event. For a dinner party, turn lights on 30 minutes before guests arrive. This warms up the room. For a quiet evening, use a soft glow for a few hours. Adjust timing for holidays or celebrations to match the mood.
Combining With Other Lighting
Mix LED string lights with lamps or candles. Timers help coordinate when each light turns on or off. Use soft lights for relaxing and brighter lights for activities. Layering lights creates depth and a welcoming space.
Energy Saving Practices
Use timers to avoid leaving lights on all night. Set them to turn off during daylight or when no one is home. Choose LED lights with low power use. Saving energy reduces bills and helps the environment.
Frequently Asked Questions
How Do I Set A Timer On Led String Lights?
Most LED string lights have a built-in timer button. Press it once to activate a 6-hour on, 18-hour off cycle. Repeat to adjust or turn off the timer. Check your product manual for specific instructions.
Can I Use A Plug-in Timer With Led String Lights?
Yes, you can use an external plug-in timer. Simply plug your LED string lights into the timer and set the desired on/off schedule. This method works well for lights without a built-in timer.
What Timer Settings Work Best For Outdoor Led Lights?
For outdoor LED string lights, set the timer to turn on at dusk and off at midnight or early morning. This saves energy and enhances nighttime ambiance. Use a weather-resistant timer for durability.
Are Smart Timers Compatible With Led String Lights?
Most smart timers work with LED string lights. They allow remote control via apps and voice commands. Ensure your lights’ power requirements match the timer’s specifications before use.
Conclusion
Setting a timer on LED string lights saves energy and adds convenience. It helps control when lights turn on and off automatically. You can enjoy beautiful lighting without worrying about switching them yourself. Timers also extend the life of your lights by preventing overuse.
Follow simple steps to set the timer easily. Enjoy bright, timed lighting for your home or events every day. Small effort, big difference.