Are you tired of your towel rack falling off the wall every time you grab a towel? You’re not alone.
A loose towel rack can be frustrating and even damage your bathroom walls. But don’t worry—putting a towel rack backup is easier than you think. In this guide, you’ll learn simple steps to secure your towel rack firmly, so it stays put and holds your towels without slipping.
Keep reading, and you’ll discover how to protect your walls and enjoy a sturdy towel rack that lasts.
Choosing The Right Location
Choosing the right location for your towel rack backup is important. The correct spot makes it easy to reach towels. It also keeps your bathroom neat and safe. Consider the wall type, height, and space around the rack. These details help the rack fit well and last longer.
Assessing Wall Material
Check the wall material before installing your towel rack backup. Drywall, tile, and wood need different tools and anchors. Find studs if the wall has drywall. Use a stud finder for better support. Tiles need special drill bits to avoid cracks. Knowing the wall type ensures a strong hold.
Selecting Optimal Height
Pick a height that suits everyone using the towel rack. The rack should be easy to reach for all ages. Usually, 48 to 52 inches from the floor works best. Adjust the height for children or tall family members. Proper height prevents stretching or bending.
Avoiding Obstructions
Look for clear space around the towel rack backup. Avoid placing it near doors, switches, or shelves. Obstructions can block easy towel access. Make sure towels dry well by keeping air flow open. A clear spot improves both use and safety.
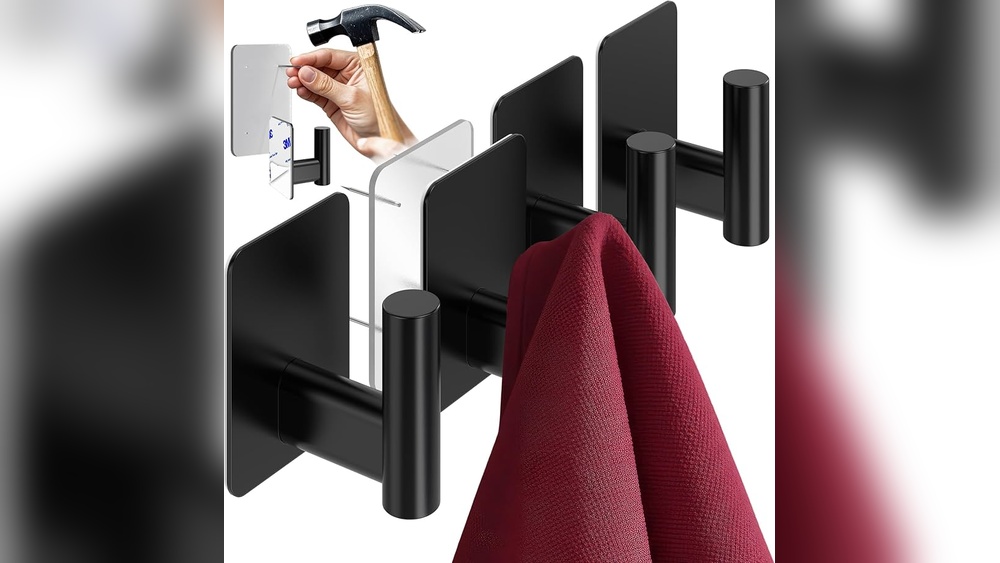
Credit: www.amazon.com
Gathering Necessary Tools
Before installing a towel rack backup, gather all the tools you will need. Having the right tools makes the job easier and faster. It also helps prevent mistakes and damage to your walls. Prepare your workspace and organize your tools for smooth work.
Basic Tools Checklist
You need a drill to make holes in the wall. A screwdriver helps secure screws tightly. Use a level to keep the rack straight. A tape measure ensures accurate placement. Pencil or marker for marking spots on the wall. Anchors or wall plugs provide extra support for heavy racks. Having these tools ready saves time and effort.
Safety Equipment
Wear safety glasses to protect your eyes from dust. Gloves protect your hands from sharp tools and rough surfaces. Use a dust mask if drilling creates a lot of debris. Keep a first aid kit nearby for any small cuts or scrapes. Safety gear keeps you safe and comfortable during the task.
Locating Wall Studs
Locating wall studs is key to installing a towel rack backup securely. Studs give the towel rack strong support and prevent it from falling off the wall. Without attaching to a stud, the towel rack may pull out with use. This guide shows two simple ways to find studs in your wall.
Using A Stud Finder
A stud finder is a small device that detects wood or metal behind walls. Turn it on and slowly move it across the wall. The device will beep or light up when it finds a stud. Mark the spot with a pencil. Repeat to locate multiple studs. This tool saves time and gives accurate results.
Manual Detection Methods
Not everyone has a stud finder. Manual methods can work well. Knock on the wall and listen for a solid sound. Hollow sounds mean no stud. Solid sounds often mean a stud is behind. Another way is to look for electrical outlets or switches. Studs are usually next to these fixtures. You can also measure 16 or 24 inches from a corner. Studs often follow this spacing.
Marking Drill Points
Marking drill points is a key step in installing a towel rack backup. This step ensures the rack fits well and stays sturdy. Accurate marks guide your drill, preventing errors and damage. Take your time and focus on precision.
Measuring For Even Placement
Start by measuring the space where the towel rack will go. Use a tape measure to find the center point. Mark this spot lightly with a pencil. Measure equal distances from this center to each side. Check that the marks are level using a spirit level. Even placement keeps the rack balanced and neat. This step helps the towel rack look professional and stay secure.
Marking Anchor Spots
Next, mark the spots for the anchors. These spots hold the screws that support the rack. Use the rack’s mounting holes as a guide. Hold the rack against the wall and mark through each hole. Double-check the marks to ensure they are level and spaced correctly. Clear, precise marks make drilling easier. This helps the towel rack hold firm on the wall.
Drilling Pilot Holes
Drilling pilot holes is a key step when putting up a towel rack backup. These small holes guide screws and prevent wood from splitting. They also make installation easier and more secure. Taking time on this step saves effort later and keeps your towel rack steady.
Choosing Drill Bit Size
Select a drill bit slightly smaller than the screw’s diameter. This ensures screws fit tightly without cracking the wall or wood. Check screw packaging for size recommendations. Using the right bit size keeps the towel rack strong and stable.
Drilling Techniques
Hold the drill steady and perpendicular to the wall. Start drilling slowly to avoid slipping. Drill only as deep as the screw length. Clear dust from holes before inserting screws. These steps help create clean, precise holes for a firm hold.
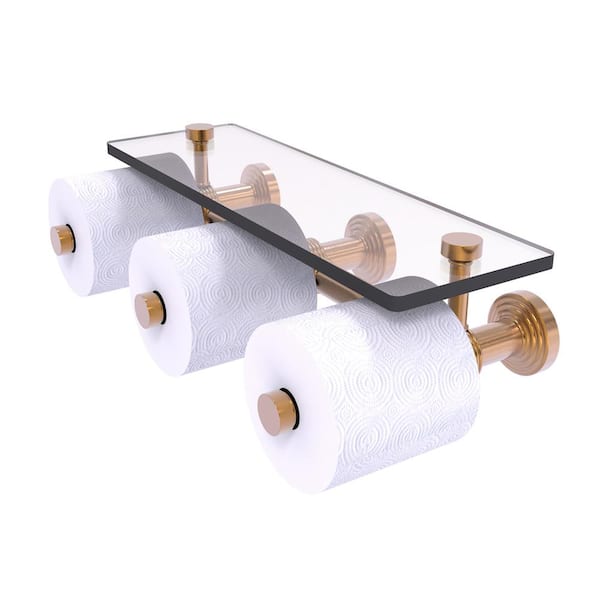
Credit: www.homedepot.com
Installing Anchors
Installing anchors is a key step to secure your towel rack backup. Anchors provide strong support in drywall or hollow walls. Without anchors, screws can pull out easily. This causes your rack to fall and damage the wall. Choosing the right anchor and inserting it properly ensures your towel rack stays firm and safe.
Types Of Anchors
Plastic expansion anchors are common and simple to use. They work well for light loads like towel racks. Metal anchors offer more strength for heavier racks. Toggle bolts spread the load inside the wall cavity. Molly bolts expand behind the wall for a secure hold. Select the anchor based on wall type and rack weight.
Proper Insertion Methods
Start by drilling a hole sized to the anchor. Avoid making the hole too big or small. Push the anchor into the hole until it sits flush. Tap it lightly with a hammer if needed. For toggle bolts, fold the wings before inserting. Tighten screws slowly to let anchors expand correctly. Do not overtighten; this can damage the anchor or wall.
Mounting The Towel Rack
Mounting the towel rack is a key step to ensure it stays strong and steady. Proper mounting keeps the rack from falling off or becoming loose over time. Take your time to place it right and tighten all parts well.
Follow simple steps to align the rack and secure it firmly. This helps the rack hold towels safely and last longer.
Aligning With Anchors
Start by matching the towel rack holes with wall anchors. Anchors give extra support, especially in drywall. Use a level to check if the rack is straight. Mark the spots on the wall where you will drill. Make sure the marks line up with the anchors for a perfect fit.
Securing Screws
Insert screws into the towel rack holes and into the anchors. Tighten screws slowly to avoid stripping the anchors. Use a screwdriver or drill for a firm hold. Check the rack’s stability by gently pulling it. Tight screws keep the towel rack secure and safe for daily use.
Testing Stability
Testing stability is a key step after installing a towel rack backup. It ensures the rack is strong and safe to use. A stable towel rack will hold towels without wobbling or falling. This step helps avoid damage to your walls and keeps your towels secure.
Applying Weight
Start by gently placing weight on the towel rack. Use a wet towel or a small bag of toiletries. This simulates real use and shows if the rack holds firm. Press down slowly to see if it shifts or moves. Hold the weight for a few seconds. If the rack stays steady, it is properly installed.
Adjusting If Necessary
If the rack moves or feels loose, adjustments are needed. Check the screws and anchors for tightness. Tighten any loose screws with a screwdriver. If the wall anchors are loose, replace them with stronger ones. Test the rack again after adjustments. Repeat until the rack stays firm under weight.
Maintenance Tips
Maintaining your towel rack backup helps it last longer and stay strong. Small care steps keep it safe and steady. Follow easy tips to avoid damage and problems. These simple actions save time and money on repairs.
Regular Tightening
Check screws and bolts often. Tighten loose parts with a screwdriver. Loose fixtures cause wobbling and damage walls. Tight parts hold the rack firmly. Make tightening part of your monthly routine.
Preventing Rust
Rust weakens metal and spoils the look. Keep the rack dry after showers. Wipe water off with a dry cloth. Use rust-resistant sprays if needed. Avoid placing the rack in very humid spots.
Credit: www.homedepot.com
Frequently Asked Questions
What Tools Do I Need To Install A Towel Rack Backup?
You need a drill, screwdriver, level, measuring tape, wall anchors, and screws. These tools ensure secure and accurate installation of the towel rack backup.
How Do I Find Studs For Mounting A Towel Rack Backup?
Use a stud finder or tap the wall to locate studs. Mark the stud positions for secure towel rack backup attachment.
Can I Install A Towel Rack Backup On Drywall Alone?
Drywall alone may not support heavy towel racks. Use wall anchors or mount on studs for a strong towel rack backup.
Why Is A Towel Rack Backup Important?
A towel rack backup prevents damage by providing extra support. It ensures your towel rack stays firmly mounted and safe.
Conclusion
Securing a towel rack backup keeps your bathroom organized and safe. Use the right tools and follow steps carefully. Make sure the rack is strong and steady on the wall. Check for studs to hold the screws tightly. Taking time to do it right saves future repairs.
Enjoy a neat space with towels always within reach. Small effort. Big difference.