Are you tired of constantly opening the door for your pet? Installing a pet door in your raised panel door can give your furry friend the freedom they deserve—and make your life easier.
But you might be wondering, “How do I do this without damaging my door or making a mess? ” Don’t worry. In this guide, you’ll find simple, step-by-step instructions that anyone can follow. By the end, you’ll have a perfectly installed pet door that looks great and works smoothly.
Keep reading, and let’s get started!
Choosing The Right Pet Door
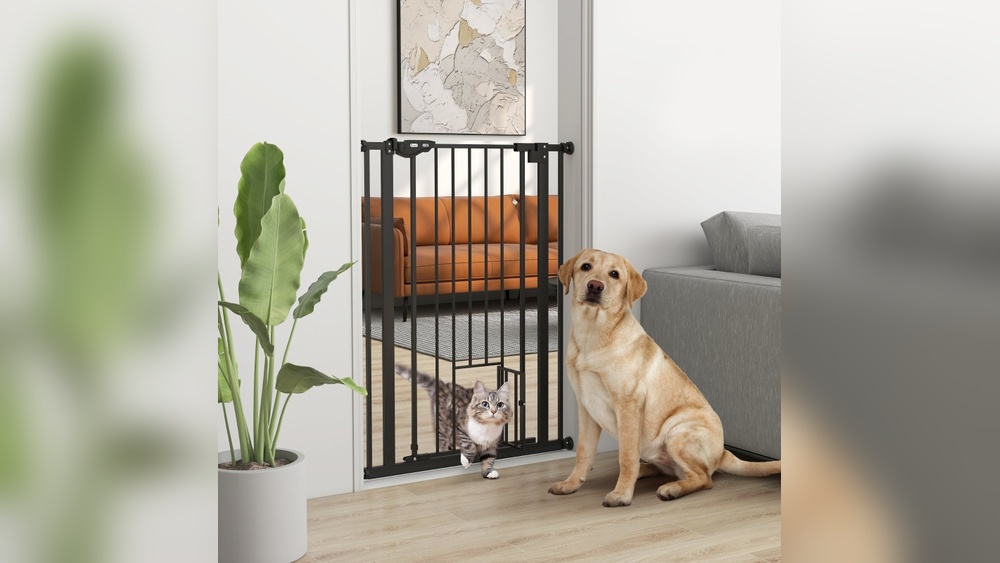
Choosing the right pet door is the first step to a smooth installation. Picking a door that fits your pet and your raised panel door ensures safety and ease. This choice affects how well your pet uses the door and how it looks on your door.
Measuring Your Pet
Start by measuring your pet’s height and width. Measure from the floor to the top of their shoulders. Also, measure the widest part of their body. Add a few inches to these numbers. This extra space helps your pet move comfortably through the door.
Selecting Door Size And Style
Choose a door size that matches your pet’s measurements. Small doors suit small pets, larger doors suit bigger pets. Pick a style that fits your home’s look. Some doors have clear flaps, while others have magnetic or locking options. Think about your pet’s habits and your security needs.
Considering Door Material Compatibility
Raised panel doors have unique designs and materials. Check if the pet door works with wood or composite raised panel doors. Some doors need extra support or special frames. Ensure the pet door’s frame fits well with your door’s thickness and design. This keeps the installation strong and neat.
Gathering Tools And Materials
Before starting to install a pet door in raised panel doors, gathering the right tools and materials is important. Having everything ready makes the process faster and safer. It helps avoid interruptions and mistakes.
This step ensures you have all parts and equipment needed for a smooth installation. Knowing what to prepare saves time and effort. It also helps you handle the door carefully to avoid damage.
Essential Tools Checklist
- Measuring tape for accurate door measurements
- Pencil to mark cutting lines
- Drill with various drill bits
- Jigsaw or keyhole saw for cutting door panels
- Sandpaper or file to smooth edges
- Screwdriver for fixing screws
- Level to ensure proper alignment
- Clamps to hold the door steady
- Vacuum or brush to clean up sawdust
Recommended Safety Gear
- Safety goggles to protect your eyes
- Work gloves to protect your hands
- Dust mask to avoid inhaling sawdust
- Hearing protection if using loud tools
Preparing The Raised Panel Door
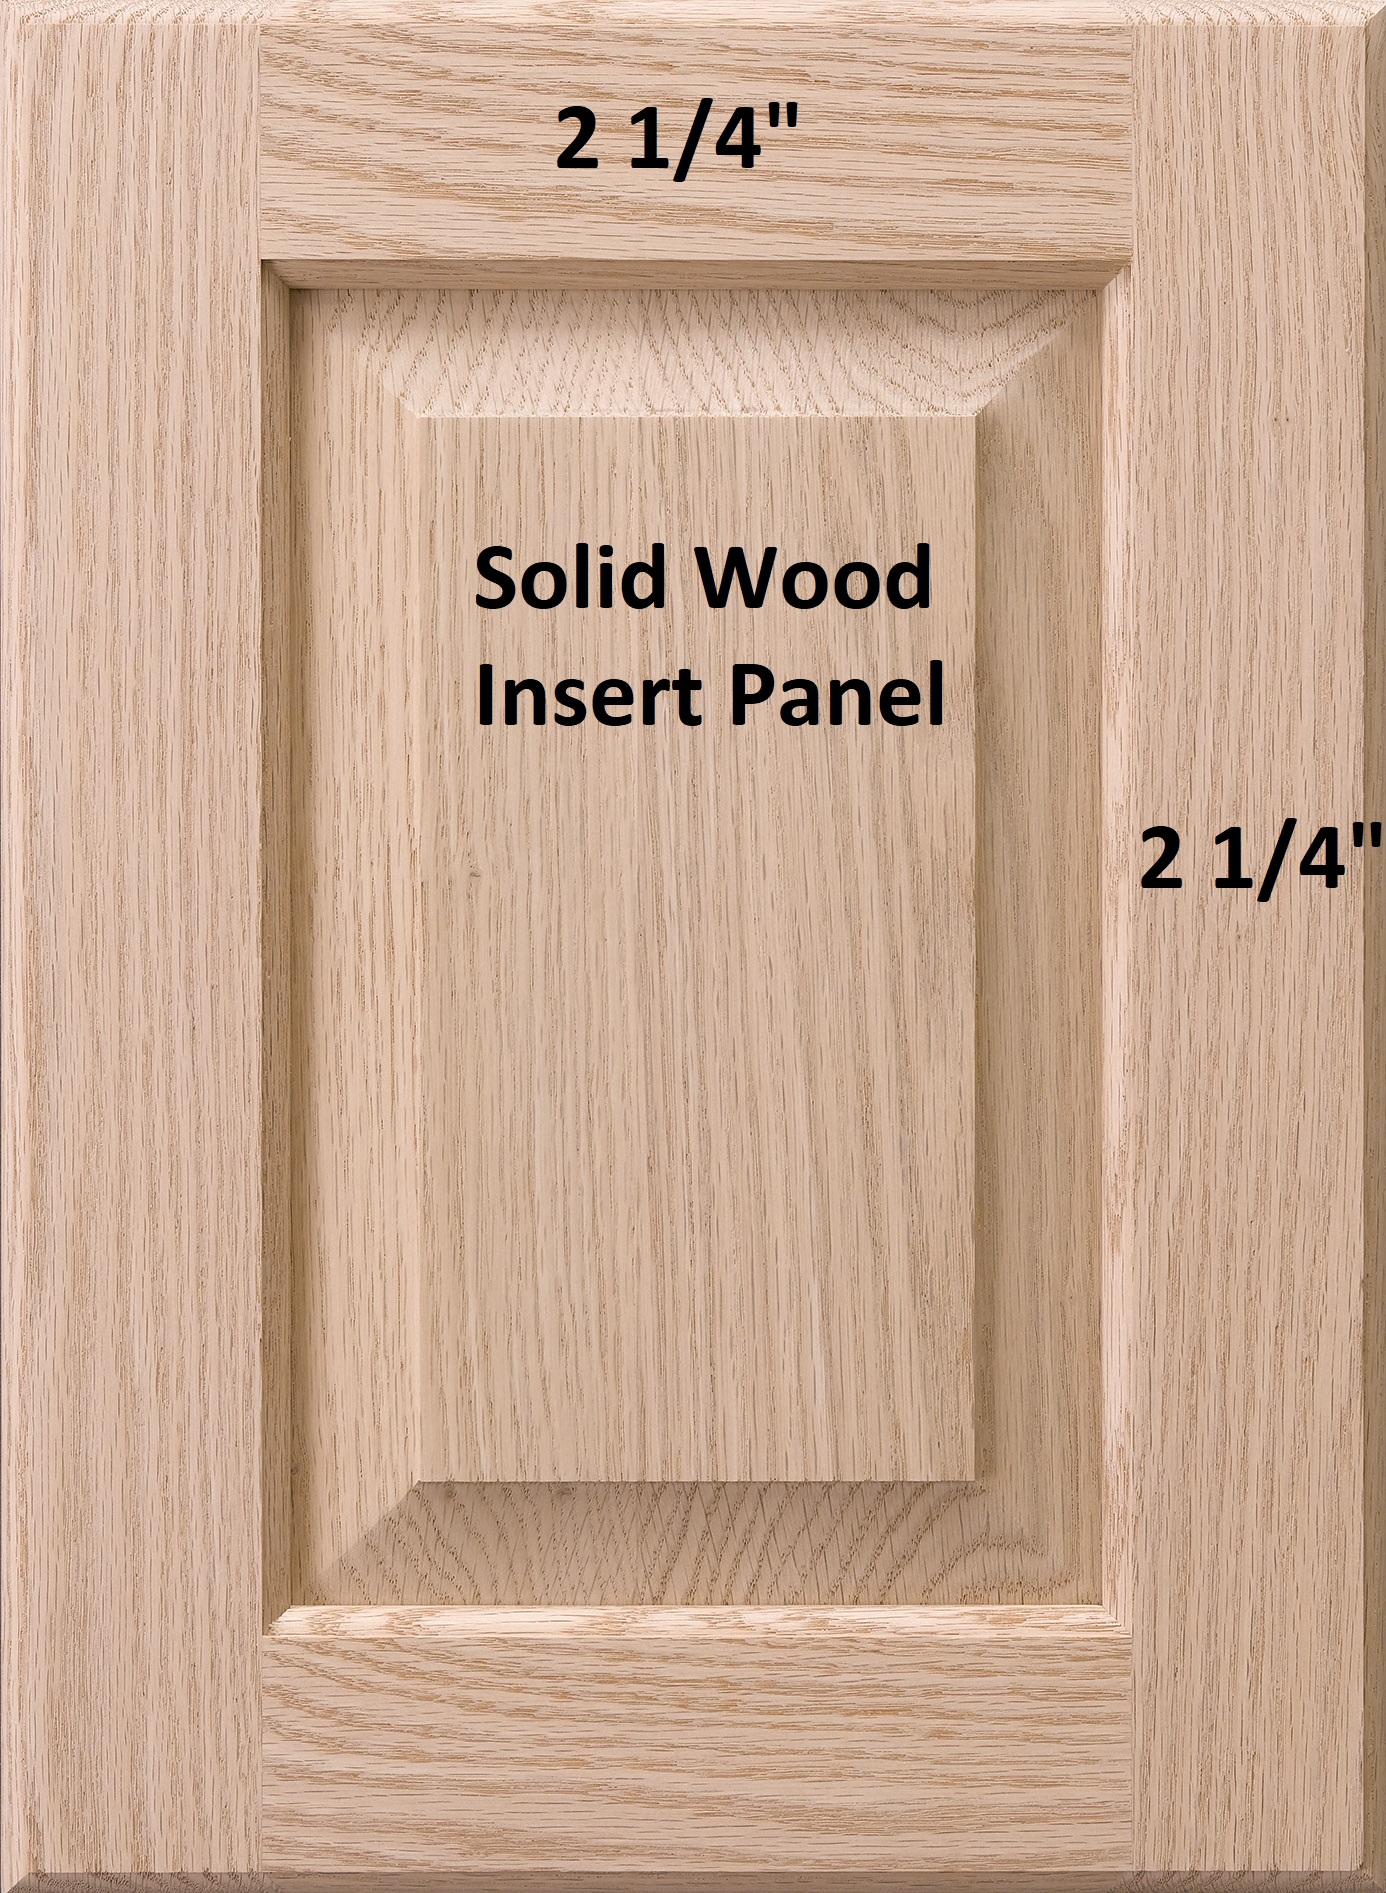
Preparing the raised panel door is the first step to install a pet door. This part needs careful attention. It helps ensure the pet door fits well and works properly. The raised panels add extra shape and detail. This makes the process a bit different from flat doors. Take your time and follow the steps below.
Marking The Cutout Area
Start by measuring the pet door size. Use the template that comes with the pet door kit. Hold the template in the right place on the door. Make sure it sits flat and level. Use a pencil to trace the outline carefully. Double-check the marks to avoid mistakes. Accurate marking helps the door cutout fit perfectly.
Protecting Door Surface
Protect the door surface before cutting. Use painter’s tape around the marked area. This prevents scratches and splinters during cutting. Cover both sides of the door panel. Work slowly and gently when cutting. Keep your tools sharp for smooth cuts. Proper protection keeps the door looking good after installation.
Credit: www.lowes.com
Cutting The Door Panel
Cutting the door panel is a key step when installing a pet door in raised panel doors. It requires care and precision to avoid damaging the door. Using the right tools makes the task easier and safer. This section guides you through the process.
Drilling Starter Holes
Begin by marking the pet door outline on the door panel. Drill starter holes inside the corners of the marked area. Use a drill bit large enough to fit the jigsaw blade. These holes give the jigsaw a place to start cutting. Make sure holes are clean and smooth to prevent splintering.
Using A Jigsaw For Precision Cuts
Insert the jigsaw blade into a starter hole. Follow the marked lines carefully as you cut. Keep the jigsaw steady and move slowly for a clean edge. Use a fine-toothed blade to reduce chipping. After cutting, sand the edges to smooth any rough spots. A neat cut ensures the pet door fits perfectly.
Installing The Pet Door Frame
Installing the pet door frame is an important step in fitting a pet door into raised panel doors. It provides the structure needed to hold the flap and seal the opening. Proper installation ensures the door fits well and works smoothly.
Start by preparing the opening. Check that the hole matches the pet door frame size exactly. A good fit keeps the frame steady and prevents gaps around the edges.
Aligning The Frame
Place the pet door frame into the opening carefully. Align it so the edges are flush with the door surface. Check the frame is level and straight. Use a small level tool if needed. Make sure the pet flap swings freely without obstruction. Adjust the frame slightly until it fits perfectly.
Securing With Screws
Once aligned, secure the frame with screws. Use screws provided with the pet door kit. Insert screws into the pre-drilled holes on the frame. Tighten them evenly to avoid warping the frame. Do not overtighten, or the door could crack. Check the frame remains flush and stable after tightening. Your pet door frame is now firmly installed and ready for the flap.

Credit: www.flumidieselbosch.com.br
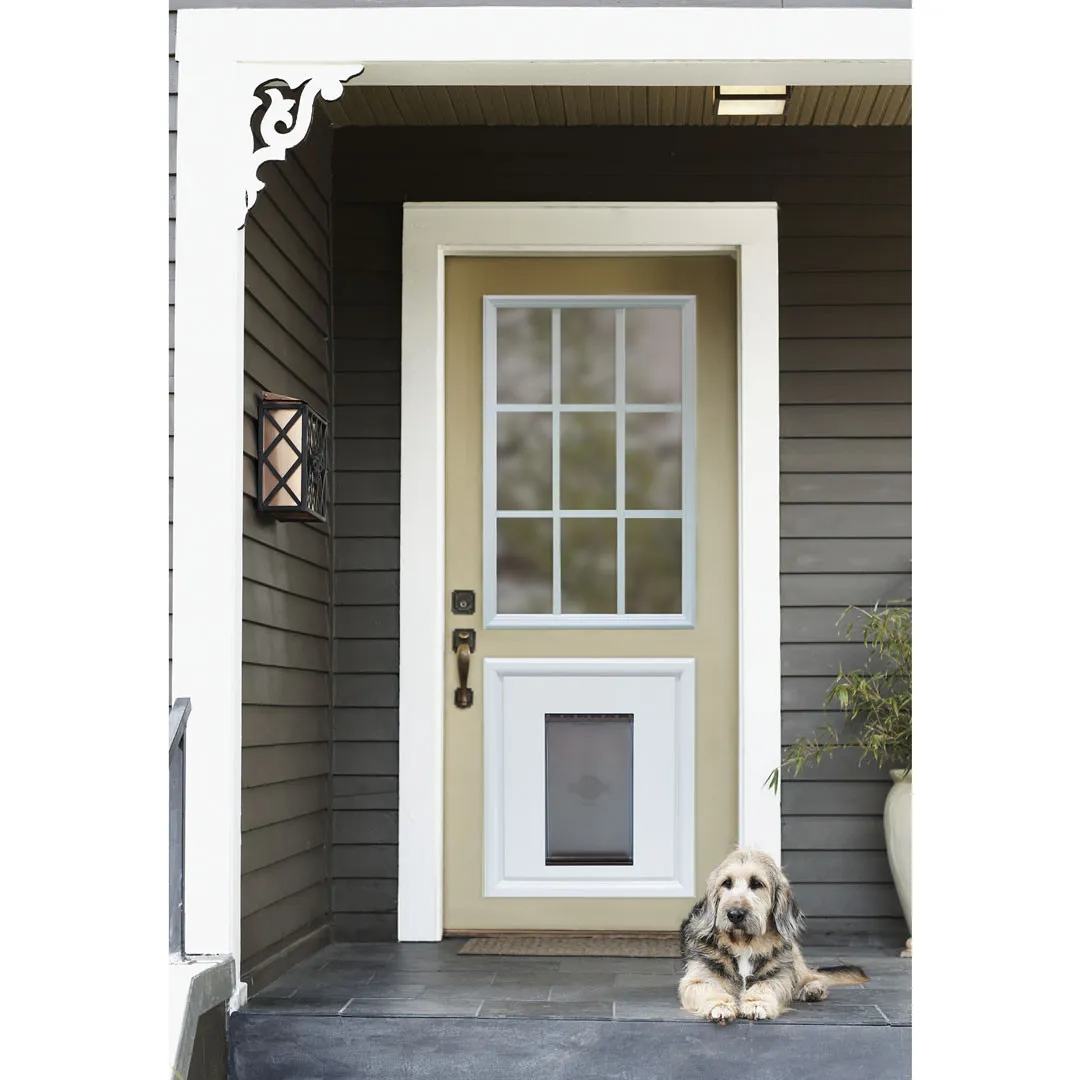
Sealing And Finishing Touches
Sealing and finishing touches protect your pet door and keep it looking great. They stop air and water from getting inside your home. These steps also make the door last longer. Pay close attention to these details for a neat, professional look.
Applying Weatherstripping
Weatherstripping seals gaps around the pet door frame. It blocks drafts and stops dirt from entering. Choose a weatherstrip that fits your door material. Cut it to the correct length. Press it firmly along the edges of the pet door. Check for any loose spots and press again. This simple step helps save energy and keeps your home clean.
Painting Or Staining Edges
Paint or stain the cut edges of the pet door. This protects the wood from moisture and damage. Match the color to your door for a smooth look. Use a small brush for neat application. Let the paint or stain dry completely before use. This step adds durability and blends the pet door with your door’s style.
Testing The Pet Door
Testing the pet door after installation is important. It ensures the door works well and your pet can use it safely. This step helps find any issues early. Fixing problems now saves trouble later. Take your time to check every part of the door. Watch how it opens and closes. Make sure it fits tight to keep out cold air or bugs. Observe if the flap moves smoothly without sticking. Testing also helps your pet get used to the new door.
Ensuring Smooth Operation
Check the pet door flap several times. It should swing freely and close fully. No parts should catch or jam during movement. Test from both sides of the door. The flap must seal well to block wind and dirt. If the flap is stiff, adjust the hinges or screws. Lubricate moving parts with a pet-safe oil if needed. Make sure the frame is secure and does not wobble. A well-installed door keeps your home cozy and safe.
Training Your Pet To Use The Door
Help your pet learn how to use the door step by step. Show your pet the flap and encourage it to push. Use treats or toys to motivate your pet through the door. Start with the door open, then slowly lower the flap. Praise your pet for every try, even small ones. Practice a few times a day for several days. Be patient, as some pets take longer to learn. Once comfortable, your pet will use the door confidently and safely.
Credit: www.flumidieselbosch.com.br
Frequently Asked Questions
How Do I Measure A Raised Panel Door For A Pet Door?
Measure the door’s width and height first. Then, mark the panel center for accurate pet door placement. Ensure enough space for your pet to pass comfortably through the door.
What Tools Are Needed To Install A Pet Door In Raised Panel Doors?
You’ll need a drill, jigsaw, screwdriver, tape measure, pencil, and safety gear. These tools help cut and secure the pet door properly.
Can I Install A Pet Door Without Damaging Raised Panel Doors?
Yes, careful measuring and cutting help avoid damage. Use a template and work slowly to maintain the door’s integrity.
What Size Pet Door Is Best For Raised Panel Doors?
Choose a pet door slightly larger than your pet’s width and height. This ensures easy access and comfort for your pet.
Conclusion
Installing a pet door in raised panel doors is simple with the right steps. Measure carefully to ensure a perfect fit for your pet. Use proper tools to cut the door smoothly and safely. Secure the pet door firmly to avoid any gaps.
This small change helps your pet enjoy more freedom at home. With patience and care, you can complete the installation quickly. Your pet will thank you for the easy access outside. Enjoy the convenience and comfort this addition brings to your home.