
Are you tired of constantly opening your screen door for your pet? Installing a pet door in your screen can save you time and give your furry friend the freedom they deserve.
But you might be wondering—how exactly do you do it without damaging your door or making a mess? This guide will walk you through simple, step-by-step instructions to install a pet door easily and safely. By the end, you’ll have a hassle-free way for your pet to come and go, and you’ll wonder why you didn’t do it sooner.
Keep reading to learn how to make your home more pet-friendly with just a few tools and some easy tips.
Choosing The Right Pet Door
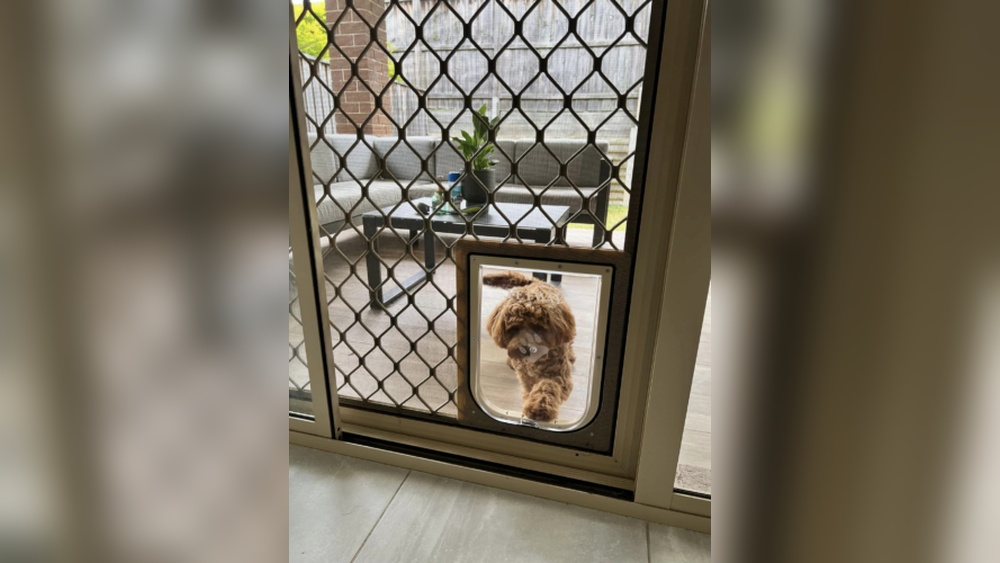
Choosing the right pet door for your screen is important. A good pet door lets your pet go in and out easily. It also keeps bugs and weather outside. Picking the right type and size makes installation easier. It helps your pet feel comfortable using the door every day.
Types Of Pet Doors For Screens
Screen pet doors come in several types. Some fit directly on the screen frame. Others replace a part of the screen panel. Magnetic flaps are common and easy to use. There are also sliding track pet doors for screen doors. Choose a style that matches your screen and your pet’s habits.
Measuring Your Pet
Measure your pet before buying a door. Measure at the widest part, usually the shoulders. Also, measure your pet’s height from the floor to the shoulders. This helps pick a door size that fits well. A door too small will block your pet. A door too big can let in drafts or bugs.
Selecting The Best Size
Pick a pet door slightly bigger than your pet’s size. Allow extra space for your pet to move comfortably. The door height should match your pet’s height. The width should fit the widest part of your pet. This sizing helps your pet go through easily and safely.
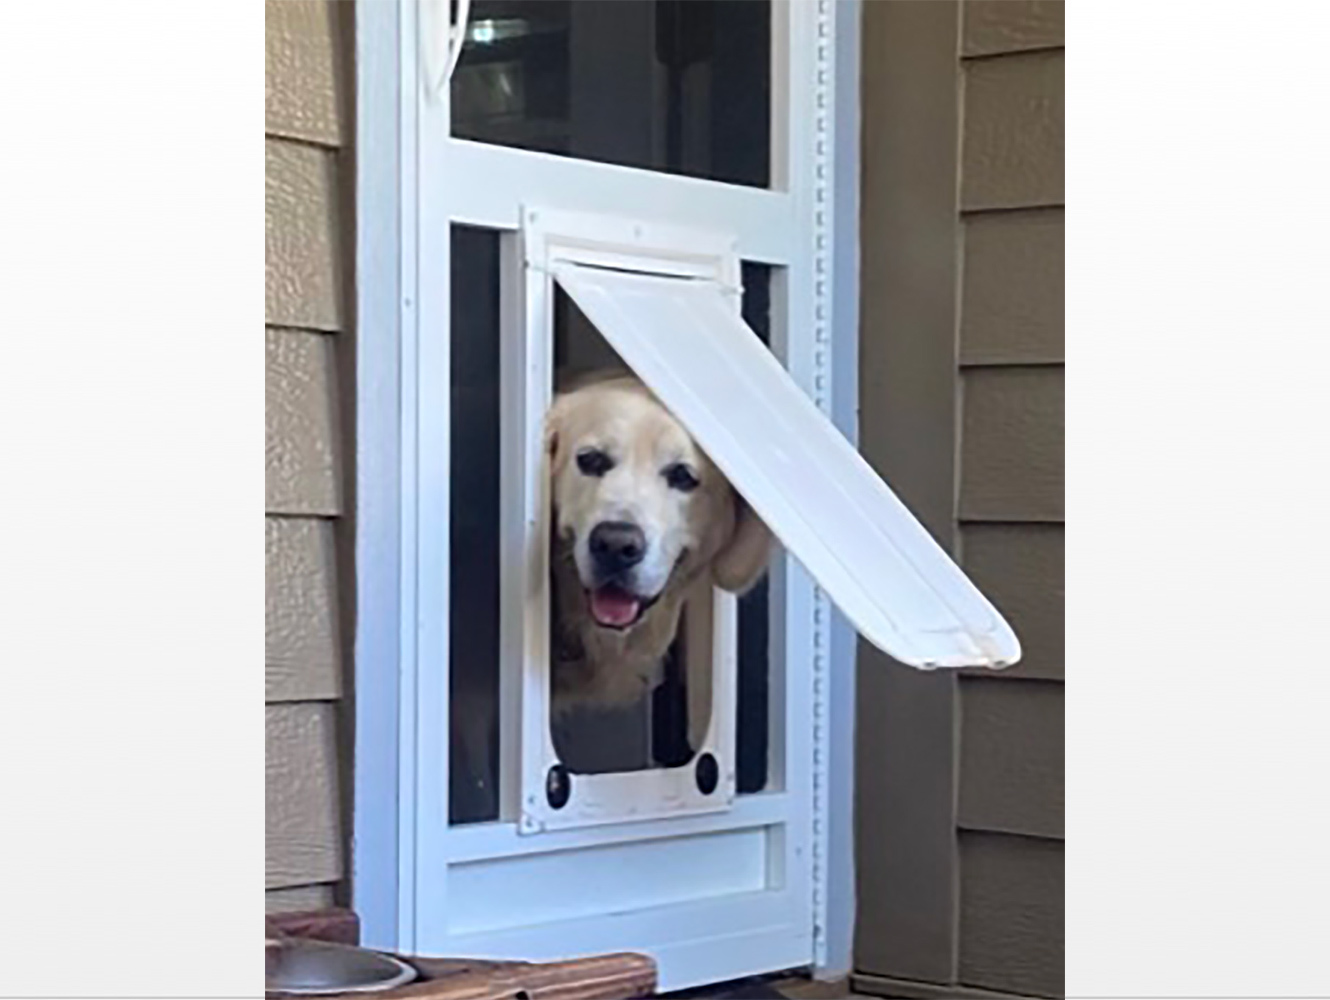
Credit: kdfoundation.org
Gathering Tools And Materials
Before installing a pet door in your screen, gather all necessary tools and materials. Having everything ready makes the process smooth and quick. Proper preparation reduces mistakes and saves time.
Knowing which tools to use helps you work safely and efficiently. Some tools are essential, while others are optional but helpful. Gather both types for the best results.
Essential Tools Needed
- Measuring tape for accurate dimensions
- Pencil or marker to mark cutting lines
- Utility knife for precise cutting of the screen
- Screwdriver to attach the pet door frame
- Drill with bits for making holes
- Scissors to trim screen edges
- Pet door kit including frame and flap
Optional Accessories
- Weather stripping to seal gaps
- Screen patch for repairs
- Extra screws for secure fitting
- Safety gloves for hand protection
- Masking tape to hold screen in place
Preparing The Screen Door
Preparing the screen door is the first step to install a pet door. This part needs care to make sure the pet door fits well and works properly. You will remove parts of the screen and mark where to cut. Taking your time here helps avoid mistakes and keeps the screen door in good shape.
Removing The Screen Frame
Start by taking the screen door off its track gently. Use a screwdriver to remove any screws holding the screen frame. Carefully pull out the screen frame from the door. This makes it easier to work on the screen without damage. Keep all screws and parts safe for later use.
Marking The Cut Area
Place the pet door template on the screen where you want it installed. Use a pencil to trace the outline of the template clearly. Double-check the position to make sure the door will be at the right height. Mark all corners and edges firmly for a clean cut. This step guides you during cutting and helps avoid errors.
Credit: breezeresidency.com
Cutting The Screen
Cutting the screen is a key step when installing a pet door in your screen door. This step needs care and accuracy to fit the pet door perfectly. The screen must be cut cleanly to avoid tearing or damaging the material. Proper cutting ensures the pet door works well and lasts a long time.
Safe Cutting Techniques
Use a sharp utility knife or scissors for clean cuts. Measure the pet door size carefully before cutting. Mark the cutting lines clearly with a pencil or marker. Cut slowly along the lines to keep edges straight. Hold the screen tightly to prevent slips. Wear gloves to protect your hands from sharp tools. Take breaks if you feel tired to avoid mistakes.
Avoiding Damage
Do not rush the cutting process. Avoid pulling or stretching the screen while cutting. Keep the cutting area flat and stable. Use a cutting mat or board under the screen to protect surfaces. Check the screen frame for weak spots before cutting. Repair any small tears with screen patches. Clean the edges after cutting to remove loose fibers. Protect the screen edges with tape if needed.
Installing The Pet Door Frame
Installing the pet door frame is a key step in fitting the pet door into your screen. The frame holds the door securely and keeps the screen intact. Proper installation ensures the door works smoothly and lasts long.
Take your time to align the frame correctly. A well-fitted frame makes the pet door easy for your pet to use. It also prevents bugs and wind from coming inside.
Attaching The Frame To Screen
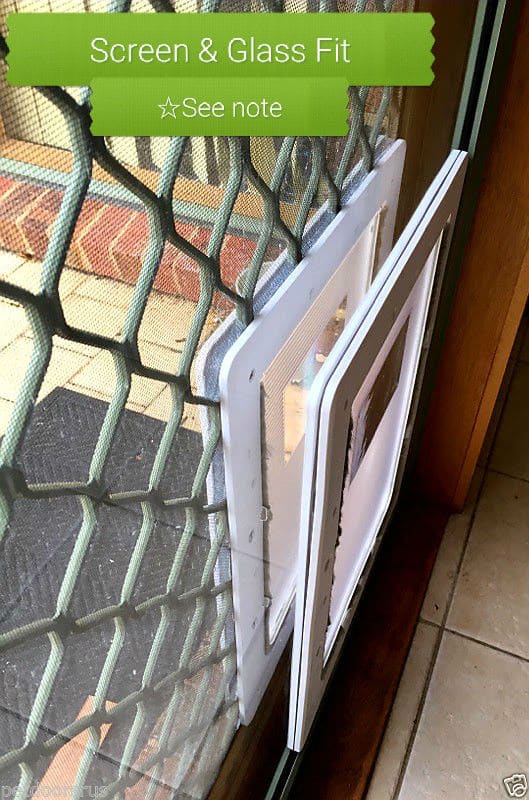
Place the pet door frame on the cut area of the screen. Make sure it fits snugly without gaps. Hold the frame steady with one hand.
Press the frame onto the screen gently. The frame should sit flat and even on all sides. Check if the screen fabric is not wrinkled or loose.
Securing With Screws Or Clips
Use screws or clips to fasten the frame to the screen. Choose the method that suits your pet door model. Screws give strong support, while clips are easy to remove.
Insert screws or clips evenly along the frame edge. Tighten screws without crushing the screen. Secure clips firmly to avoid frame movement.
Double-check the frame after securing. It should feel solid and stable. Your pet door frame is now ready for the door panel.
Fitting The Flap And Seal
Fitting the flap and seal is a key step when installing a pet door in a screen. This step ensures your pet can come and go freely. It also keeps bugs and air outside your home. A properly fitted flap and seal make the door work well and last longer.
Attaching The Flap
Start by aligning the flap with the frame of the pet door. Use screws or clips to hold it in place. Make sure the flap swings easily in both directions. Check that it closes fully without gaps. This helps keep your home safe and comfortable.
Ensuring A Tight Seal
Check the edges of the flap for any spaces. Use weather stripping or rubber seals to close gaps. Press the seal firmly around the flap frame. This stops bugs and drafts from entering. Test the flap again to confirm the seal holds well. A tight seal keeps your home clean and cozy.
Testing The Pet Door
Testing the pet door is an important step after installation. It makes sure the door works well and your pet can use it safely. Checking the door helps avoid problems and keeps your pet happy.
Checking Movement And Function
Push the pet door flap with your hand. It should swing open easily and close smoothly. Watch for any sticking or resistance. Make sure the flap seals well to keep bugs out. Check if the locking mechanism works properly. Test both sides of the screen door. Ensure the pet door is stable and not loose.
Training Your Pet To Use It
Show your pet the new door slowly. Encourage them to touch the flap with their nose or paw. Use treats to guide your pet through the door. Repeat this until your pet feels comfortable. Praise your pet each time they use the door. Practice several times a day for a few days. This helps your pet learn fast and without fear.
Credit: albanycomicbookshow.com
Maintenance Tips
Keeping your pet door in good shape helps it work longer and better. Simple care steps stop problems before they start. Regular checks and cleaning keep the door safe and easy for your pet to use.
Cleaning The Door
Clean the pet door often to stop dirt build-up. Use a soft cloth and mild soap with water. Wipe both sides of the flap and frame. Avoid harsh chemicals that can damage the screen or plastic. Dry the door well to stop rust or mold.
Inspecting For Wear And Tear
Look at the door for any cracks or loose parts. Check the flap for holes or tears that may let bugs in. Make sure the hinges and locks work smoothly. Fix small issues quickly to avoid bigger repairs later. Replace worn parts to keep the door safe.
Frequently Asked Questions
How Do I Install A Pet Door In A Screen Door?
First, measure your pet and screen door size. Cut the screen carefully. Attach the pet door frame securely. Follow manufacturer instructions for best fit and seal.
What Tools Are Needed To Install A Pet Door In Screen?
You’ll need a measuring tape, scissors or utility knife, screwdriver, and the pet door kit. Optional: marker for marking the cut area.
Can I Install A Pet Door Without Damaging The Screen?
Yes, by carefully cutting only the necessary screen portion and attaching the frame properly, damage is minimal. Use precise measurements and gentle cutting.
How To Choose The Right Pet Door Size For Screen Doors?
Measure your pet’s height and width at the shoulders. Choose a door slightly larger for easy access. Check manufacturer sizing guides for accuracy.
Conclusion
Installing a pet door in your screen is simple with clear steps. Measure carefully and follow the instructions to avoid mistakes. Use the right tools to make the process smooth and safe. Your pet will enjoy easy outdoor access in no time.
This small change brings big convenience for both you and your pet. Enjoy the freedom and comfort that a pet door provides every day.