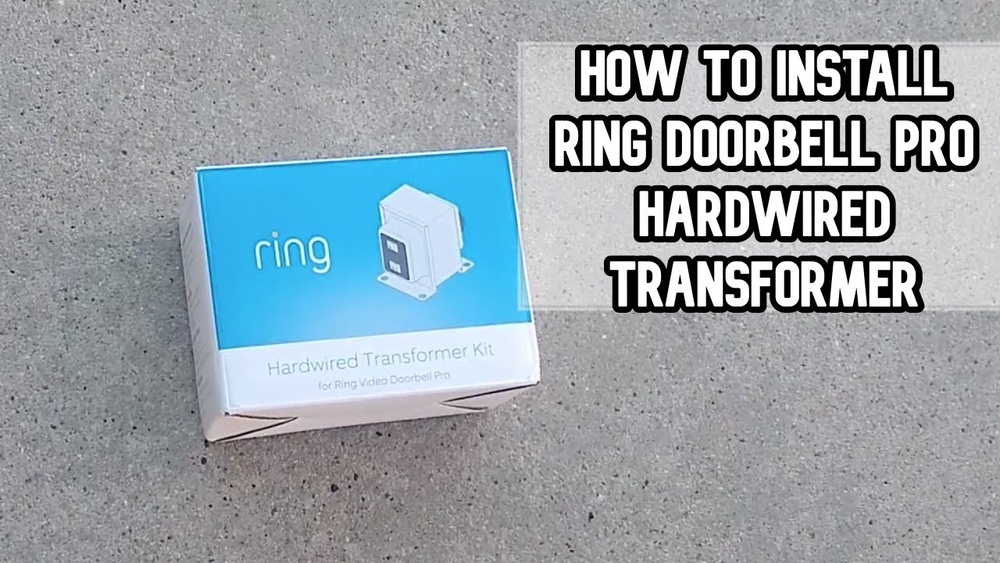

Are you ready to upgrade your home security with a Video Doorbell Pro? One crucial step is installing a hardwired transformer to power your device reliably.
If you’re wondering how to do this safely and correctly, you’re in the right place. In this guide, you’ll learn simple, clear steps to install a hardwired transformer for your video doorbell. By the end, you’ll have the confidence to handle the installation yourself, ensuring your doorbell works smoothly without interruptions.
Keep reading to make your home smarter and safer today.

Credit: www.youtube.com
Tools And Materials Needed
Installing a hardwired transformer for your Video Doorbell Pro requires the right tools and materials. Using proper equipment makes the job safer and easier. Prepare everything before starting to avoid delays or mistakes.
List Of Required Tools
Gather these tools for a smooth installation:
- Screwdriver (flathead and Phillips)
- Wire strippers
- Voltage tester
- Drill with bits
- Electrical tape
- Wire nuts
- Measuring tape
- Level
Choosing The Right Transformer
Select a transformer that fits your doorbell’s power needs. The Video Doorbell Pro usually requires 16-24 volts AC. Check the product manual for exact voltage and wattage. Avoid using a transformer with incorrect voltage to prevent damage.
Pick a transformer compatible with your home wiring. Look for UL-listed models for safety assurance. A good transformer ensures reliable doorbell performance.
Safety Equipment
Protect yourself with proper safety gear. Wear insulated gloves to avoid electric shocks. Use safety goggles to shield your eyes from dust or sparks. Turn off power at the breaker before starting any work. Safety first, always.
Preparing For Installation
Preparing for the installation of your hardwired transformer is an important step. It ensures safety and proper setup. This phase helps avoid electrical problems and damage to your video doorbell. Follow each step carefully for a smooth process.
Turning Off Power
Start by switching off the power at your home’s main circuit breaker. This stops electricity from flowing to the wires. Use a voltage tester to confirm the power is off. Safety first. Never work on live wires.
Locating Existing Wiring
Find the wires that connect to your current doorbell. These are usually behind the doorbell button or inside your electrical panel. Check for wires labeled as transformer wires. Knowing their location makes installation easier and quicker.
Checking Electrical Compatibility
Verify that your home’s wiring matches the voltage needs of the transformer. Most video doorbell transformers require 16 to 24 volts. Use a multimeter to measure voltage. Using the wrong transformer can harm your device.
Mounting The Transformer
Mounting the transformer is a key step in installing your Video Doorbell Pro. The transformer powers the doorbell safely and reliably. Proper mounting ensures it works well and lasts long. Follow these simple steps to mount the transformer correctly.
Selecting The Installation Location
Choose a spot close to your electrical panel or doorbell wiring. The location should be dry and easy to access. Avoid places exposed to water or extreme heat. Pick a place where wires can reach without stretching or bending.
Securing The Transformer
Use screws or mounting brackets to fix the transformer firmly. Make sure it does not move or hang loosely. Secure wiring connections tightly to prevent sparks or shorts. A stable mount keeps the transformer safe and working well.
Ensuring Proper Ventilation
Leave space around the transformer for air to flow. Good ventilation stops overheating and extends its life. Do not cover the transformer with insulation or other materials. Keep it clear of dust and debris for safe operation.
Wiring The Transformer
Wiring the transformer is a key step in installing your Video Doorbell Pro. Proper wiring ensures your doorbell gets the right power and works safely. This part involves connecting the transformer to your home’s electrical system and the doorbell itself. Follow each step carefully to avoid mistakes.
Connecting Primary Wires
Primary wires carry electricity from your home’s main power source. Turn off power at the breaker before starting. Identify the two primary wires coming from your electrical panel. Connect one wire to each terminal on the transformer’s primary side. Use a screwdriver to tighten the terminal screws. Make sure the wires are secure and not loose.
Connecting Secondary Wires
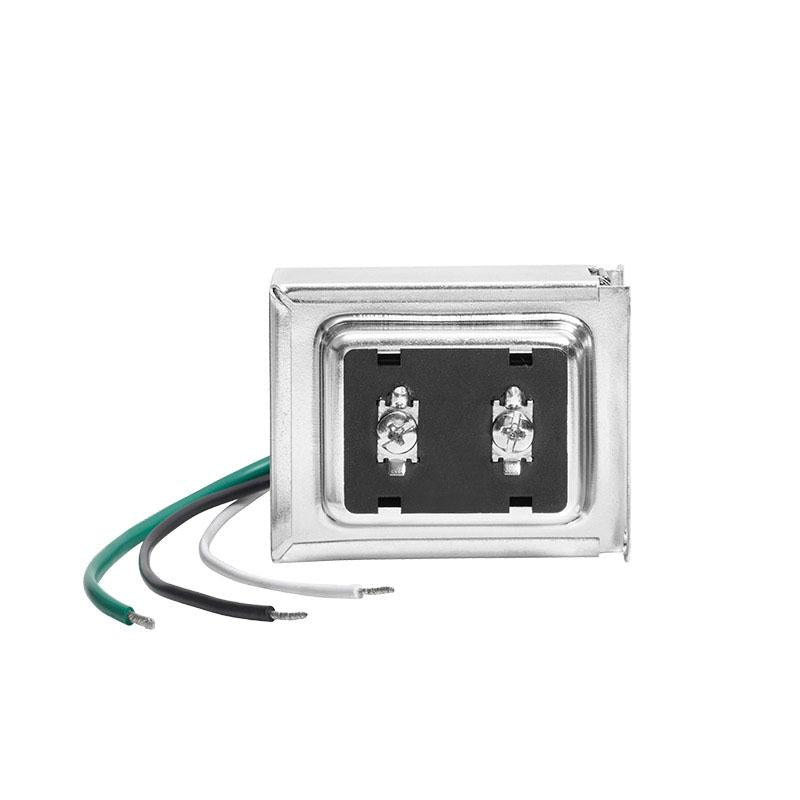
Secondary wires deliver the right voltage to your doorbell. Locate the two secondary terminals on the transformer. Attach the wires from your doorbell system to these terminals. Check the wire colors to match the terminals correctly. Tighten the screws to hold the wires firmly. Double-check connections to avoid power issues.
Using Wire Connectors Safely
Wire connectors join wires securely and prevent electrical shorts. Choose the right size connector for your wires. Twist the wires together before placing the connector. Screw the connector on until it feels tight. Tug gently on wires to confirm a solid connection. Avoid over-tightening to protect the wires inside.
Connecting To The Video Doorbell Pro
Connecting the hardwired transformer to your Video Doorbell Pro is a key step. It powers the device and ensures it works properly. Follow clear steps to connect safely and correctly. This section guides you through each part of the connection process.
Identifying Doorbell Terminals
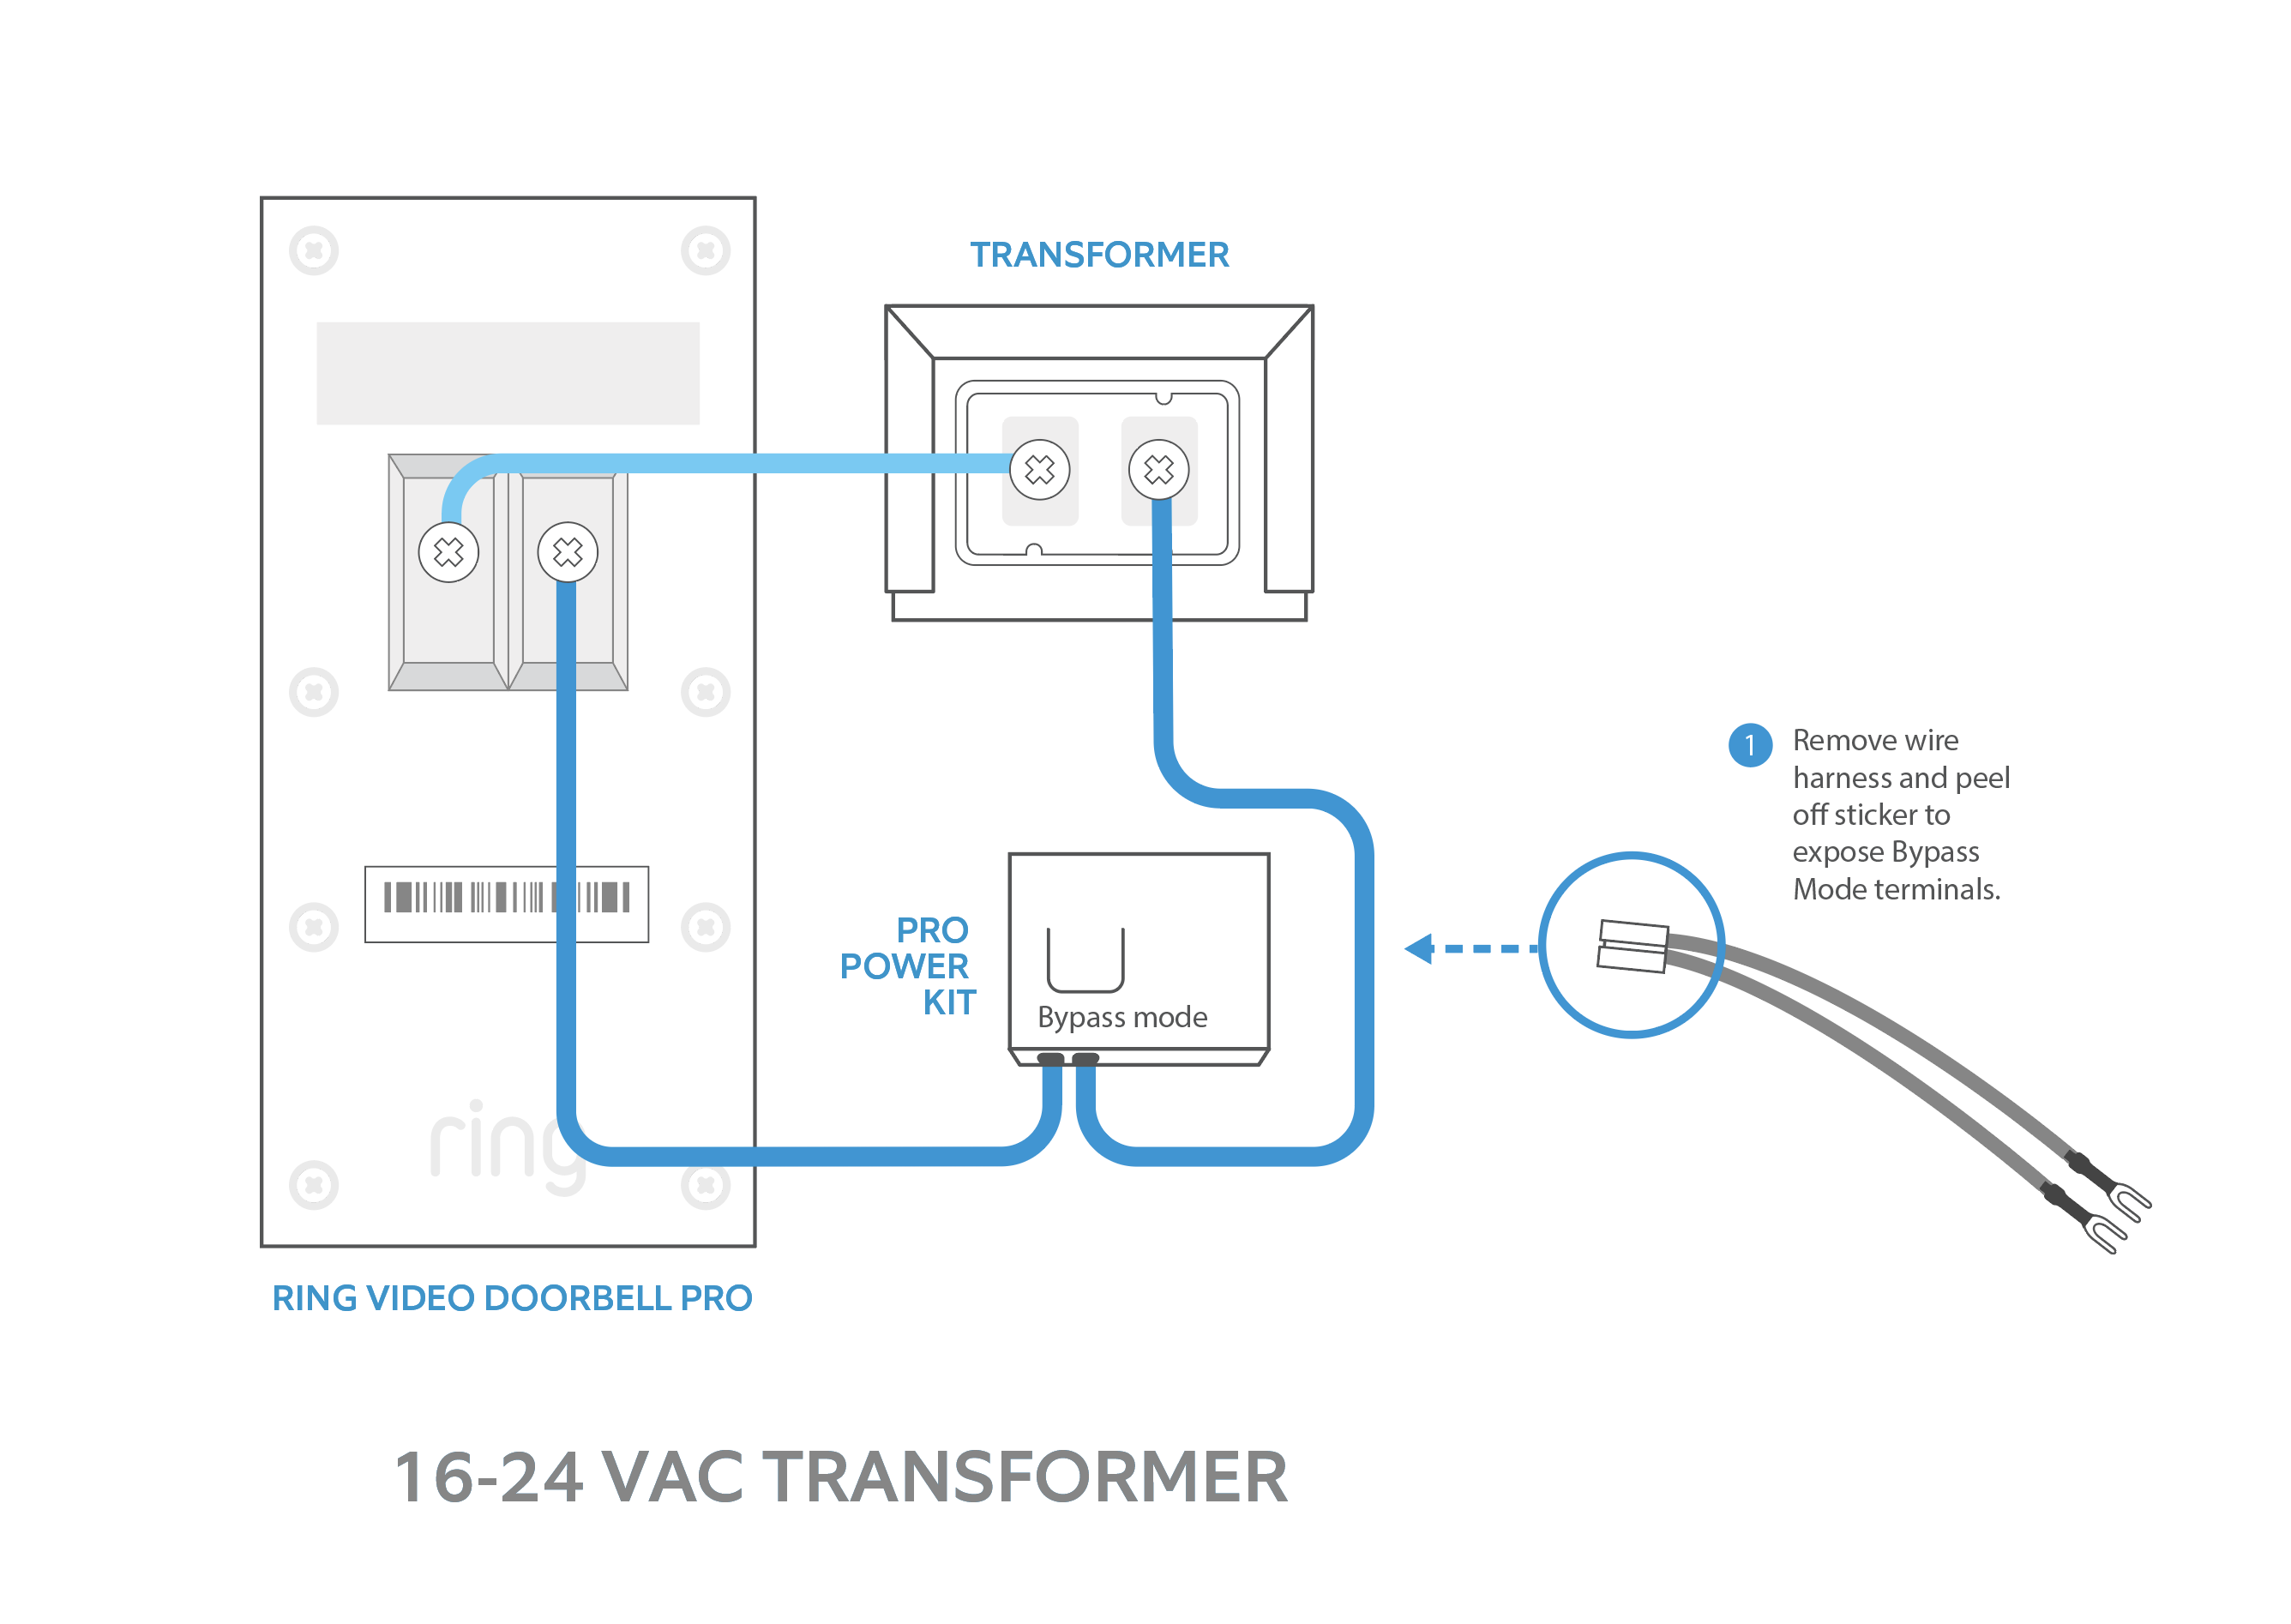
Look at the back of your Video Doorbell Pro. You will see two small screws labeled “TRANS” or “Doorbell”. These are the terminals. They connect to the transformer wires. Make sure you recognize these before moving on. Use the manual if you need help.
Attaching Transformer Wires
Take the wires from your hardwired transformer. Attach one wire to each terminal on the doorbell. Tighten the screws securely. Avoid loose connections to prevent power issues. Keep wires neat to avoid damage or shorts. Ensure no bare wire shows outside the terminals.
Testing Connections
Turn on the power at the breaker. Check if the doorbell lights up or chimes. Use a voltage tester if you have one. Confirm the doorbell gets power from the transformer. If it does not work, recheck wire connections. Fix any loose or wrong wiring before final setup.
Credit: www.flumidieselbosch.com.br
Final Checks And Power On
After installing your hardwired transformer for the Video Doorbell Pro, the final step is to ensure everything works safely and correctly. This phase is crucial to avoid damage and ensure smooth operation. Follow these steps carefully for a successful power-on.
Double-checking Wiring
Begin by inspecting every wire connection. Make sure all wires are tight and correctly placed. Check that no wires touch each other or any metal parts. Confirm the transformer wires match the doorbell’s terminals. Loose or wrong connections can cause short circuits or failure. Take your time to review every connection twice.
Restoring Power
Next, restore power to the circuit from the breaker box. Switch the breaker back on carefully. Watch for any sparks or unusual sounds. If you notice anything odd, turn off the power immediately. Safety comes first. Wait a moment before moving to the next step to let the system stabilize.
Verifying Doorbell Operation
Test the doorbell by pressing the button. The chime should sound clearly inside the house. Check the video feed on your phone or device. Ensure the camera powers on and streams video smoothly. If the doorbell does not work, recheck your wiring and power connections. Proper operation means successful installation and safe use.
Troubleshooting Common Issues
Troubleshooting is key when installing a hardwired transformer for your Video Doorbell Pro. Some issues can stop your doorbell from working properly. Knowing how to fix these problems saves time and frustration. Here are common issues and easy solutions.
No Power To Doorbell
Check the circuit breaker first. Make sure it is not tripped or turned off. Inspect the wiring connections at the transformer and doorbell. Loose wires can cause power loss. Test the transformer with a multimeter to confirm it outputs the right voltage. Replace the fuse if your transformer has one. Sometimes, the doorbell button itself may be faulty. Swap it with a new one to test.
Transformer Overheating
Overheating can damage your transformer. Ensure the transformer is rated for your doorbell’s power needs. A low-rated transformer works too hard and heats up. Check the transformer’s placement. It needs good ventilation and should not be inside a sealed box. Remove any dust or debris around it. If overheating continues, replace the transformer with a higher watt model.
Intermittent Doorbell Function
Intermittent ringing or video issues often come from loose wiring. Tighten all wire connections. Look for corrosion or damaged wires and replace them. Electrical interference from other devices might also cause problems. Keep transformer wires away from heavy electrical cables. Reset your doorbell and transformer by turning off power for a few minutes. Check your Wi-Fi signal strength if your doorbell uses Wi-Fi for video.
Credit: ring.com
Maintenance Tips
Keeping your hardwired transformer in good condition helps your Video Doorbell Pro work well. Regular care prevents problems and saves money. Follow simple steps to maintain the transformer for a long life.
Regular Inspection
Check the transformer every few months. Look for signs of damage or wear. Make sure wires are tight and not frayed. Listen for unusual sounds like buzzing. Early detection stops bigger issues.
Cleaning And Care
Keep the transformer free from dust and dirt. Use a dry cloth to wipe the surface gently. Avoid water or cleaning chemicals. Dirt can cause overheating and reduce efficiency.
When To Replace The Transformer
Replace the transformer if it shows signs of burning smell or overheating. If the doorbell stops working properly, the transformer might be faulty. Always choose a replacement that matches the voltage and power needs.
Frequently Asked Questions
What Tools Are Needed To Install A Hardwired Transformer?
You need a voltage tester, screwdriver, wire strippers, and electrical tape. Safety gloves and a drill may also help. These tools ensure a safe and efficient installation of your video doorbell transformer.
How Do I Safely Connect The Transformer Wires?
Turn off the main power before handling wires. Connect the transformer’s primary wires to the breaker box and the secondary wires to the doorbell. Use wire nuts and electrical tape to secure connections properly.
What Voltage Is Required For A Video Doorbell Pro Transformer?
A typical Video Doorbell Pro requires a transformer output of 16-24 volts AC. Check your doorbell’s manual for exact voltage to prevent damage and ensure proper operation.
Can I Install The Transformer Myself Or Hire An Electrician?
If you have basic electrical knowledge, you can install it yourself safely. Otherwise, hiring a licensed electrician ensures compliance with local codes and avoids hazards.
Conclusion
Installing a hardwired transformer for your Video Doorbell Pro is a smart move. It ensures steady power and better performance. Follow each step carefully for safety and success. Double-check your connections before turning on the power. A properly installed transformer helps your doorbell work without interruptions.
Enjoy clear video and reliable alerts every time. With patience and care, this task becomes simple. Keep your home secure and stay connected with ease.