
Changing the cell number linked to your video doorbell might seem tricky, but it doesn’t have to be. If you’ve recently switched phone carriers or want to update your contact info, this quick change is crucial to keep your doorbell notifications coming straight to you.
Imagine missing an important visitor or package simply because your doorbell is still tied to an old number. Don’t let that happen. In this guide, you’ll find simple, step-by-step instructions to update your cell number without hassle. Keep reading to make sure your home stays connected and secure.

Credit: www.youtube.com
Check Compatibility
Checking compatibility is the first step before changing the cell number for your video doorbell. Not all devices support every type of SIM card or carrier. Confirming compatibility helps avoid connection issues and ensures smooth operation.
Some video doorbells only work with specific models or carriers. Verifying these details saves time and prevents frustration during setup.
Supported Models
Each video doorbell model has unique hardware and software. Some models support cellular connections, while others rely on Wi-Fi only. Check your device’s user manual or manufacturer website for a list of models that allow cell number changes. This step ensures your doorbell can accept a new SIM card or phone number without problems.
Older models might not support new cellular technologies. Newer versions often come with better compatibility for various carriers and networks.
Carrier Requirements
Not every carrier supports video doorbell connections. Some carriers block certain types of data or restrict device registrations. Confirm that your chosen carrier allows the use of their SIM card in video doorbells. Look for carriers offering 3G, 4G, or LTE service, depending on your doorbell’s needs.
Check for network coverage in your area. Poor coverage can cause missed alerts or slow video streaming. Understanding carrier rules and signal strength helps maintain a reliable connection for your doorbell.
Prepare Your New Sim Card
Preparing a new SIM card is a key step before changing the cell number for your video doorbell. This ensures your device stays connected and works smoothly. Taking time to prepare the SIM properly avoids connectivity issues later.
Start by choosing the right SIM card for your doorbell. Next, activate the SIM so it can send and receive data. Both steps are simple but important to follow carefully.
Choosing A Sim Card
Pick a SIM card that matches your video doorbell’s network type. Most doorbells use 4G or LTE SIM cards. Check the size needed—nano, micro, or standard—to fit your device.
Look for a SIM card with a data plan suitable for video streaming. Low data limits can cause interruptions. A prepaid or postpaid plan works fine, depending on your needs.
Activating The Sim
Activate the SIM card before inserting it into the doorbell. Follow the mobile carrier’s instructions carefully. This may include calling a number or visiting a website.
Ensure the SIM is active and has data available. Test it in a phone or tablet if possible. This step confirms the SIM works properly and is ready to use.
Backup Existing Settings
Backing up your video doorbell’s current settings is a key step before changing the cell number. It helps keep your data safe. This prevents loss of important configurations. You can restore your setup if something goes wrong.
Saving Configuration
Start by opening the doorbell’s app or device menu. Find the section for settings or system options. Look for a backup or save option. Click it to store the current setup. This includes Wi-Fi details, notifications, and user preferences. Saving this file on your phone or computer is best. Make sure the file is easy to find later.
Exporting Data
Some doorbells allow you to export data to a file. This file contains all your settings and history. Use the export feature in the app or web portal. Choose a secure location to save the file. USB drives or cloud storage work well. Exporting keeps your information safe outside the device. It also makes restoration quicker and simpler.
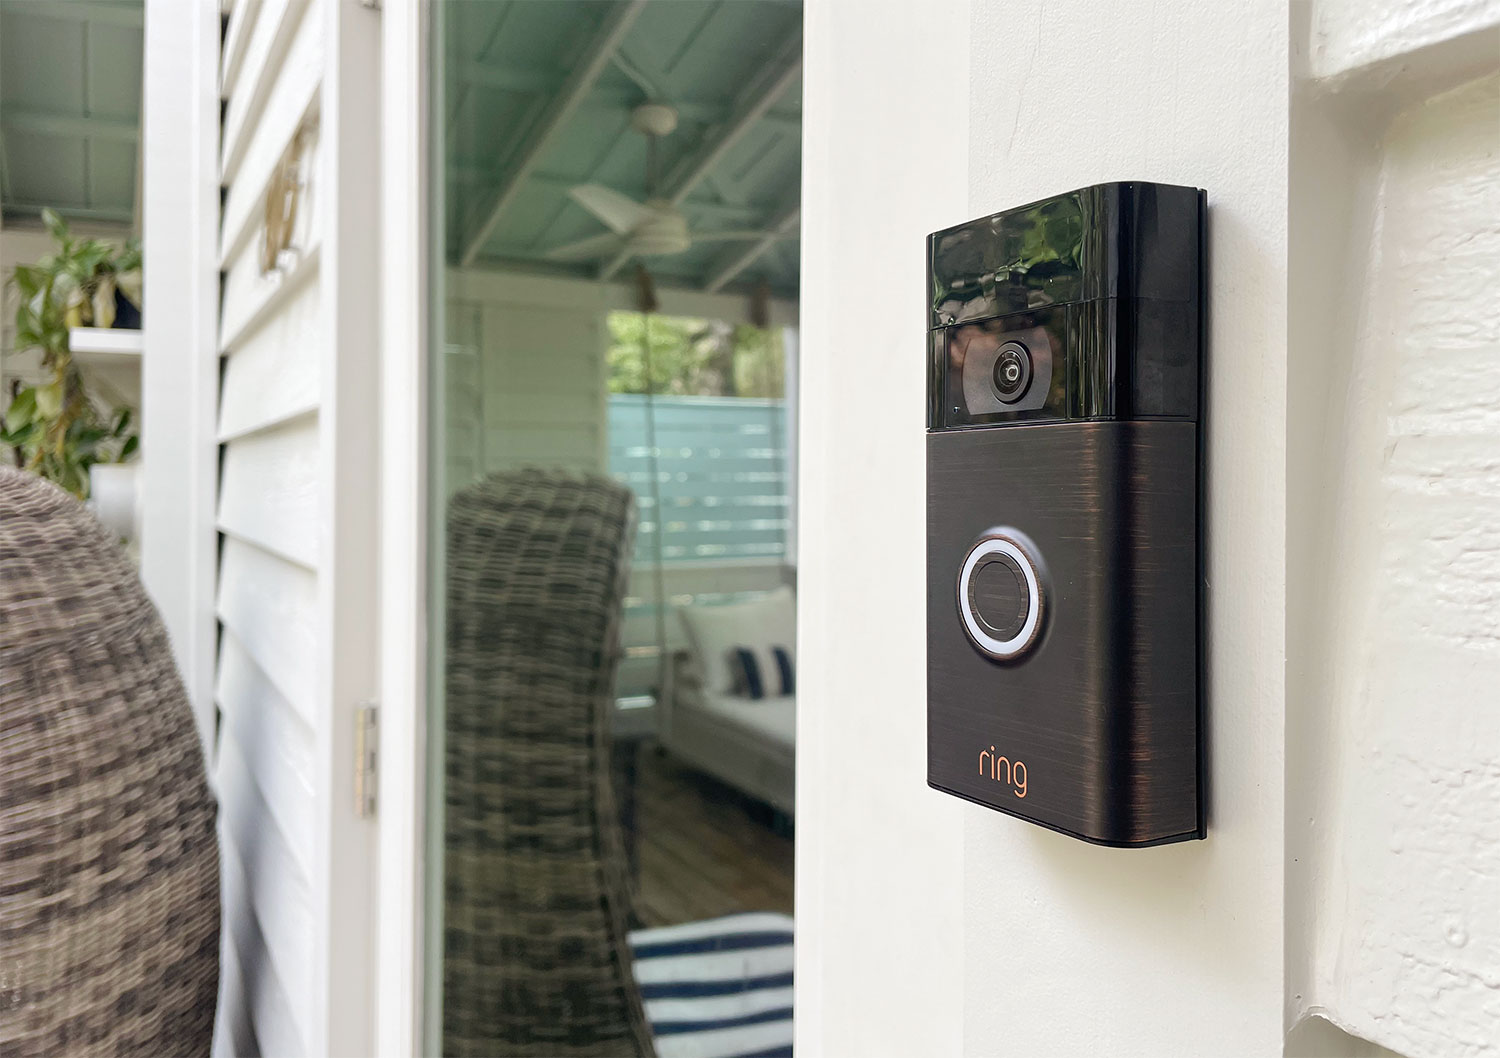
Credit: www.younghouselove.com
Remove Old Sim Card
Removing the old SIM card is the first step in changing the cell number for your video doorbell. The SIM card connects your doorbell to the cellular network. Removing it carefully helps avoid damage. Follow these simple steps to remove the old SIM card safely.
Powering Down The Device
Turn off your video doorbell before removing the SIM card. This prevents any damage to the device or the card. Locate the power button or switch. Press and hold it until the device shuts down completely. Wait a few seconds to ensure it is off.
Accessing The Sim Slot
Find the SIM card slot on your video doorbell. It is usually on the side or back of the device. Use a small tool like a SIM ejector or a paperclip. Gently press into the hole beside the slot. The SIM tray will pop out. Carefully pull out the old SIM card from the tray.
Insert New Sim Card
Inserting a new SIM card into your video doorbell is a simple task. It allows the device to connect to a different mobile network. This change helps keep your doorbell active and ready to use. Follow the steps carefully to avoid any damage.
Proper Placement
Locate the SIM card slot on your video doorbell. Usually, it is behind a small cover or panel. Gently open the cover using your fingernail or a small tool. Align the SIM card with the slot, matching the metal contacts. Insert the card slowly until it fits snugly in place. Avoid forcing it, or you might damage the slot.
Securing The Sim
After placing the SIM card, close the cover carefully. Ensure it snaps back or screws in securely. A loose cover can expose the SIM to dust or moisture. Test the doorbell to confirm the new SIM is working. Proper securing keeps your device safe and connected.
Update Device Settings
Updating your video doorbell’s settings is a key step to change the cell number. This update connects your device to the new number. It also makes sure the device works smoothly with your network.
Follow clear steps to update the settings. This helps avoid errors and keeps your doorbell active. The process involves connecting to your network and verifying the new number.
Connecting To Network
Start by opening the video doorbell app on your phone. Go to the device settings menu. Find the option to connect to a network. Select your Wi-Fi network from the list. Enter the Wi-Fi password carefully. Wait a few moments for the doorbell to connect. A confirmation message will appear once connected. This step links your doorbell to the internet. It is essential for sending alerts and calls.
Verifying New Number
Next, access the phone number settings in the app. Enter your new cell number. Double-check the number to avoid mistakes. The app may send a verification code. Type the code into the app to confirm. Successful verification updates the number on your device. This allows the doorbell to send alerts to the correct phone. Always verify to ensure your new number works properly.
Test The Video Doorbell
Testing your video doorbell after changing the cell number is crucial. It ensures the device works with the new contact details. Proper testing helps avoid missed calls or notifications.
Follow simple steps to check if the doorbell connects correctly and sends alerts. This confirms the update was successful and your home stays secure.
Making A Test Call
Start by making a test call to your new cell number through the doorbell app. Press the doorbell button and watch for the call or alert. The call should reach the new number immediately.
If the call does not come through, check the number entered for errors. Also, ensure the doorbell has a good internet connection. Repeat the test until the call is successful.
Checking Notifications
Next, check if notifications appear on your phone when someone presses the doorbell. The app should send alerts instantly to the new cell number. Notifications may include sound, vibration, or pop-ups.
Test notifications by pressing the doorbell multiple times. If notifications fail, verify app permissions and notification settings. Confirm your phone number is linked correctly in the app.
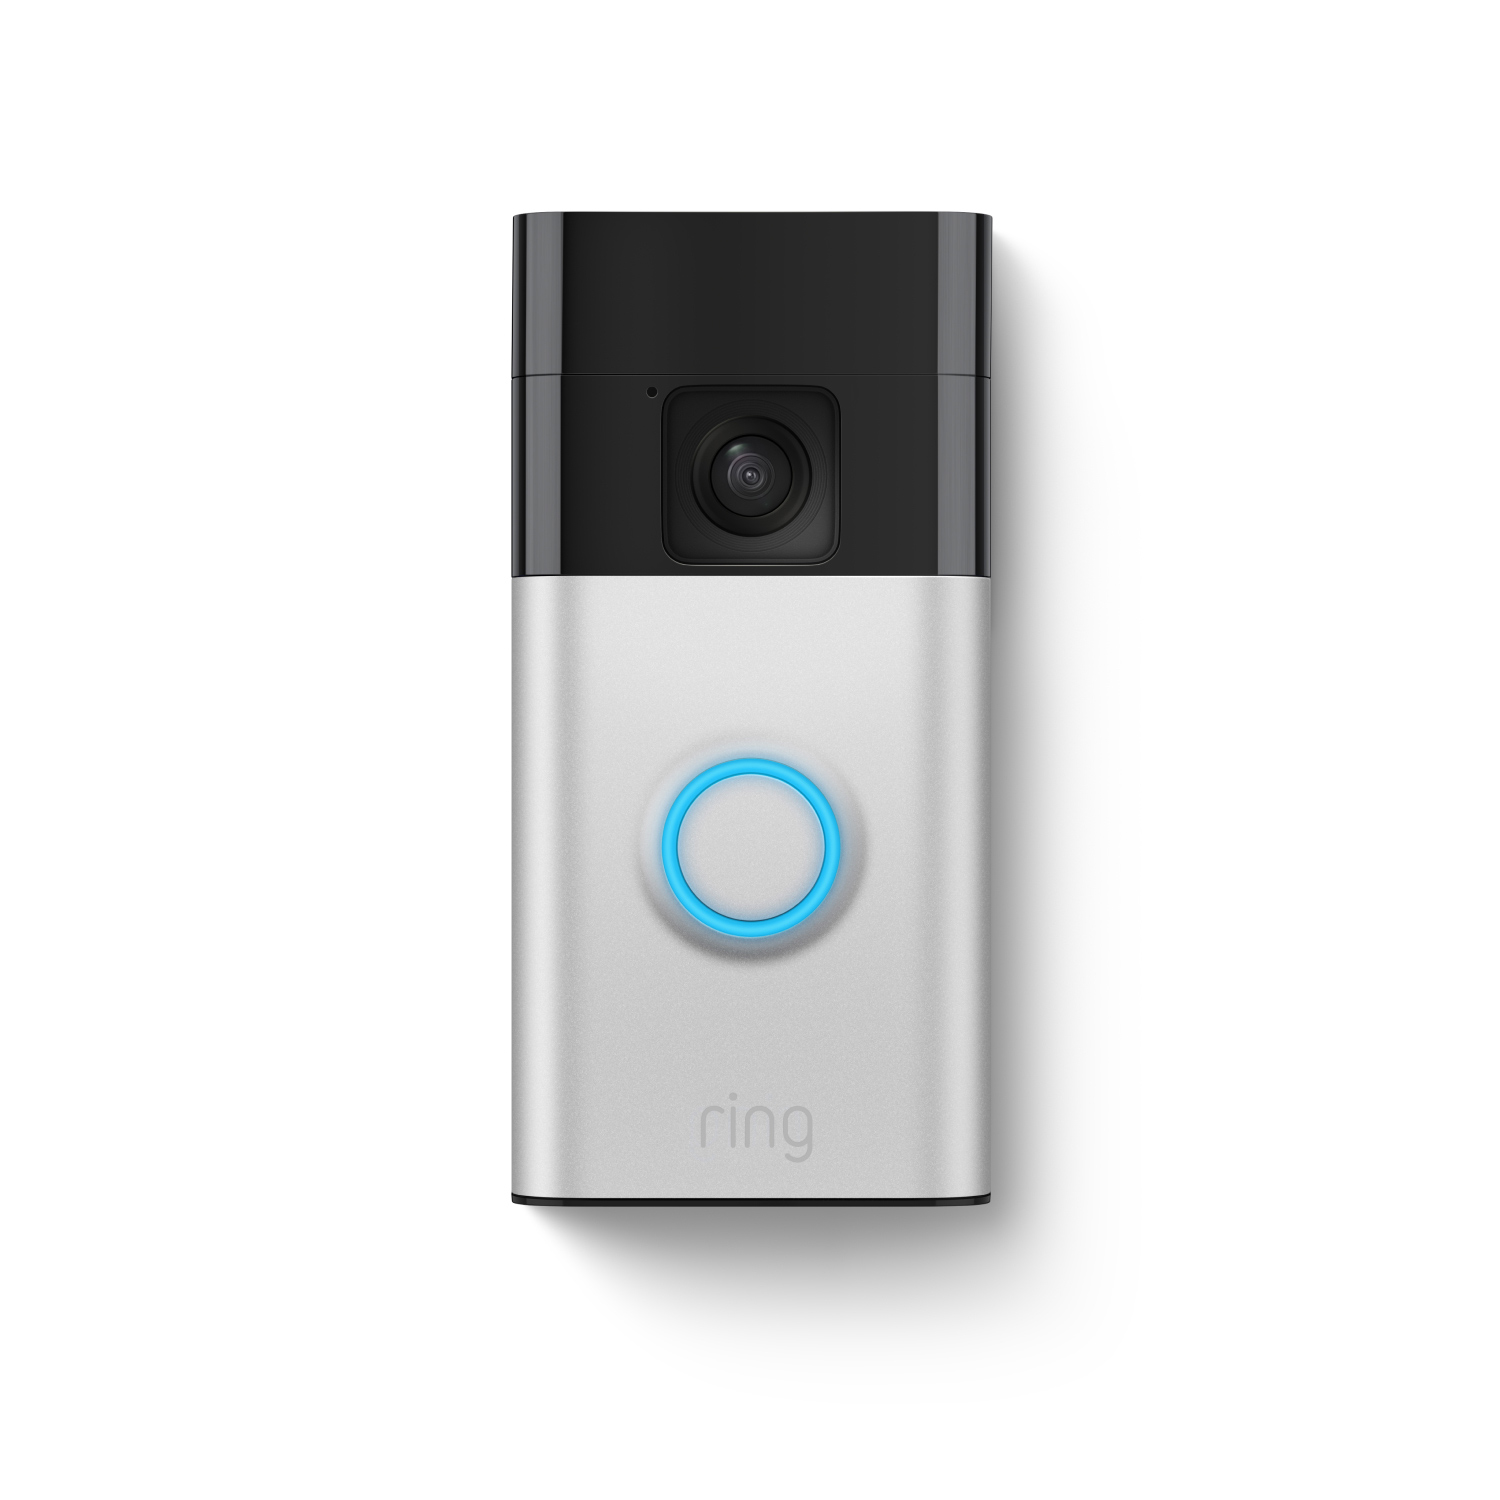
Credit: ring.com
Troubleshoot Common Issues
Troubleshooting common issues helps keep your video doorbell working well. Problems with the cell number change can stop your device from connecting. Fixing these issues is often simple and quick.
Sim Card Not Recognized
Check if the SIM card is inserted correctly. Remove the card and reinsert it gently.
Clean the SIM card and slot to remove dust or dirt. Use a soft cloth carefully.
Try the SIM card in another device to see if it works. This helps find if the problem is with the SIM or doorbell.
Restart the video doorbell after reinserting the SIM card. This can refresh the system and solve recognition problems.
Network Connectivity Problems
Make sure your SIM card has active data and signal strength. No signal means no connection.
Move the doorbell to a place with better network coverage. Walls and metal objects can block signals.
Restart your video doorbell and your router if using Wi-Fi. This fixes many network glitches.
Check the doorbell’s network settings to ensure correct APN details. Wrong settings cause connection failure.
Frequently Asked Questions
How Do I Update The Cell Number On My Video Doorbell?
To update the cell number, access your doorbell’s app settings. Locate the phone number section, delete the old number, and enter the new one. Save the changes to ensure notifications and alerts go to the updated number.
Can I Change The Cell Number Without Resetting The Doorbell?
Yes, you can change the cell number directly through the app without resetting the device. Go to the account or device settings and update your contact information. This method avoids disruption of your doorbell’s functionality.
Why Won’t My Video Doorbell Accept The New Cell Number?
Check that the new number is correctly formatted and active. Ensure you have a stable internet connection during the update. Restart the app or device if problems persist. Contact customer support if errors continue.
Will Changing The Cell Number Affect My Video Doorbell’s Recordings?
No, changing the cell number only updates contact info. Your doorbell’s recordings and stored footage remain intact. This update only affects where alerts and notifications are sent.
Conclusion
Changing the cell number for your video doorbell is simple and quick. Just follow the steps carefully to avoid mistakes. Keep your device connected to the right network for smooth operation. Regular updates help keep your doorbell working well. Now, you can stay secure and get notifications without trouble.
Take a moment to check your settings often. This small task can make a big difference in how your doorbell works. Easy, right?
