
Have your solar LED string lights stopped shining halfway down the line? It’s frustrating when your beautiful outdoor lights suddenly go dark, ruining the cozy atmosphere you worked hard to create.
But before you toss them out or buy new ones, there’s good news—you can often fix them yourself. You’ll discover simple, step-by-step ways to bring your broken solar LED string lights back to life. Keep reading, and you’ll be lighting up your space again in no time.

Credit: www.deezer.com
Common Causes Of Breaks
Solar LED string lights often break halfway due to several common reasons. Understanding these causes helps in fixing the problem quickly. Knowing what breaks the lights prevents future damage and extends their life.
Weather Damage
Sun, rain, wind, and cold affect solar string lights. Strong sunlight can fade wires and bulbs. Rain and moisture cause rust and short circuits. Wind can twist and pull wires apart. Cold temperatures make wires brittle and easy to snap.
Physical Impact
Accidental hits or drops harm the lights. Pets, kids, or tools may hit the wires. Pulling or stretching the string can break connections. Sharp objects can cut or puncture the wires. Rough handling during setup or storage causes damage.
Manufacturing Defects
Some lights break due to poor quality parts. Weak solder joints or thin wires break easily. Faulty bulbs or connectors fail to work properly. Low-quality plastic or rubber can crack fast. Defects may show up shortly after buying the lights.
Identifying The Break Point
Finding the exact spot where your solar LED string lights have broken is the first step to fix them. Identifying the break point saves time and helps you repair only the damaged section. This section explains three simple methods to find the problem area quickly.
Visual Inspection
Start by carefully looking along the entire string of lights. Check for any visible damage like cuts, frayed wires, or burnt spots. Sometimes, broken wires show clear signs of wear or corrosion. Look closely at the connections between bulbs. A loose or disconnected bulb can cause the lights to fail halfway.
Testing With A Multimeter
A multimeter measures electrical flow to find breaks in the circuit. Set your multimeter to the continuity or resistance setting. Touch the probes to each side of the wire sections. A reading of zero or near zero means the wire is good. A high or infinite reading shows a break. Test along the string in small sections to pinpoint the exact break location.
Using A Continuity Tester
A continuity tester is a simple tool to check if electricity flows through wires. Connect the tester’s leads to two points on the string lights. If the tester lights up or beeps, the wire is intact. No signal means a break is between those points. Move along the string, testing small parts until you find the break.
Gathering Repair Tools
Fixing solar LED string lights broken halfway requires the right tools. Without proper tools, repairs can be difficult and unsafe. Gathering the correct repair tools prepares you for the task. It saves time and helps achieve better results.
Essential Tools List
You need a few basic tools to start repairs on solar LED string lights. Wire cutters help trim damaged wires cleanly. A soldering iron reconnects broken wires securely. Electrical tape protects exposed wires and prevents shorts. A multimeter checks electrical connections and battery health. Small screwdrivers open battery compartments and tighten loose parts. Heat shrink tubing provides extra insulation for repaired sections.
Safety Gear Recommendations
Safety must come first during any electrical repair. Wear insulated gloves to avoid shocks. Safety glasses protect your eyes from sparks or debris. Work in a dry area to reduce risk of electric shock. Avoid loose clothing that might catch on tools or wires. Keep a fire extinguisher nearby for emergencies. These simple safety steps keep you safe and confident while fixing your lights.
Step-by-step Repair Process
Fixing solar LED string lights broken halfway down is easier than it seems. A clear, step-by-step repair process helps save money and keeps your lights shining. Follow these simple steps to bring your lights back to life quickly.
Removing Damaged Sections
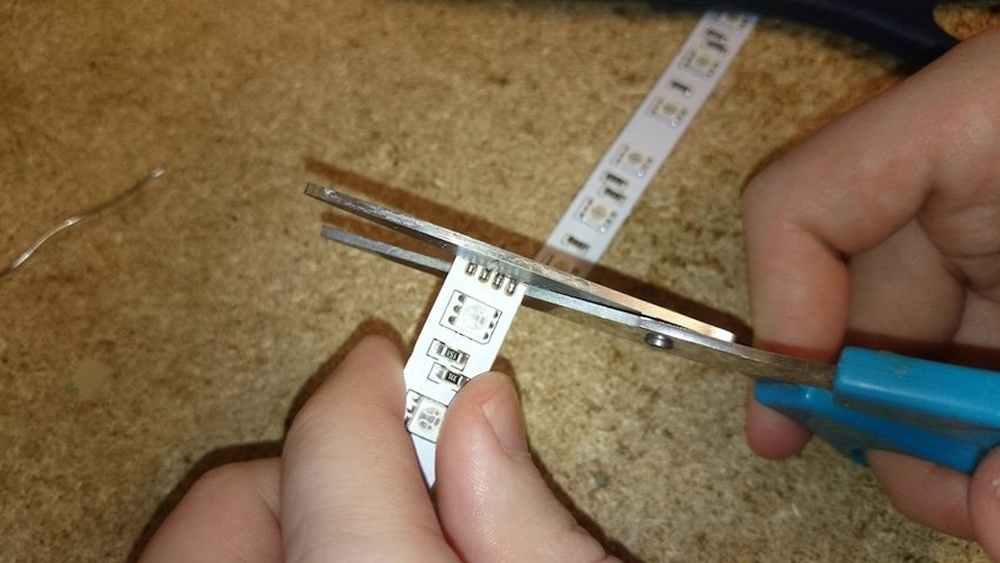
Start by unplugging the solar light string. Find the broken or damaged part carefully. Use scissors or wire cutters to remove the faulty section. Cut a little extra on each side to ensure clean wire ends. Dispose of the damaged piece safely.
Stripping And Preparing Wires
Use a wire stripper or a small knife to remove the plastic coating. Strip about one inch of insulation from both wire ends. Be gentle to avoid cutting the wire strands. Twist the exposed copper wires to keep them neat. This step prepares the wires for a strong connection.
Reconnecting Wires
Align the two stripped wire ends together. Twist the copper strands firmly to join them. Use wire nuts or electrical tape to secure the connection. Check that no bare wires are exposed. Proper reconnection ensures the lights will work again.
Sealing And Insulating Connections
Wrap the repaired area with waterproof electrical tape tightly. Make sure no metal parts are visible. This protects the wires from moisture and weather. For extra protection, use heat shrink tubing before wrapping tape. Sealing the connection extends the life of your lights.
Testing The Repaired Lights
After fixing your solar LED string lights, testing them is key. This step confirms if your repair works well. It helps find any hidden issues that need fixing. Proper testing saves time and effort later.
Testing also shows if the lights are safe to use. It ensures the full string shines bright and steady. Follow these steps to test your repaired solar LED lights.
Powering On
First, place the lights in direct sunlight to charge. Wait for at least six hours for a full charge. Then, turn on the switch if your lights have one. Some models turn on automatically in the dark.
Make sure the solar panel is clean and facing the sun. Dirt or shade can stop the lights from powering on. If the lights do not turn on, check your repair connections again.
Checking For Consistent Lighting
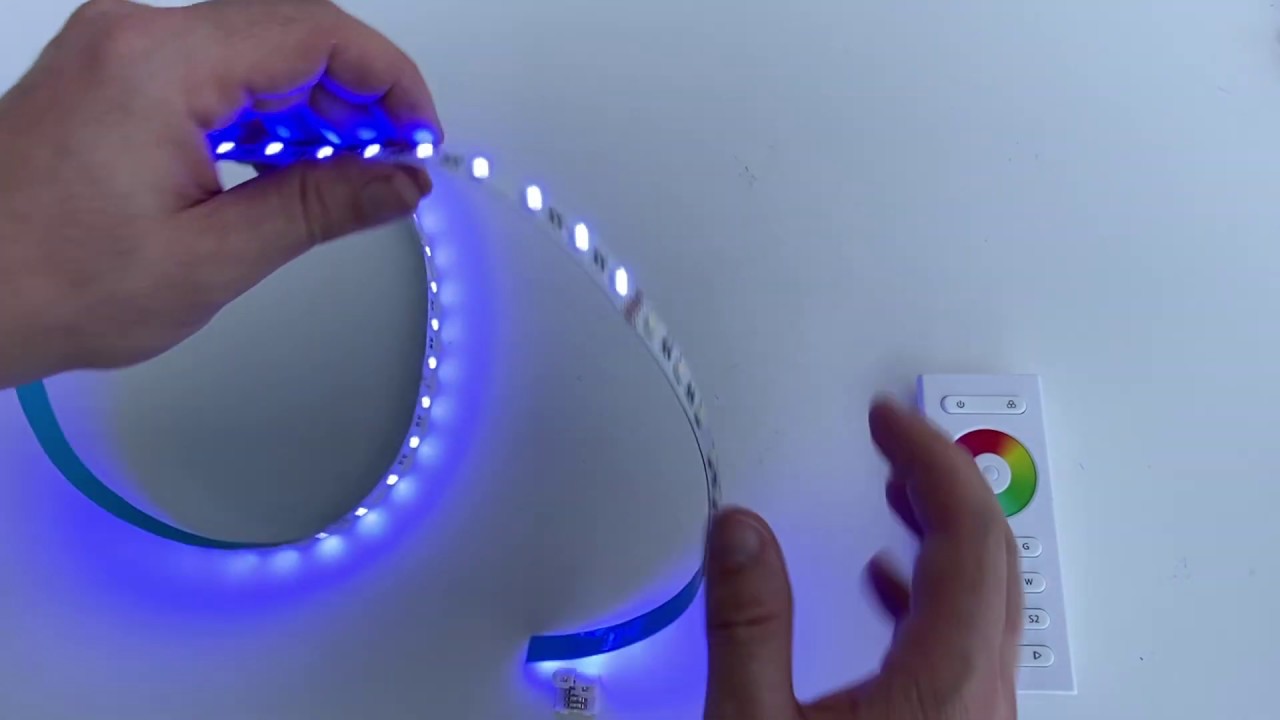
Look at the entire string to see if all bulbs light up. Each bulb should shine with the same brightness. Flickering or dim bulbs may mean loose wiring or a weak connection.
Move the lights slightly to check for unstable bulbs. Replace or re-solder any bad connections found. Consistent lighting proves your repair is strong and the lights work well.
Credit: www.youtube.com
Preventing Future Breaks
Preventing future breaks in solar LED string lights starts with careful attention to how you install and care for them. Small steps can stop damage and keep your lights shining longer. Protect the wiring and connections from stress and weather. Follow simple tips to avoid common problems.
Proper Installation Tips
Choose a strong, stable place to hang your lights. Avoid sharp edges that can cut wires. Use hooks or clips made for string lights. Space the lights evenly to reduce tension on the wires. Keep the solar panel in direct sunlight. This helps the battery charge fully and keeps lights bright.
Regular Maintenance Practices
Check your lights often for loose wires or dirt. Clean the solar panel to improve charging. Replace weak or broken bulbs quickly. Store lights indoors during heavy storms or winter. This stops damage from wind, rain, and cold. Regular care helps your lights last much longer.

Credit: www.lowes.com
Frequently Asked Questions
How Do I Identify The Broken Part In Solar Led String Lights?
Check the string for dark or unlit bulbs. Inspect wiring for visible damage. Use a multimeter to test connectivity and find the faulty section quickly.
Can I Repair Solar Led String Lights Myself?
Yes, simple repairs like reconnecting wires or replacing bulbs can be done at home. Use basic tools and follow safety precautions to fix the lights effectively.
What Tools Are Needed To Fix Solar Led String Lights?
You’ll need a multimeter, wire cutters, electrical tape, replacement bulbs, and possibly a soldering kit. These tools help diagnose and repair common solar string light issues.
Why Do Solar Led String Lights Stop Working Halfway?
Broken wiring, dead batteries, or damaged bulbs often cause this. Environmental factors like water damage or wear also contribute to partial failures in the string.
Conclusion
Fixing solar LED string lights broken halfway is simple and saves money. Check the wires carefully and replace any damaged parts. Clean the solar panel to keep lights bright. Test the battery and switch it if needed. Regular care helps your lights last longer.
Enjoy your beautiful, glowing outdoor space again. Small steps make a big difference. Keep your garden shining night after night.