Are you tired of constantly opening your gate every time your pet wants to go outside? Imagine giving your furry friend the freedom to come and go as they please, without you lifting a finger.
Modifying your gate with a pet door can make this possible—and it’s easier than you might think. In this guide, you’ll discover simple, step-by-step tips to add a pet door to your gate safely and securely. Keep reading to unlock the secret to hassle-free pet access and make your life a whole lot easier.
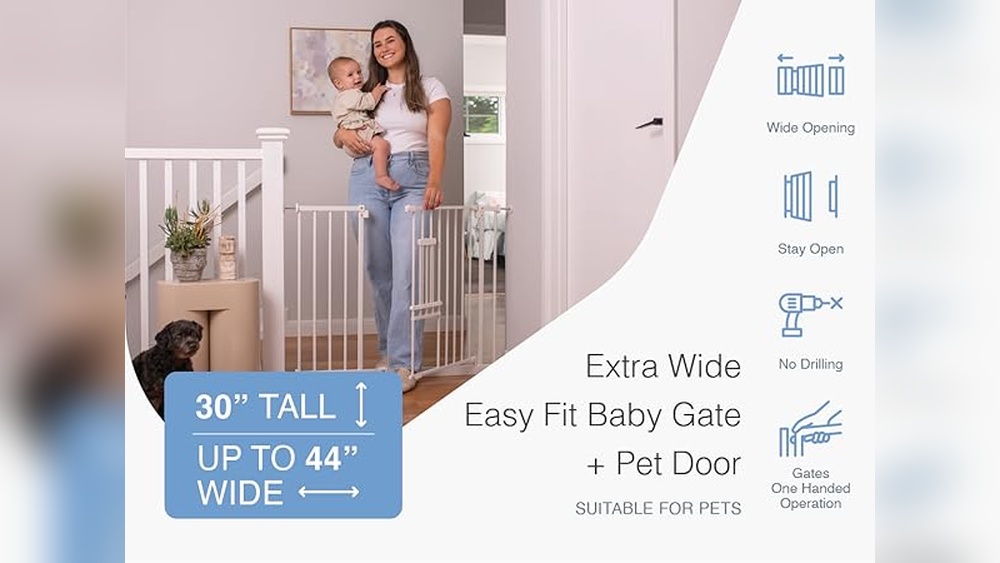
Choosing The Right Pet Door
Choosing the right pet door is key to a successful gate modification. It ensures your pet moves freely and stays safe. The right choice depends on your pet’s size, habits, and your gate’s material. This guide helps you pick the perfect pet door for your needs.
Types Of Pet Doors
There are several types of pet doors available. Manual flaps are simple and cost-effective. Electronic doors open only when your pet wears a special collar. Sliding doors fit well on glass gates. Each type suits different pets and gates.
Sizing Your Pet Door
Measure your pet’s height and width carefully. The door should be slightly bigger than your pet. Too small a door causes discomfort. Too large a door may reduce security. Proper sizing helps your pet pass through easily.
Materials And Durability
Pet doors come in plastic, metal, and wood. Plastic is lightweight and easy to clean. Metal offers strong protection and lasts longer. Wood matches wooden gates but may need more care. Choose materials that fit your gate and climate.
Tools And Materials Needed
Modifying a gate with a pet door needs the right tools and materials. Using proper tools makes the job safer and easier. It also helps you get clean, precise cuts and a perfect fit for the pet door.
Gathering all items before starting saves time and frustration. Here is a list of what you need for a smooth project.
Essential Tools
- Measuring tape – to get exact sizes
- Pencil – to mark cutting lines
- Jigsaw or handsaw – to cut the gate
- Drill with bits – to make holes and fix screws
- Screwdriver – to tighten screws
- Clamps – to hold the gate steady
- Safety glasses – to protect your eyes
- Work gloves – to protect your hands
Additional Supplies
- Pet door kit – includes the door and frame
- Sandpaper – to smooth rough edges
- Weatherstripping – to seal gaps around the door
- Wood filler – to fix any holes or gaps
- Paint or wood finish – to match the gate
- Screws and anchors – to secure the pet door
Preparing The Gate
Preparing the gate is the first step in adding a pet door. This stage ensures the pet door fits well and works properly. Proper preparation saves time and prevents mistakes during installation.
Measuring And Marking
Measure the pet’s height and width carefully. Mark the gate where the pet door will go. Use a pencil for clear, easy-to-change marks. Double-check measurements to avoid cutting errors. Accurate marking helps create a perfect fit for the pet door.
Safety Precautions
Wear safety goggles to protect your eyes. Use gloves to avoid splinters or cuts. Keep tools sharp and in good condition. Work in a well-lit area for better visibility. Follow all tool instructions to stay safe during cutting.

Credit: hik-kif.eu
Cutting The Gate
Cutting the gate is a key step in adding a pet door. It requires careful planning and precise work. The cut must fit the pet door perfectly to keep the gate strong and safe. Using the right tools and methods makes the job easier and cleaner. This section guides you through choosing the cutting method and the exact steps to follow.
Selecting The Cutting Method
Choose a cutting tool based on the gate material. For wooden gates, a jigsaw or handsaw works well. Metal gates need a metal-cutting saw or angle grinder. Plastic or vinyl gates suit a fine-toothed saw. Consider your skill level and tool availability. Safety is important. Use tools you can control easily. A clean cut helps the pet door fit tightly and stay secure.
Step-by-step Cutting Guide
First, measure your pet door and mark the gate. Use a pencil to draw the outline clearly. Double-check your measurements before cutting. Secure the gate firmly to prevent movement. Put on safety glasses and gloves. Start cutting along the marked lines slowly. Follow the outline carefully for a neat edge. Remove any rough spots with sandpaper. Test fit the pet door. Adjust the cut if needed. Ensure the pet door fits snugly without forcing it.
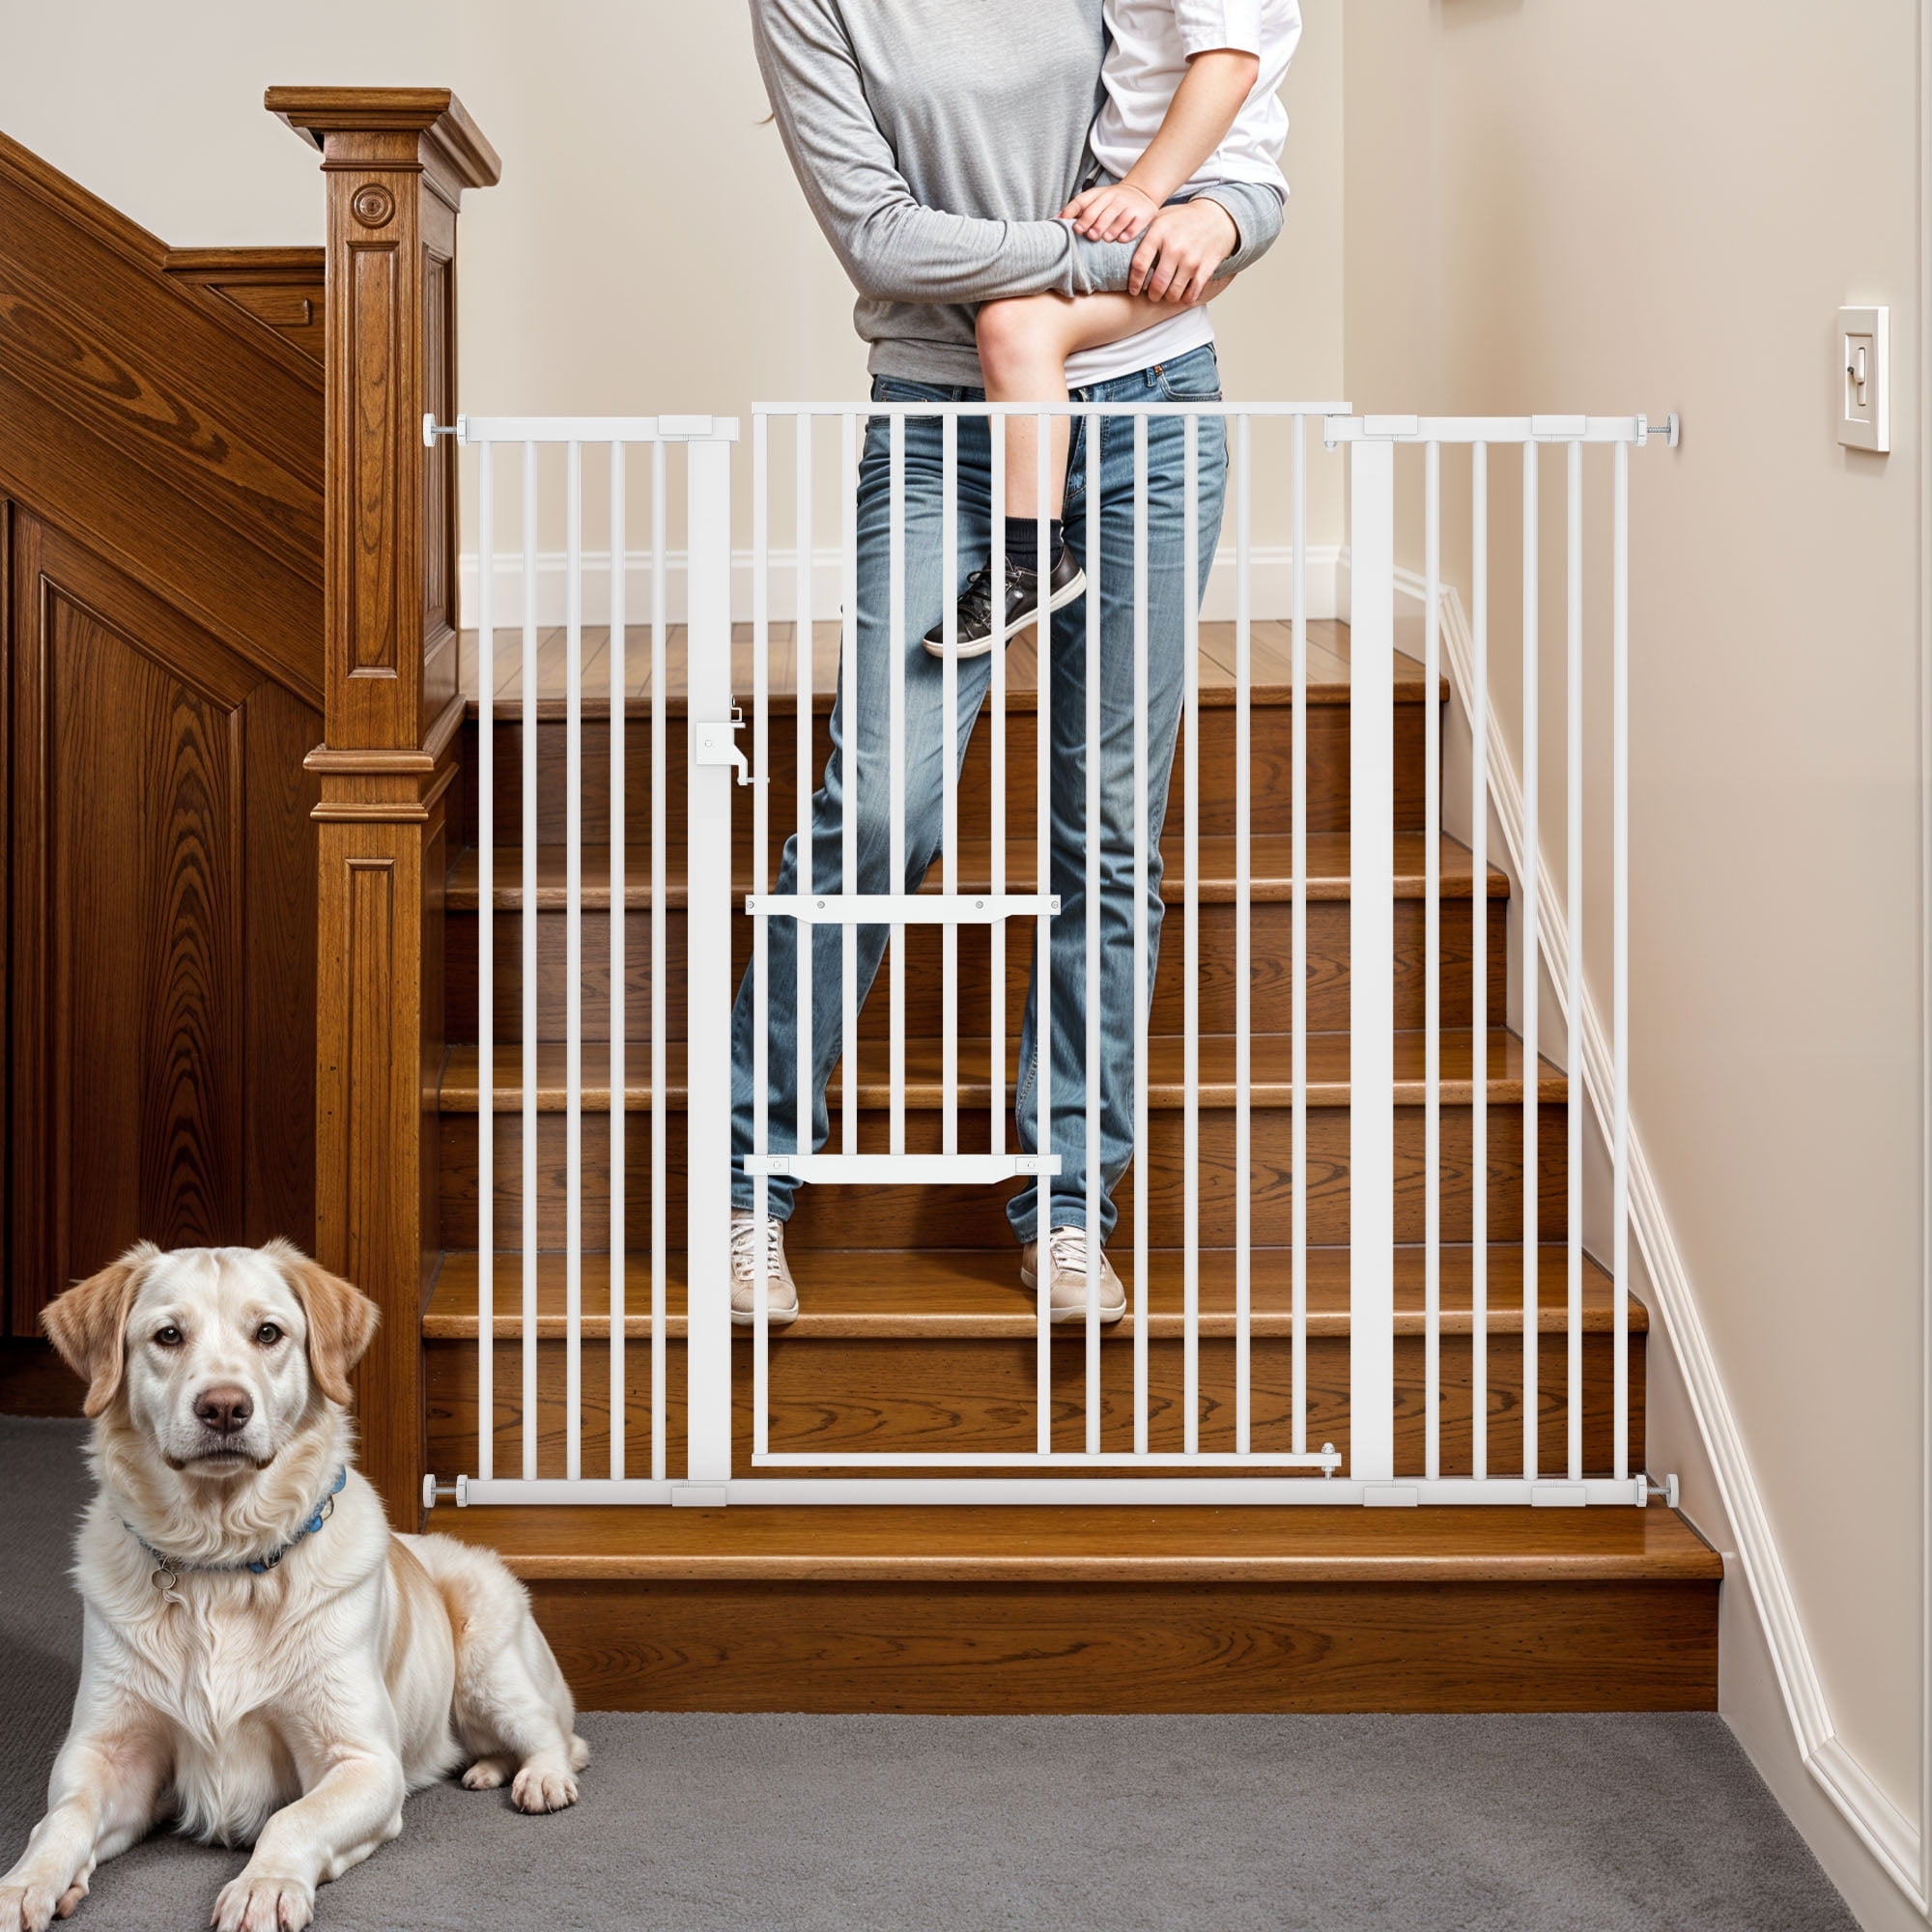
Installing The Pet Door
Installing a pet door in your gate allows your pet to move freely outside. It also keeps your gate secure and functional. Follow these steps carefully for a smooth installation.
Fitting The Door Frame
Start by measuring the pet door size and the gate opening. Mark the outline of the pet door on the gate. Use a drill to make starter holes at the corners. Cut along the outline with a jigsaw. Test fit the pet door frame into the cutout. Adjust the opening if needed for a snug fit.
Securing The Door
Place the pet door frame into the opening. Use screws to attach the frame to the gate. Make sure the screws are tight but do not crack the frame. Check the door flap moves freely without obstruction. Reinforce corners if the gate material is soft or thin.
Sealing And Finishing Touches
Apply waterproof sealant around the door frame edges. This prevents water from entering the gate. Smooth the sealant with a finger or tool for a clean finish. Paint or stain the gate to match the pet door frame. Let everything dry completely before use.
Training Your Pet To Use The Door
Training your pet to use the new pet door is important. It helps your pet feel safe and confident. This process takes time and patience. Pets learn by repeating actions and rewards. Your goal is to make the door a fun and easy way to go in and out.
Introducing The Door
Start by showing the pet door to your pet. Let them sniff and touch it. Keep the door open at first. This way, your pet can see through it. You can place treats near the door to attract your pet. Let them explore at their own pace. Never force your pet to use the door. Keep the mood calm and positive.
Encouragement Techniques
Use treats to guide your pet through the door. Call your pet gently while standing on the other side. Praise your pet loudly when they go through. Repeat this step several times a day. Use toys to make the door more interesting. Reward your pet with pets and kind words. Be patient. Learning takes time, but your pet will get it.
Maintenance And Troubleshooting
Maintaining a gate with a pet door is key to keeping it working well. Dirt, weather, and wear can cause problems. Regular care helps avoid damage and keeps your pet safe.
Knowing how to fix common issues saves time and effort. Troubleshooting lets you spot small problems before they grow. Simple steps can restore your gate’s function quickly.
Regular Cleaning Tips
Clean the pet door frame and flap often. Use a soft cloth and mild soap. Avoid harsh chemicals that can damage the materials. Remove dirt, hair, and debris from moving parts. Check hinges and locks for rust or buildup. Dry all parts well to prevent moisture damage. Clean the surrounding gate area to stop dirt from entering the pet door. Regular cleaning keeps the door smooth and easy to use.
Common Issues And Fixes
The pet door flap might get stuck or hard to move. Check for dirt or hair blocking the edges. Lubricate hinges with a small amount of oil. The lock or latch can become loose or jammed. Tighten screws and test the lock regularly. Flap seals may wear out and let in drafts. Replace worn seals to keep the door weather-tight. The gate itself might sag, affecting the pet door fit. Adjust or tighten hinges to fix sagging. Watch for cracks or splits in the gate material. Repair or replace damaged parts to maintain safety.

Credit: www.ebay.com
Credit: www.walmart.com
Frequently Asked Questions
How Do I Install A Pet Door In A Wooden Gate?
Measure the pet door size and mark the gate accordingly. Use a jigsaw to cut the opening. Secure the pet door frame with screws. Seal edges to prevent weather damage. Ensure the door swings freely for your pet’s easy access.
What Tools Are Needed To Modify A Gate With A Pet Door?
You will need a measuring tape, pencil, drill, jigsaw, screwdriver, and sealant. These tools help measure, cut, and install the pet door securely. Safety gear like gloves and goggles is also recommended for protection during installation.
Can I Install A Pet Door On Metal Or Vinyl Gates?
Yes, pet doors can be installed on metal or vinyl gates. Use appropriate cutting tools like a metal saw or rotary tool. Ensure the pet door frame matches the gate material for a secure fit. Follow manufacturer instructions for best results.
How To Ensure The Pet Door Is Secure And Weatherproof?
Use weather-resistant sealant around the pet door edges. Install a flap or cover to block wind and rain. Check screws and fittings regularly for tightness. Choose durable materials designed for outdoor use to keep your gate secure and weatherproof.
Conclusion
Modifying a gate with a pet door makes life easier for you and your pet. It lets your pet go outside safely and freely. The process is simple and does not take much time. Choose the right door size and follow the steps carefully.
Your pet will enjoy more freedom and comfort every day. A well-fitted pet door also keeps your home secure. Try this small change to improve your pet’s daily routine. Easy, practical, and worth the effort.