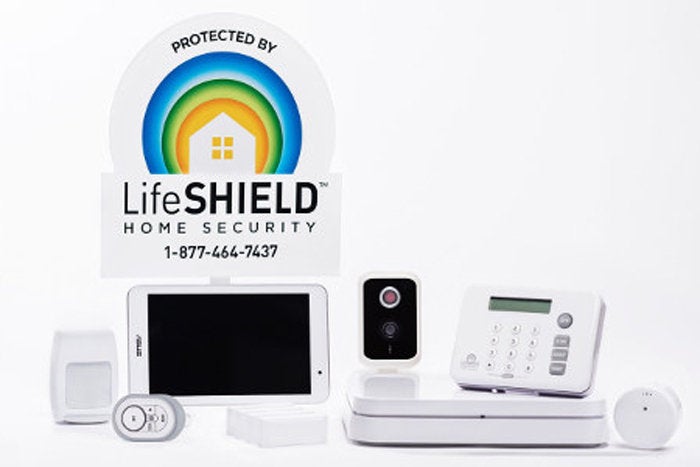
Are you ready to boost your home’s security with a Lifeshield Doorbell Video? Installing it might seem tricky, but don’t worry—you can do it yourself, step by step.
Imagine seeing who’s at your door from anywhere, anytime, right on your phone. In this guide, you’ll find simple instructions that make the installation quick and easy. Keep reading, and you’ll have your Lifeshield Doorbell Video up and running before you know it.
Your home deserves this upgrade, and you deserve the peace of mind that comes with it.
Credit: www.gearbrain.com
Preparing For Installation
Preparing for the installation of your Lifeshield Doorbell Video is important. This step ensures a smooth setup and better performance. Taking time to get ready helps avoid common problems. Follow these simple steps to get started.
Gathering Necessary Tools
Collect all tools before starting the installation. You will need a screwdriver, drill, and a level. A pencil helps mark spots on the wall. Having these tools ready saves time and frustration.
Checking Doorbell Compatibility
Make sure your doorbell system works with your home wiring. Check the voltage and wire type. Review the Lifeshield manual for compatibility details. This step prevents damage and ensures proper function.
Turning Off Power Supply
Safety first. Switch off the power to your current doorbell. Use the circuit breaker to cut power at the source. Double-check by pressing the doorbell button to confirm no power flows. This prevents electrical shock during installation.
Removing Existing Doorbell
Removing your existing doorbell is the first step to install the Lifeshield Doorbell Video. This step ensures a clean setup for your new device. It is important to handle the old doorbell carefully to avoid damage or injury.
Take your time and follow safety tips. This will help you remove the old doorbell smoothly and prepare the area for the new one.
Unscrewing Old Doorbell
Start by locating the screws holding your old doorbell in place. Use a screwdriver to loosen these screws. Keep the screws safe; you might need them later. Gently pull the doorbell from the wall once the screws are removed. Avoid pulling hard to prevent wire damage.
Disconnecting Wires Safely
Before touching wires, turn off the power at the circuit breaker. This step is very important for safety. Use a voltage tester to confirm the power is off. Carefully loosen the wire nuts or screws connecting the wires. Separate the wires gently without cutting them. Cap the wires with wire nuts for safety if needed.
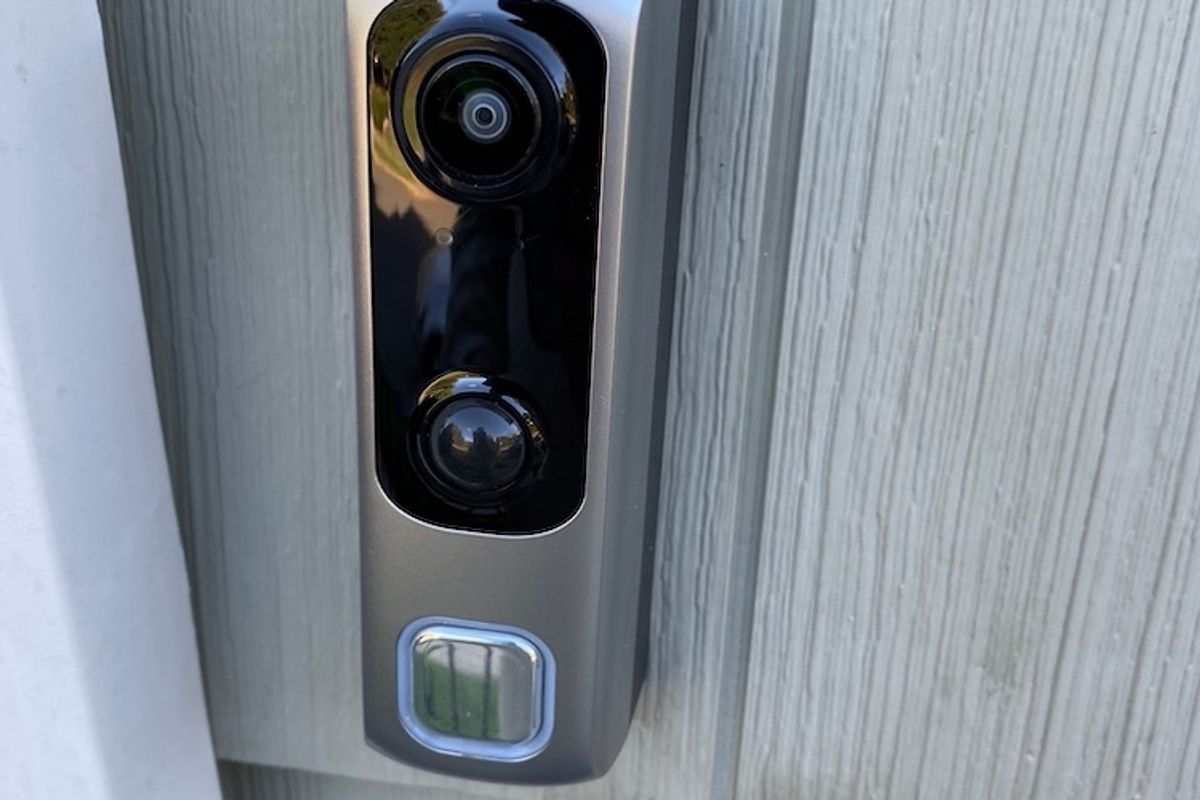
Installing Lifeshield Doorbell
Installing the Lifeshield Doorbell is simple and quick. This step-by-step guide helps you set up your new video doorbell easily. Follow each part carefully to ensure the device works properly.
Mounting The Doorbell Bracket
Start by choosing a good spot near your door. Use the provided screws and anchors to fix the mounting bracket on the wall. Make sure it is level and secure. A steady bracket keeps your doorbell safe and stable.
Connecting The Wires
Turn off the power to your existing doorbell circuit. Connect the wires from your home to the terminals on the back of the bracket. Tighten the screws to hold the wires firmly. Check that no bare wire is showing to avoid shorts.
Attaching The Doorbell Unit
Place the Lifeshield Doorbell onto the mounted bracket. Press it gently until it clicks into place. Test the fit by lightly pulling to confirm it is secure. Restore power and check the doorbell functions correctly.
Setting Up The Device
Setting up your Lifeshield Doorbell Video is simple and quick. Follow clear steps to get your device ready. This section helps you connect and configure your doorbell.
Downloading The Lifeshield App
Start by downloading the Lifeshield app from your phone’s app store. It works on both Android and iOS devices. Search for “Lifeshield” and tap download. The app controls your doorbell and shows video alerts.
Connecting To Wi-fi
Open the Lifeshield app and follow the setup guide. Choose your home Wi-Fi network from the list. Enter your Wi-Fi password carefully. The doorbell needs a strong Wi-Fi signal for clear video streaming.
Configuring Settings
After connecting, adjust the doorbell settings in the app. Set motion detection sensitivity to avoid false alerts. Enable notifications to get instant updates on your phone. Customize video quality for smooth live view and recording.
Testing The Doorbell
Testing the Lifeshield Doorbell Video is a key step after installation. It ensures everything works correctly. This step helps avoid problems later. It confirms the video, audio, motion detection, and chime function as they should. Let’s review how to test each part carefully.
Checking Video And Audio
Start by pressing the doorbell button. Watch the live video feed on your phone or device. Check the video quality. Is the picture clear and sharp? Listen to the audio. Can you hear any sounds outside clearly? Speak through the doorbell’s two-way audio. Make sure your voice comes through loud and clear.
Verifying Motion Detection
Walk near the doorbell to test motion detection. Check if the device sends alerts to your phone. Try different distances and angles. This confirms the sensor covers the area well. Adjust the sensitivity settings if needed. The goal is to catch all visitors without too many false alarms.
Ensuring Doorbell Chime Works
Press the doorbell button again. Listen for the chime inside your home. Make sure it rings clearly and at a good volume. If you have multiple chimes, check each one. Confirm the sound stops promptly after ringing. This step guarantees you won’t miss any visitors.
Credit: mdecor.com.br
Troubleshooting Common Issues
Installing the Lifeshield Doorbell Video usually goes smoothly. Sometimes, small issues may stop it from working right. Knowing how to fix common problems helps save time and frustration. This guide covers simple fixes for typical issues during installation.
Wi-fi Connectivity Problems
Strong Wi-Fi is key for the doorbell to work well. Check if the doorbell is near your router. Walls and distance can weaken the signal. Restart your router to refresh the connection. Make sure you enter the right Wi-Fi password during setup. Avoid using guest networks or public Wi-Fi for the doorbell.
Power Supply Issues
The doorbell needs steady power to operate. Verify the doorbell is connected to the existing doorbell wiring. Use the right transformer that matches Lifeshield’s requirements. If battery-powered, charge the battery fully before installation. Look for loose wires or damaged cables. Replace any faulty parts to maintain power flow.
App Setup Errors
The Lifeshield app guides the installation process. Ensure your phone’s Bluetooth and location services are on. Check the app version and update it if needed. Follow each app step carefully during setup. Clear the app cache or reinstall the app if errors continue. Restart your phone to fix minor software glitches.
Maintenance Tips
Proper maintenance keeps your Lifeshield Doorbell Video working well. Regular care helps the device last longer and capture clear video. Follow these simple tips to maintain your doorbell and enjoy smooth performance every day.
Cleaning The Camera Lens
Wipe the lens gently with a soft, dry cloth. Dirt or smudges can blur the video quality. Avoid harsh chemicals that might damage the lens. Clean the lens once a week or after bad weather.
Updating Firmware
Check for firmware updates regularly through the app. Updates fix bugs and improve features. Install new versions promptly to keep your doorbell secure and efficient. A quick update takes just a few minutes.
Battery Replacement Guidelines
Replace the battery when the app shows low power. Use only the recommended battery type. Turn off the doorbell before changing the battery. Dispose of old batteries safely at recycling centers.
Credit: aquisefaladesantos.com.br
Frequently Asked Questions
How Do I Install Lifeshield Doorbell Video?
To install Lifeshield Doorbell Video, first turn off power at the breaker. Remove the old doorbell and connect wires to the new unit. Mount the doorbell, restore power, and complete setup via the Lifeshield app for video and notifications.
What Tools Are Needed For Installation?
You will need a screwdriver, drill, voltage tester, and mounting screws. A level and wire stripper may also help for precise installation and safe wiring connections.
Can I Install Lifeshield Doorbell Video Myself?
Yes, Lifeshield Doorbell Video is designed for easy DIY installation. Follow the step-by-step instructions carefully and ensure power is off for safety.
How Do I Connect Lifeshield Doorbell To Wi-fi?
After physical installation, open the Lifeshield app. Follow prompts to connect the doorbell to your home Wi-Fi network. Ensure strong Wi-Fi signal near the doorbell for best performance.
Conclusion
Installing the Lifeshield Doorbell Video is simple and quick. Follow each step carefully for best results. Test your doorbell after installation to ensure it works well. Enjoy better home security and clear video right at your door. Stay safe and feel confident with this easy upgrade.
Keep your setup updated for smooth performance. Your home deserves this smart and helpful device.