Are you ready to transform your outdoor space with a warm, inviting glow? Installing LED string lights outside is one of the easiest and most effective ways to brighten up your garden, patio, or balcony.
But if you’re worried about complicated setups or unsure where to start, don’t worry—you’re in the right place. In this guide, you’ll discover simple, step-by-step instructions to install your LED string lights safely and beautifully. By the end, you’ll have the know-how to create a cozy atmosphere that friends and family will love.
Let’s get started!
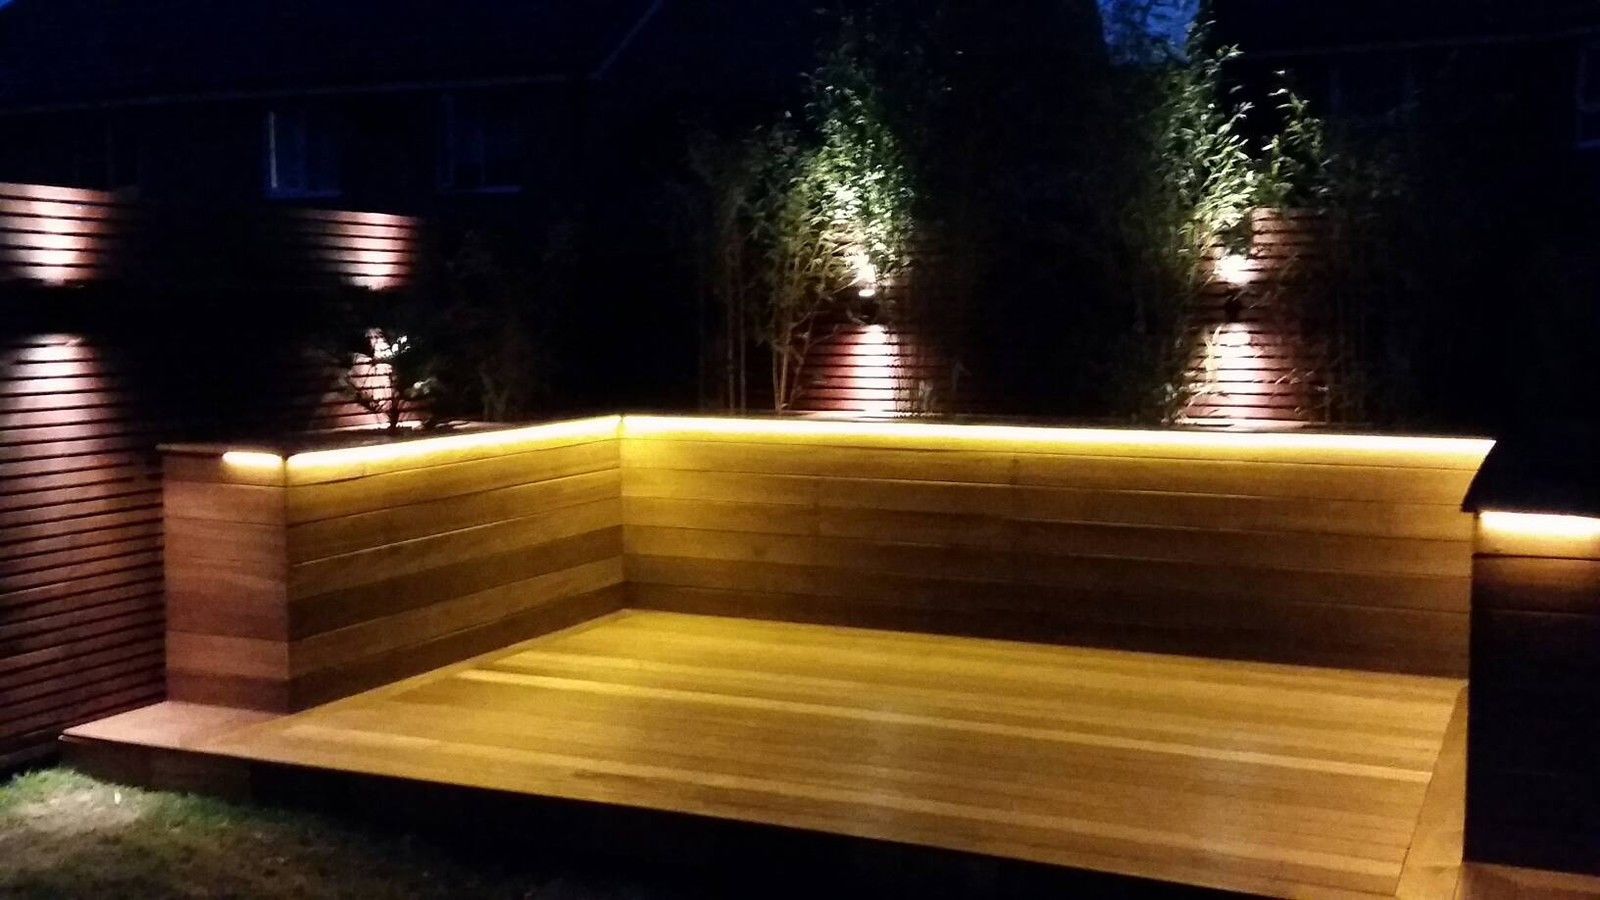
Credit: www.lumarysmart.com
Choosing The Right Led String Lights
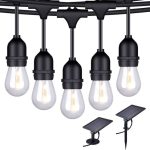
Choosing the right LED string lights makes a big difference in your outdoor space. The right lights brighten your area safely and beautifully. Picking the right type, durability, and size ensures your lights look great and last long. This guide helps you choose LED string lights that fit your needs perfectly.
Types Of Led String Lights
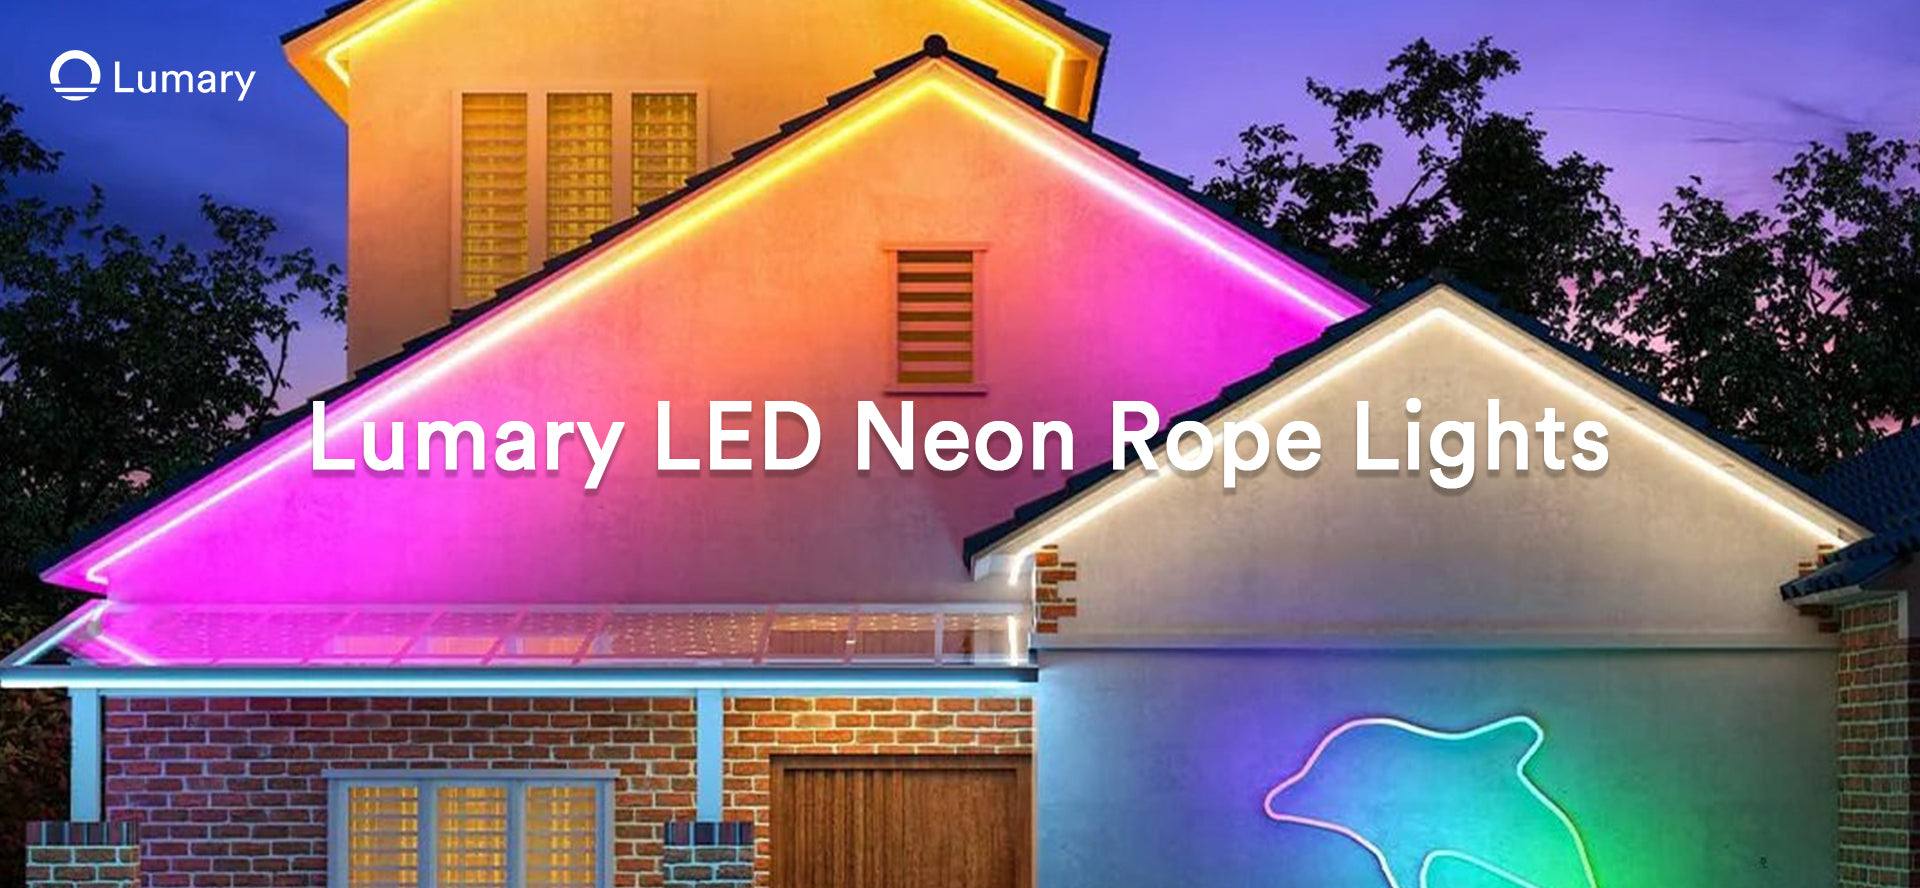
There are many types of LED string lights. Some have small bulbs, others have large globe bulbs. Some lights are classic white, while others come in colors. Choose based on the look you want. Some lights have steady glow, and some blink or change colors. Pick the style that fits your outdoor theme.
Weatherproof Features
Outdoor lights must handle rain, wind, and sun. Look for waterproof or weatherproof labels. Lights with sealed bulbs and strong wiring last longer outside. Check the IP rating to know how well lights resist water and dust. Higher IP ratings mean better protection. Good weatherproof lights keep shining through all seasons.
Length And Bulb Spacing
Consider how much area you want to cover. String lights come in different lengths. Longer strings cover bigger spaces without many plugs. Bulb spacing matters too. Close bulbs create a bright, dense look. Wider spacing offers softer, spread-out light. Measure your space before buying. Choose length and spacing that fit your setup well.
Gathering Necessary Tools And Materials
Gathering all the right tools and materials before starting your outdoor LED string lights installation is very important. It saves time and helps avoid mistakes. You will need items that match your space and lighting style.
Knowing what to prepare makes the process smooth and safe. This section covers the key materials and safety gear required. It also explains power source options for your setup.
Mounting Hardware Options
Select mounting hardware based on your outdoor surfaces. For wood, use nails or hooks. For brick or concrete, use masonry screws or anchors. Plastic clips and zip ties work well for securing wires to gutters or railings. Choose hardware that holds the lights firmly but won’t damage surfaces.
Safety Gear
Wear gloves to protect your hands from sharp edges and splinters. Safety glasses keep debris away from your eyes. Use a sturdy ladder to reach high places safely. Check the ladder on flat ground before climbing. Avoid working in wet conditions to prevent slips and electrical hazards.
Power Source Considerations
Decide if you want plug-in or solar-powered string lights. Plug-in lights need outdoor-rated extension cords and a nearby outlet. Use ground-fault circuit interrupter (GFCI) outlets for safety. Solar lights work well in sunny areas and need no wiring. Choose based on your location and convenience.
Planning The Installation Layout
Planning the installation layout is the first step to a successful outdoor LED string light setup. Good planning helps you avoid problems later. It saves time and materials. This step makes sure your lights look great and work well.
Measuring The Area
Start by measuring the space where you want to hang the lights. Use a tape measure to get accurate lengths. Measure walls, fences, or trees carefully. Write down all measurements. These numbers help you buy the right amount of string lights. Avoid guessing the size to prevent extra costs or shortages.
Designing The Light Pattern
Think about how you want the lights to look. Do you want a straight line or zigzag? You can also create shapes or wrap lights around objects. Sketch your design on paper. This plan guides your installation and makes it easier to follow. Simple patterns usually take less time and need fewer lights.
Identifying Power Outlet Locations
Find the nearest power sources to your installation area. Check outdoor outlets for safety and convenience. Make sure the outlets are weatherproof or use covers. Note their locations on your design. This step helps decide where to start and end your string lights. Use outdoor-rated extension cords if needed.
Credit: www.birddogdistributing.com
Preparing The Installation Site
Preparing the installation site is the first step for outdoor LED string lights. This step helps ensure safety and a neat final look. A well-prepared area makes the installation easier and extends the lights’ life. Take time to prepare the space before starting to hang the lights.
Cleaning Surfaces
Clean the surfaces where you will attach the lights. Dirt and dust can stop the lights from sticking well. Use a cloth and mild soap to wipe down walls, fences, or tree branches. Let the surfaces dry completely before you start hanging the lights. Clean surfaces help the hooks and clips hold better.
Checking For Obstacles
Look for obstacles in the area. Branches, wires, or other objects can block or damage the lights. Remove or avoid these obstacles to keep the lights safe. Clear paths also help the lights shine evenly. Make sure nothing will fall on or tangle with the string lights.
Ensuring Safe Access
Plan how to reach the installation points safely. Use a sturdy ladder or step stool if needed. Avoid standing on unstable objects or slippery ground. Keep the area clear of tools and debris to prevent accidents. Safe access helps you install the lights without injury or damage.
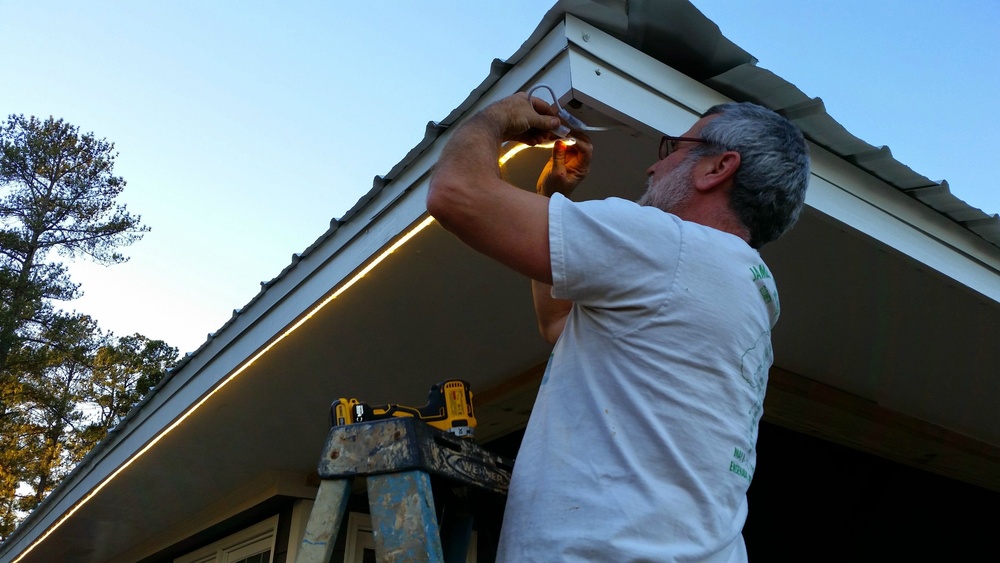
Step-by-step Installation Guide
Installing LED string lights outdoors can transform any space. It creates a warm, inviting atmosphere perfect for evenings. Follow these simple steps for a safe and secure setup. The guide below breaks down the process clearly.
Mounting The Lights Securely
Start by choosing the right spots to hang your lights. Use hooks or clips made for outdoor use. Space them evenly to avoid sagging. Make sure the string is tight but not stretched. Avoid sharp edges that can damage the wires. Check that the lights hang where they won’t be bumped or pulled.
Connecting To Power Safely
Use outdoor-rated extension cords and plugs. Keep all connections off the ground to avoid water contact. Plug the lights into a ground-fault circuit interrupter (GFCI) outlet. This protects against electrical shocks. Make sure the power source is close enough to avoid stretching cords. Always check cords and plugs for damage before use.
Testing The Lights
After mounting and connecting, turn the lights on. Check for any bulbs that do not light up. Replace or tighten loose bulbs as needed. Walk along the string to ensure all sections glow evenly. Confirm there are no flickering or dark spots. Testing early helps avoid problems later.
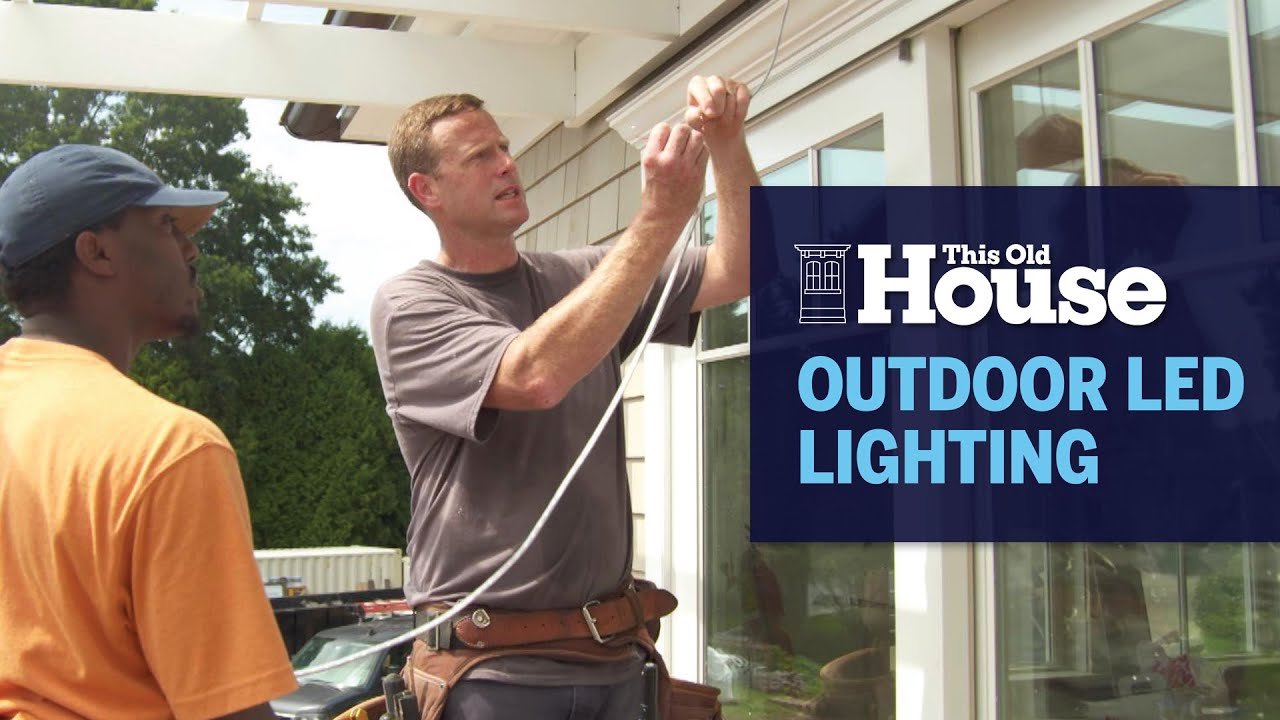
Credit: www.youtube.com
Maintenance And Safety Tips
Maintaining and using LED string lights outdoors safely helps them last longer. Proper care keeps your lights bright and avoids accidents. Follow these tips to protect your investment and enjoy your lighting setup.
Regular Inspection
Check your LED string lights before each use. Look for broken bulbs, frayed wires, or loose connections. Replace damaged parts immediately. Clean dirt and debris gently to keep lights shining well. Regular checks prevent electrical problems and hazards.
Protecting Against Weather Damage
Use weatherproof lights designed for outdoor use. Avoid placing lights where water can pool or drip. Secure lights tightly to prevent wind damage. Cover plugs and connectors with waterproof tape or covers. Weather protection stops shorts and extends light life.
Safe Storage During Off-season
Unplug and remove lights carefully after use. Coil lights loosely to avoid tangling or wire breaks. Store in a dry, cool place away from direct sunlight. Use a storage box or bag to keep dust and pests out. Proper storage keeps lights ready for next season.
Frequently Asked Questions
How Do I Install Led String Lights Outdoors Safely?
Use waterproof LED string lights and outdoor-rated extension cords. Secure lights with clips or hooks, avoiding nails. Keep connections off the ground and protected from rain.
What Tools Are Needed To Install Outdoor Led String Lights?
You need outdoor-rated extension cords, mounting clips or hooks, a ladder, and a power source. Optional tools include zip ties and a drill for secure installation.
Can Led String Lights Withstand Outdoor Weather Conditions?
Yes, outdoor LED string lights are designed to resist water, wind, and UV exposure. Choose lights with an IP65 rating or higher for better weather resistance.
How Far Apart Should Outdoor Led String Lights Be Spaced?
Spacing depends on the desired brightness and area size. Typically, place bulbs 6 to 12 inches apart for even lighting and aesthetic appeal.
Conclusion
Installing LED string lights outdoors adds charm and warmth to any space. Start with a clear plan and choose safe, weatherproof lights. Secure the lights firmly to avoid damage from wind or rain. Connect to a power source carefully, following safety rules.
Enjoy the cozy, inviting atmosphere these lights create. Outdoor lighting makes evenings more pleasant and fun. Small effort, big impact. Brighten your outdoor area with ease and style.