Are you tired of constantly opening the door for your pet or worrying about them scratching at the screen? Installing a Magnador pet door in your screen can give your furry friend the freedom they crave while keeping your home secure and bug-free.
This simple upgrade can save you time and frustration every day. In this guide, you’ll learn exactly how to install a Magnador pet door quickly and easily—even if you’ve never done a project like this before. Keep reading, and by the end, you’ll have the confidence to give your pet the perfect entrance and exit they deserve.
Choosing The Right Magnador Pet Door
Choosing the right Magnador pet door is key for easy installation and pet comfort. It ensures your pet can move freely without any trouble. Picking the right door size and type will make your screen door strong and safe.
Measuring Your Pet
Start by measuring your pet’s height and width. Measure from the floor to their shoulders for height. For width, measure the widest part of their body. These numbers help pick a door that fits well.
Make sure your pet can pass comfortably. The door should not be too small or too big. A good fit avoids injury and keeps your pet happy.
Selecting The Door Size
Choose a door size based on your pet’s measurements. Magnador offers several sizes for small, medium, and large pets. Use the size chart to match your pet’s height and width.
Pick a size that gives a little extra room. This helps your pet move easily. A well-sized door reduces scratches and damage to the screen.
Types Of Screen Compatibility
Magnador pet doors work with many screen types. Check if your screen is fiberglass, aluminum, or vinyl. Each type may need a different installation approach.
Some doors fit better on certain screens. Confirm the door matches your screen material for a strong hold. This prevents damage and keeps your door secure.
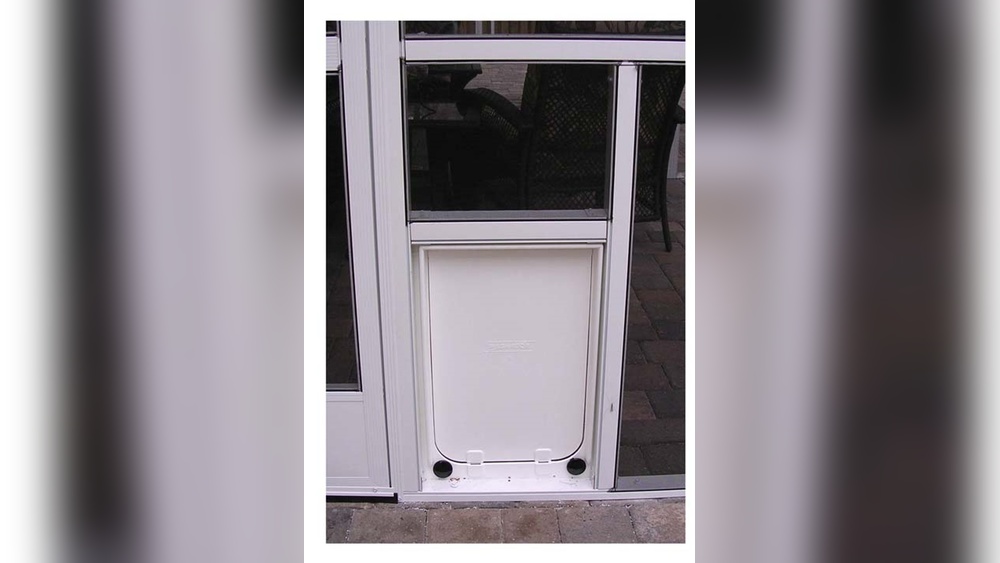
Credit: www.pcaproducts.com
Gathering Tools And Materials
Before installing a Magnador pet door in your screen, gather all needed tools and materials. Having everything ready makes the process faster and easier. It helps avoid interruptions and frustration. Prepare a clean workspace and check each item carefully.
Essential Tools Needed
- Screwdriver (Phillips and flathead) for screws and adjustments
- Measuring tape to measure screen and door frame
- Utility knife to cut the screen carefully
- Drill with drill bits for making holes
- Marker or pencil to mark cutting lines
- Pliers for gripping and bending metal parts
Additional Supplies
- Replacement screen mesh if the original gets damaged
- Extra screws in case some get lost or stripped
- Sandpaper to smooth rough edges after cutting
- Work gloves to protect your hands during installation
- Cleaning cloth to wipe down surfaces before and after work
Preparing The Screen Door
Preparing the screen door is the first step to install your Magnador pet door. It helps make sure the pet door fits well and works properly. Careful preparation protects your screen from damage during installation.
Follow simple steps to get the screen ready for the pet door. Start by removing the screen from the door frame. Then, mark the exact area to cut for the pet door.
Removing The Screen
Take the screen door off its frame carefully. Lay it flat on a clean surface to avoid damage. Use a flat tool to remove the spline holding the screen tight. Pull the screen out slowly to keep it intact. Set the screen aside safely for later use.
Marking The Cut Area
Place the pet door template on the screen where you want it. Check the height and position to suit your pet’s needs. Use a pencil to trace the outline of the template on the screen. Double-check the marks for accuracy. This step ensures a perfect fit for the pet door.
Cutting The Screen
Cutting the screen is a key step in installing a Magnador pet door. It requires care and accuracy to make sure the door fits well. A clean cut helps keep the screen strong and prevents damage during use. Taking time at this step saves effort later and ensures your pet door works smoothly.
Safe Cutting Techniques
Start by marking the cut area on the screen clearly. Use a ruler or measuring tape for exact lines. Wear gloves to protect your hands from sharp edges. Use a sharp utility knife or strong scissors for cutting. Cut slowly and steadily to avoid tearing the screen. Keep fingers away from the blade path. Work on a flat surface to keep control. Check the cut edges often to stay on track.
Ensuring Clean Edges
After cutting, clean the edges with fine sandpaper or a nail file. This smooths rough parts and stops fraying. Use a damp cloth to wipe away loose fibers or dust. Check the screen for any small tears or holes. Fix small damage with screen repair tape or patches. Clean edges help the pet door seal tightly. They also make the screen last longer and look neat.
Installing The Magnador Frame
Installing the Magnador frame is the first step to adding a pet door to your screen. The frame holds the pet door securely in place. It fits into the screen door without damaging it. The process is quick and does not need special tools. Follow these steps carefully to ensure a good fit and strong hold.
Attaching The Frame To The Screen
Start by placing the Magnador frame on the screen door. Align it with the hole cut for the pet door. Make sure the frame edges match the screen edges. Press the frame gently but firmly against the screen. This keeps the frame steady during the next steps. Check that the screen fabric fits inside the frame groove evenly. Smooth out any wrinkles or folds for a neat look.
Securing With Hardware
Use the screws and clips provided to fasten the frame. Insert screws through the frame holes into the screen door frame. Tighten each screw just enough to hold the frame firmly. Avoid overtightening, which can damage the screen or frame. Attach clips at the corners for extra stability. These clips lock the frame in place and prevent movement. Double-check all screws and clips to ensure the frame is secure.
Fitting The Pet Door Flap
Fitting the pet door flap is a key step in installing a Magnador pet door in your screen. This part lets your pet move in and out easily. Proper fitting ensures the flap swings smoothly and seals well to keep bugs out.
Take your time to fit the flap correctly. A well-aligned flap lasts longer and works better. Let’s focus on aligning the flap and testing its movement.
Aligning The Flap
Hold the flap in the frame carefully. Check that it sits straight and level. The bottom edge should not touch the screen or frame. Adjust the flap so it hangs evenly without leaning to one side.
Use the screws provided to fix the flap in place. Tighten them just enough to keep the flap steady. Avoid over-tightening, which can warp the flap or frame.
Testing Movement
Push the flap gently to see if it swings open smoothly. It should move freely with little effort. Let go and watch the flap close fully without sticking.
Check from both inside and outside. The flap must seal well to block bugs and wind. Repeat adjustments if the flap sticks or does not close properly.
Reinstalling The Screen Door
Reinstalling the screen door is the final step in adding a Magnador pet door. It protects your home from bugs and keeps your pet safe inside. This step needs care to ensure the screen fits well and works properly.
Placing The Screen Back
Start by lifting the screen door carefully. Align it with the door frame. Make sure the pet door flap is not in the way. Gently set the screen back onto the frame. Check if the edges fit snugly. Press the screen firmly into place. Use a screwdriver if your door uses screws. Tighten all screws to hold the screen firmly. Avoid bending or stretching the screen material.
Final Adjustments
Look over the screen door to find any gaps. Adjust the screen to close all openings. Check the pet door flap for smooth movement. Open and close the pet door a few times. Make sure the screen door opens without sticking. Fix any loose parts before finishing. A well-fitted screen door keeps bugs out and pets safe.

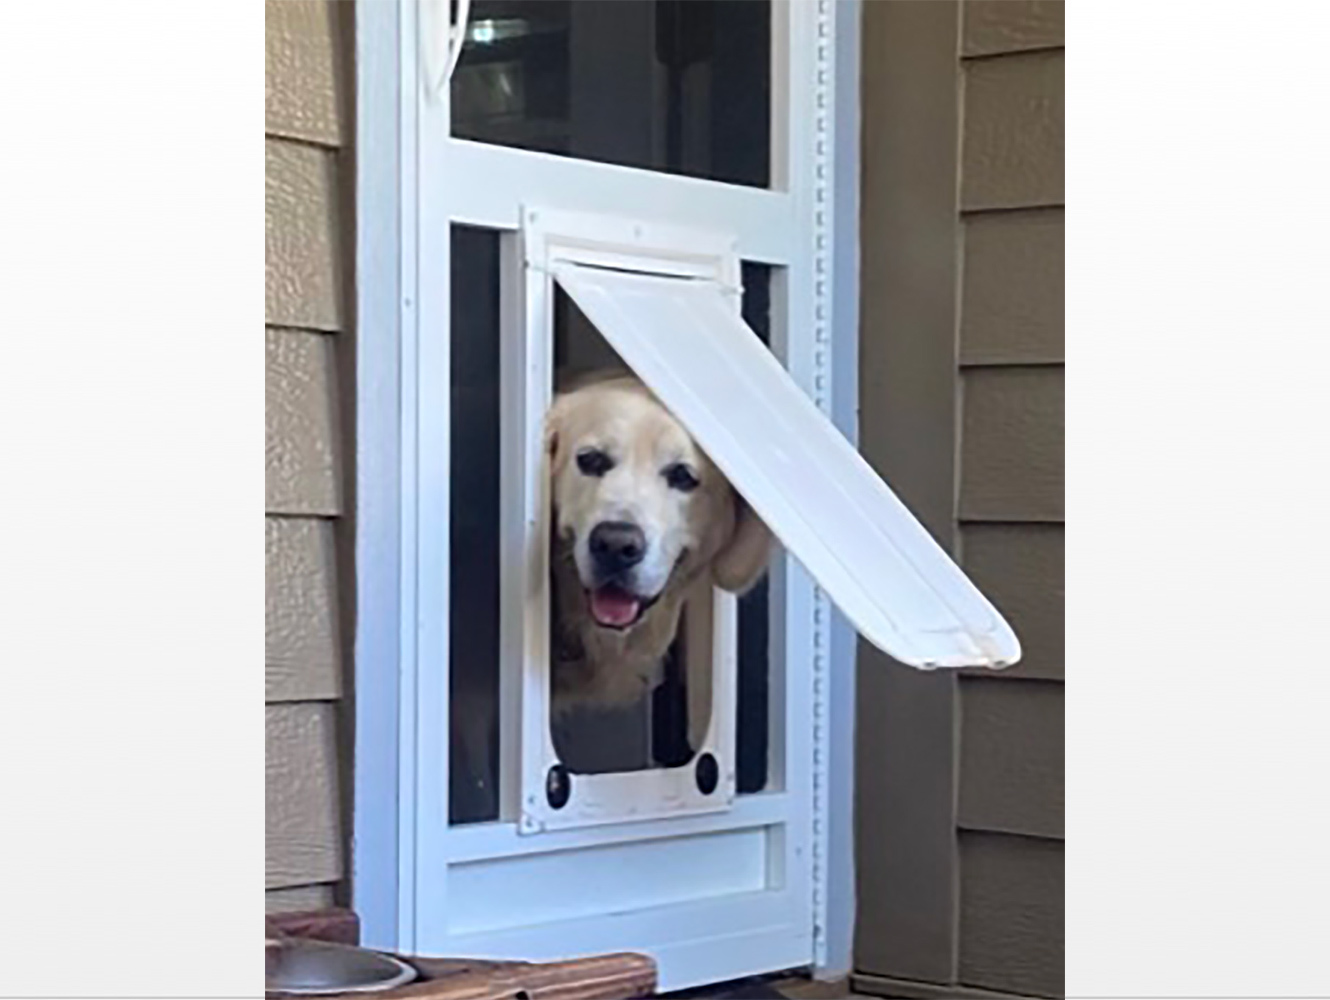
Credit: moorepet.com
Training Your Pet To Use The Door
Training your pet to use the Magnador pet door is important for a smooth transition. Pets need time and patience to understand how the door works. The training process helps your pet feel confident and safe using the new door. This section explains simple steps to introduce and encourage your pet to use the door.
Introducing The Door
Start by showing the pet door to your pet. Let your pet sniff and explore it without pressure. Open the flap and gently lift it to show the space beyond. Use treats or toys near the door to attract your pet’s attention. Stay calm and positive to create a good experience.
Repeat this step a few times over several days. Allow your pet to become comfortable with the door’s presence. Avoid forcing your pet through the door at this stage. Patience helps your pet build trust and curiosity.
Encouraging Use
Next, encourage your pet to move through the door. Hold a treat or toy on the other side of the door flap. Call your pet gently and praise any movement toward the door. Lift the flap if your pet hesitates, guiding them through slowly.
Practice this daily in short sessions to keep your pet interested. Celebrate small successes with treats and affection. Over time, your pet will understand the door is a safe way to go outside or inside.
Maintenance And Troubleshooting
Maintaining your Magnador pet door keeps it working well for a long time. Regular care helps avoid common problems. Troubleshooting saves you time and hassle. This section guides you through easy cleaning tips and simple fixes.
Cleaning Tips
Clean the pet door frame often. Use a soft cloth and mild soap. Avoid harsh chemicals that damage the screen or plastic. Remove dirt and dust from the flap. Wipe both sides gently to keep it smooth. Check the screen mesh for holes or tears. Repair small holes quickly to stop bugs from entering.
Fixing Common Issues
If the flap sticks, check for dirt or debris. Clean the edges and hinges carefully. Tighten loose screws to stabilize the door. If the flap does not close fully, adjust the magnetic strip. Replace worn magnets for better sealing. For screen damage, patch small tears with screen repair tape. Large damage may need screen replacement. Test the door after repairs to ensure smooth operation.

Credit: www.petdoors.com
Frequently Asked Questions
How Do I Install A Magnador Pet Door In A Screen?
To install a Magnador pet door, first remove the screen from the frame. Cut the screen to fit the pet door size. Attach the Magnador frame securely, then reassemble the screen frame with the pet door installed.
Can I Install A Magnador Pet Door Myself?
Yes, you can install it yourself. The Magnador pet door is designed for easy installation. Basic tools like scissors, a screwdriver, and measuring tape are needed. Follow the provided instructions carefully for best results.
Will The Magnador Pet Door Fit All Screen Doors?
Magnador pet doors fit most standard screen doors. However, measure your door frame before purchasing. Check the product specifications to ensure compatibility with your screen’s size and thickness.
Is The Magnador Pet Door Safe For Pets?
Yes, it is safe. The Magnador pet door has a secure flap and locking mechanism. It prevents unwanted entry and protects your pet from harsh weather while allowing easy access.
Conclusion
Installing a Magnador pet door in your screen is simple and quick. Follow each step carefully to avoid mistakes. Measure and cut with care to fit the door perfectly. Secure the door tightly to keep it stable and safe. Your pet will enjoy easy access to the outdoors.
This small project can improve your pet’s daily routine. Enjoy the convenience and freedom it brings to your home.