Want to make sure your video doorbell recordings are safely stored and easy to access? Connecting your video doorbell to a DVR can be the perfect solution.
It lets you keep clear, reliable footage without worrying about losing important moments. In this guide, you’ll discover simple steps to get your video doorbell recording straight to your DVR. By the end, you’ll have a smart, secure setup that puts you in full control of your home’s security.
Keep reading to find out how easy it really is!
Choosing The Right Video Doorbell
Selecting a video doorbell that works with your DVR is important. The right choice helps you record and review footage easily. Consider how the doorbell connects and what features it offers. This helps you find a model that fits your needs and setup.
Wired Vs Wireless Models
Wired doorbells connect directly to your home’s power. They offer steady power and reliable video streaming. Wireless models use batteries and connect through Wi-Fi. They are easier to install but may need battery changes. Choose based on your home’s wiring and how much maintenance you want.
Compatibility With Dvr Systems
Check if the doorbell supports your DVR system. Some doorbells work only with certain brands or software. Look for models that offer video output options like RTSP or ONVIF. These allow easier connection to most DVRs. Confirm compatibility before buying to avoid issues later.
Key Features To Consider
Look for clear video quality, at least 1080p resolution. Night vision helps capture footage in low light. Motion detection alerts you to activity and starts recording. Two-way audio allows communication through the doorbell. These features improve security and the recording experience.
Selecting A Suitable Dvr
Selecting the right DVR is key for recording your video doorbell footage. The DVR acts as the storage hub for all your recordings. It must work well with your doorbell’s video format and quality. Choosing a DVR that fits your needs ensures smooth and reliable recording. Consider the DVR’s type, storage space, and connection options before buying.
Types Of Dvrs For Video Doorbells
DVRs come in different types. Standalone DVRs are common and connect directly to cameras. Network DVRs connect through your home network and support multiple devices. Hybrid DVRs handle both analog and digital signals. Choose a DVR type that matches your doorbell system and setup.
Storage Capacity And Resolution
Storage capacity matters for how long you keep recordings. DVRs offer various hard drive sizes, from small to large. Pick one with enough space for your recording needs. Resolution support is also important. Higher resolution means clearer video but uses more storage. Find a DVR that supports your doorbell’s video quality and storage requirements.
Connectivity Options
Check the DVR’s connection ports before purchase. Common ports include HDMI, USB, and Ethernet. Ethernet allows network access for remote viewing. USB ports let you export videos easily. Some DVRs support Wi-Fi for wireless connection. Ensure the DVR’s connectivity fits your home setup and accessibility needs.
Preparing For Installation
Preparing for the installation of your video doorbell to record on a DVR is a key step. This preparation helps avoid common issues and ensures smooth setup. Planning ahead makes the process faster and easier.
Tools And Materials Needed
Gather all tools and materials before starting. You will need a screwdriver, drill, and mounting brackets. Have the video doorbell, DVR, and power adapters ready. Use quality cables for connections. A ladder might help if the doorbell is high.
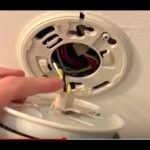
Checking Power Sources
Check the power source near your doorbell location. Video doorbells usually need a constant power supply. Some models use batteries, but wired connections offer better reliability. Ensure your power source matches the doorbell’s voltage needs. Avoid loose or exposed wires for safety.
Network Requirements
Your video doorbell needs a stable internet connection to work with the DVR. Confirm Wi-Fi strength at the doorbell spot. Weak signals cause recording problems and delays. Use a Wi-Fi extender if needed. The DVR should connect to the same network for smooth video transfer.

Credit: www.ebay.com
Connecting Video Doorbell To Dvr
Connecting your video doorbell to a DVR helps you save video footage for later viewing. This setup gives extra security by storing clips locally. You can review any activity outside your home anytime. The process depends on the type of doorbell and DVR you have. Follow simple steps to link these devices properly.
Wiring Instructions
First, turn off the power to avoid shocks. Locate the doorbell’s power wires. Connect these wires to the DVR’s input terminals. Use a compatible cable, usually a coaxial or Ethernet cable. Secure all connections tightly to prevent loose contacts. Check the DVR’s manual for exact wiring points. After wiring, turn the power back on. Test the connection by pressing the doorbell button.
Setting Up Wireless Connections
Some doorbells and DVRs support wireless links. Start by connecting both devices to the same Wi-Fi network. Use the DVR’s menu to scan for your doorbell device. Enter the doorbell’s ID or password if needed. Confirm the connection on both devices. Adjust settings for video quality and recording times. Wireless setup avoids messy cables and offers flexible placement.
Troubleshooting Common Issues
Check power supply if the doorbell won’t record. Ensure cables are intact and properly connected. Restart both the doorbell and DVR to reset connections. Make sure both devices use the same network band. Update firmware for better compatibility and security. Clear the DVR’s storage if recording stops. Contact support if problems persist after these steps.
Configuring Dvr Settings
Configuring your DVR settings is a key step for recording video doorbell footage. It ensures the DVR captures the right moments clearly and saves storage. Proper setup helps you avoid missing important events and keeps your recordings organized.
Adjusting Recording Parameters
Start by setting the video quality. Choose a balance between resolution and file size. High resolution means clearer video but uses more storage. Lower resolution saves space but reduces detail. Set the frame rate to control how smooth the video plays. A higher frame rate shows more motion but fills up storage faster.
Motion Detection Setup
Enable motion detection to record only when movement occurs. This saves storage and battery life. Adjust the sensitivity level to avoid false alarms from small movements. Set detection zones to focus on important areas like your doorstep. Fine-tune these settings to catch real activity without extra footage.
Scheduling Recordings
Use scheduling to control when the DVR records. Set specific times for recording, such as during the night or work hours. This helps save space by not recording all day. You can also schedule breaks when recording is not needed. Scheduling makes your system more efficient and saves storage.
Testing And Verifying The Setup
Testing and verifying the setup is a key step after installing your video doorbell with a DVR. It ensures the system works correctly and captures everything you need. This step saves time and trouble later.
Check each part of the system carefully. Confirm the video quality, recording function, and remote features work well. Testing helps catch any problems early.
Checking Video Quality
First, look at the video feed on your DVR. Make sure the image is clear and sharp. Check both day and night views. A blurry or dark video means adjustments are needed.
Test different angles. Ensure the doorbell camera covers your entry area well. Adjust the camera position if needed for better coverage.
Ensuring Continuous Recording
Check if the DVR records without stopping. Watch recordings for several minutes. The video should save smoothly and without gaps.
Test the storage space. Make sure your DVR has enough room to save videos for days or weeks. Set up overwriting if the space gets full.
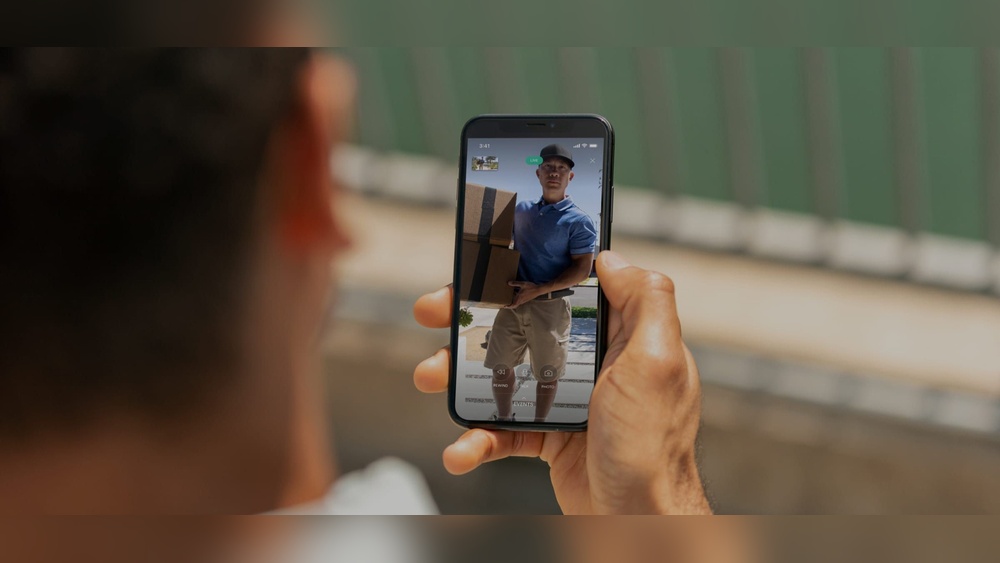
Remote Access And Alerts
Try accessing your video doorbell feed from a phone or computer. Confirm you can view live video remotely. This access keeps you connected anytime.
Test alert notifications. Trigger the doorbell or motion sensor to receive alerts. Quick alerts help you respond fast to visitors or deliveries.
Maintaining And Upgrading The System
Maintaining and upgrading your video doorbell system helps keep recordings clear and reliable. Regular care ensures the system works smoothly with your DVR. Upgrades improve features and add new functions. This section covers key steps to keep your system updated and efficient.
Regular Firmware Updates
Firmware updates fix bugs and improve security. Check for updates often in your video doorbell’s app or website. Download and install updates promptly to avoid recording issues. Updated firmware helps your device work well with DVRs and other hardware.
Expanding Storage Options
Storage space limits how much video your DVR saves. Add extra hard drives or use larger ones to extend recording time. Some DVRs support external USB drives or network storage. Choose the right storage based on your recording needs and budget.
Integrating With Smart Home Devices
Connecting your video doorbell with smart home gadgets makes your system smarter. Link it to security alarms, lights, or voice assistants. Integration allows automatic recording triggers and easier control. Use compatible devices to ensure smooth communication and better security.
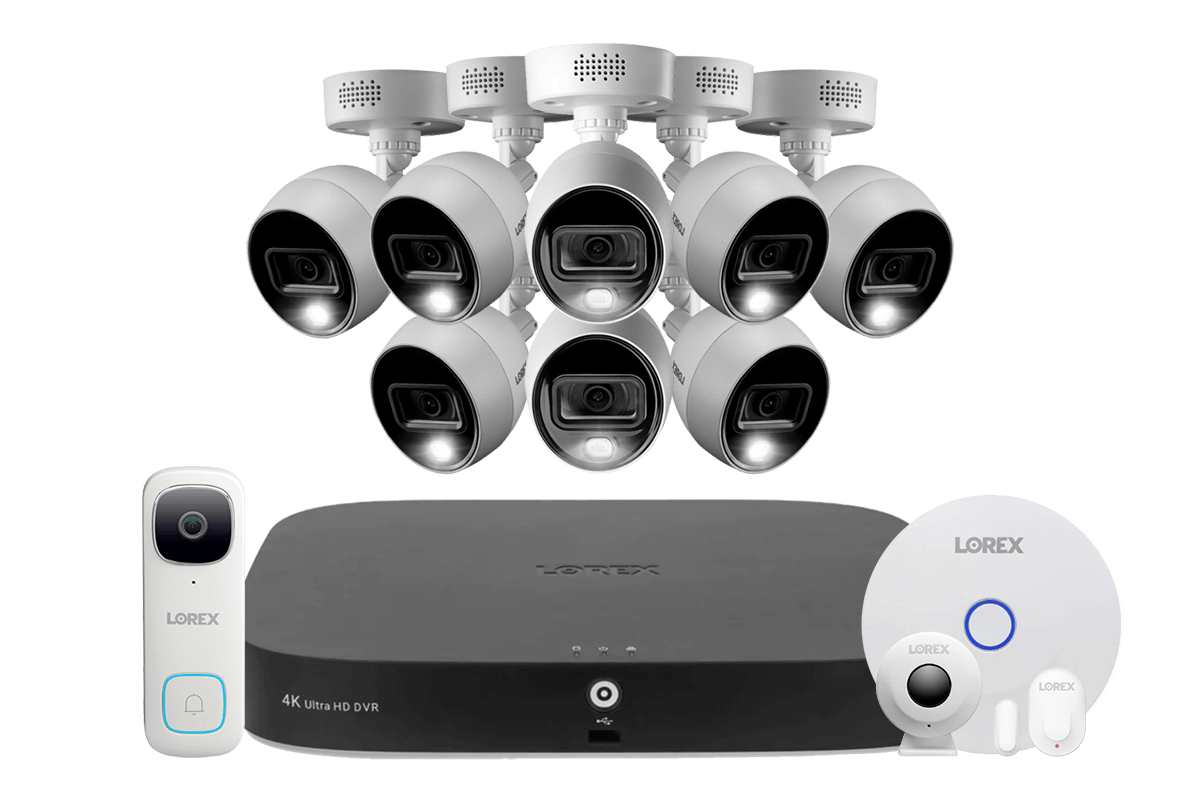
Credit: www.lorex.ca

Credit: www.youtube.com
Frequently Asked Questions
How Can I Connect A Video Doorbell To A Dvr?
To connect a video doorbell to a DVR, ensure compatibility first. Use an adapter or converter if the doorbell outputs IP video. Connect the doorbell’s video feed to the DVR’s input port. Configure the DVR to recognize and record the doorbell’s video stream.
What Types Of Dvrs Support Video Doorbell Recording?
Most modern DVRs with IP camera support can record video doorbells. Look for DVRs with network video recorder (NVR) functionality. Analog DVRs need a video converter for IP doorbells. Always check the DVR’s specifications before purchasing.
Can I Record Video Doorbell Footage Continuously On A Dvr?
Yes, continuous recording is possible if your DVR supports it. Set the DVR to record 24/7 or motion-triggered. Ensure sufficient storage on the DVR to avoid overwriting important footage. Use scheduled recording options for better storage management.
Do I Need Special Cables To Connect Video Doorbells To Dvrs?
It depends on your doorbell type. IP doorbells use Ethernet cables for connection. Analog doorbells might require coaxial cables. Sometimes, adapters or video encoders are necessary. Always follow the manufacturer’s wiring recommendations.
Conclusion
Getting your video doorbell to record to a DVR is easier than it seems. Choose the right connection method and follow each step carefully. Test your setup to make sure recordings save correctly. This setup helps keep your home safer with clear video evidence.
Small effort brings big peace of mind. Stay patient and double-check all settings. Soon, your doorbell will record smoothly to your DVR system.