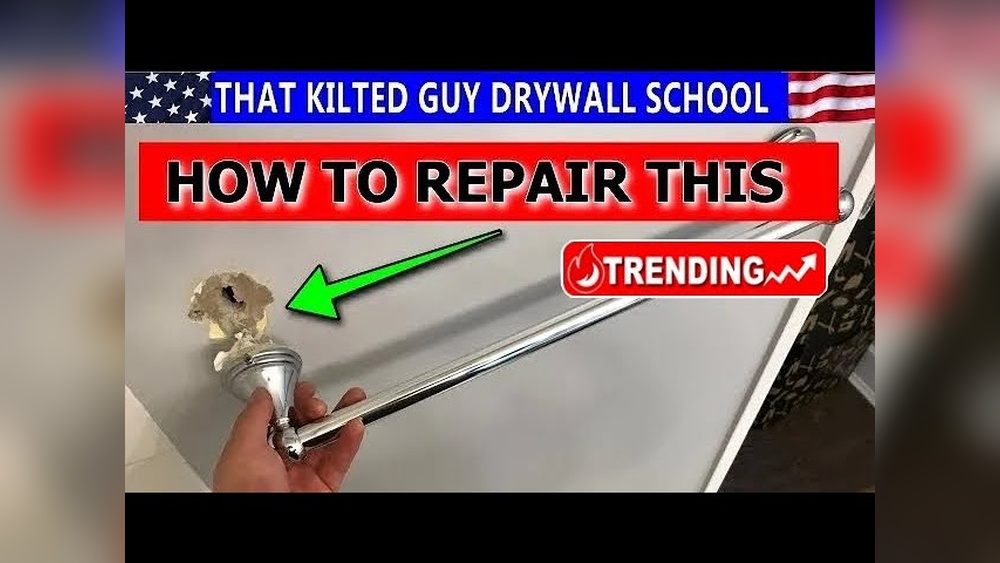
Have you ever taken down a towel rack only to find an ugly hole left behind in your drywall? It’s frustrating, right?
But don’t worry—you don’t need to hire a pro or spend a fortune to fix it. With the right tools and a bit of guidance, you can repair that drywall hole quickly and make your wall look as good as new.
You’ll learn simple, step-by-step methods to fix the damage easily. Keep reading, and you’ll be amazed at how smooth and strong your wall can be again.

Credit: diy.stackexchange.com
Assessing The Damage
Before fixing a drywall hole from a towel rack, start by assessing the damage. This step helps you understand how much work the repair needs. Careful assessment prevents mistakes and saves time. Take your time to examine the wall closely.
Identifying Hole Size
First, measure the hole size. Use a ruler or tape measure. Small holes under half an inch need simple patching. Larger holes might require a drywall patch. Note the shape too. Irregular holes may need trimming before repair.
Checking Surrounding Wall Condition
Next, look at the wall around the hole. Check for cracks or dents near the damage. Soft or crumbling drywall means more repair work. Also, see if paint or wallpaper peels off. The area must be stable for a good fix.

Credit: diy.stackexchange.com
Gathering Repair Supplies
Fixing a drywall hole from a towel rack starts with gathering the right supplies. Having the correct tools and materials makes the repair easier and cleaner. Prepare everything before you begin to avoid interruptions during the work.
Essential Tools
Basic tools help you repair drywall holes quickly. You need a putty knife to spread the compound smoothly. A sanding block or sandpaper will smooth the surface after drying. A utility knife is useful to clean the hole edges. A drill or screwdriver helps remove any loose screws or anchors from the towel rack.
Recommended Materials
Choose good materials for a lasting repair. Use drywall patch or mesh tape to cover the hole. Ready-mixed joint compound is easy to apply and dries fast. Primer and paint match the wall color after repair. Keep a damp cloth nearby to wipe off any excess compound during work.
Preparing The Area
Fixing a drywall hole from a towel rack starts with proper preparation. The area must be clean and clear to ensure a smooth repair. Dirt and loose debris can prevent patch materials from sticking well. Taking time to prepare will make the repair last longer and look better.
Prepare all your tools and materials before you begin. A clean workspace helps you work faster and avoid mistakes. Focus on cleaning the hole and removing any loose pieces of drywall around it.
Cleaning The Hole
First, wipe away dust and dirt from the hole. Use a damp cloth or sponge for this task. Cleaning creates a solid base for the repair materials. Avoid using harsh cleaners that may damage the drywall further.
Make sure the hole is dry after cleaning. Moisture can weaken the patch and cause it to fail later.
Removing Loose Debris
Next, check the edges of the hole for loose drywall pieces. Gently scrape off any crumbly or broken parts with a putty knife. Loose debris can cause bumps and cracks in the repair.
Remove all fragments until the edges feel firm and smooth. This step helps the patch stick tightly and hold its shape.
Filling Small Holes
Filling small holes in drywall is a simple task that improves your wall’s look. Small holes from towel racks can be fixed quickly using basic materials. This keeps walls smooth and ready for painting. The key is to use the right filler and finish it properly. Below are easy steps to fill these small holes.
Using Spackle Or Joint Compound
Choose spackle or joint compound to fill the hole. These materials dry fast and are easy to work with. Use a small putty knife to apply the spackle. Press it into the hole, filling it completely. Smooth the surface by spreading the spackle beyond the hole edges. Let it dry according to the product’s instructions. This usually takes about 30 minutes to an hour.
Sanding Smooth
After drying, sand the filled area gently. Use fine-grit sandpaper for best results. Sand until the surface is flush with the wall. Make sure there are no bumps or rough spots. Wipe away dust with a dry cloth. Now, the wall is ready for painting or priming. This step gives a clean, polished finish to the repair.
Repairing Larger Holes
Repairing larger holes in drywall from a towel rack requires more care and the right materials. Small cracks and holes can be filled quickly, but bigger gaps need extra steps. This ensures the wall looks smooth and strong again. Follow these clear steps to fix larger holes and restore your wall’s surface.
Applying A Patch
Start by cutting a drywall patch slightly bigger than the hole. Place it over the damaged area. Use a pencil to trace the patch edges on the wall. Cut along the traced lines to make a clean opening. Fit the patch into the hole. Make sure it sits flush with the wall surface.
Securing With Mesh Tape
Cover the edges of the patch with mesh tape. This holds the patch firmly in place. The tape also stops cracks from appearing later. Press the tape flat against the wall and patch. Use enough tape to cover all sides of the patch for strong support.
Layering Joint Compound
Apply a thin layer of joint compound over the mesh tape. Smooth it out with a putty knife. Let the first layer dry completely. Add one or two more layers, each wider than the last. Sand between layers to keep the surface even. Finish with a smooth, flat coat for a perfect repair.
Sanding And Smoothing
Sanding and smoothing are key steps in fixing a drywall hole from a towel rack. These steps help make the repair look natural and even. Proper sanding removes rough edges and shapes the patch. Smoothing blends the new surface with the old wall. This prepares the area for painting and a clean finish.
Choosing The Right Sandpaper
Select sandpaper with a medium grit of around 120 to 150. This grit removes excess joint compound without damaging the drywall. Avoid sandpaper that is too coarse. It can leave deep scratches on the wall. Fine grit sandpaper, around 220, works well for final smoothing. Use a sanding block or sponge for even pressure. This helps keep the patched area flat and smooth.
Blending With Wall Surface
Blend the patched area carefully to match the surrounding wall. Sand beyond the edges of the patch to avoid visible lines. Feather the joint compound outwards. This softens the transition between the patch and the wall. Use light pressure to avoid creating new dents. Check the surface by running your hand over it. Repeat sanding and smoothing until the patch feels flush and smooth.
Priming And Painting
Priming and painting are the last steps in fixing a drywall hole from a towel rack. These steps protect your repair and make the wall look smooth and new again. Skipping priming may cause uneven paint or patches that stand out. Painting finishes the job and blends the repair with the rest of the wall.
Selecting Paint
Choose paint that matches your wall’s finish and color type. Use the same kind of paint—matte, satin, or gloss—as the rest of your wall. If you do not know the exact paint, take a small sample to the store for matching. This helps your repair blend perfectly.
Applying Primer
Primer seals the patched area and stops paint from soaking in unevenly. Use a brush or roller to apply a thin, even coat of primer. Let the primer dry fully before painting. This step improves paint adhesion and prevents color differences.
Matching Wall Color
Paint the primed area carefully with a small brush or roller. Feather the edges to blend with the wall color. Apply multiple thin coats instead of one thick coat. Wait for each coat to dry before adding the next. This method makes the repair less visible.

Credit: www.wallshark.com
Preventing Future Damage
Preventing future damage to your drywall after fixing a hole from a towel rack is important. Proper steps can keep your walls strong and safe. Small changes in how you install the rack make a big difference. Careful mounting helps avoid holes and cracks later.
Installing Anchors Properly
Choose the right anchors for your wall type. Drywall anchors spread weight to avoid pressure points. Drill holes that match anchor size exactly. Push anchors in firmly but gently. Do not force anchors into holes that are too small.
Use anchors designed for heavy loads if the rack holds many items. Check that anchors sit flush with the wall surface. Loose anchors cause wobbling and wall damage. Tighten screws steadily but avoid over-tightening. This keeps anchors secure without cracking drywall.
Using Wall-friendly Mounts
Select mounts made to protect drywall. Some mounts use large plates to spread weight evenly. These reduce stress on one spot. Consider adhesive mounts for lightweight racks. They stick without drilling holes.
Wall-friendly mounts reduce the chance of new holes. Test mounts on a small wall area first. Avoid mounts that pull or strain the wall. Soft rubber or cushioned mounts can absorb shocks. This helps keep your drywall intact over time.
Frequently Asked Questions
How Do I Repair A Drywall Hole From A Towel Rack?
To fix a drywall hole from a towel rack, remove loose debris and apply a patch. Use joint compound to smooth the surface, sand it, then prime and paint for a seamless finish.
What Materials Are Needed To Fix Drywall Holes?
You need a drywall patch, joint compound, putty knife, sandpaper, primer, and paint. Optional tools include a utility knife and sanding block for best results.
Can I Fix Drywall Holes Without Professional Help?
Yes, small drywall holes can be fixed easily at home. Follow step-by-step instructions and use basic materials for a smooth repair.
How Long Does Drywall Repair From Towel Rack Damage Take?
Drywall repair usually takes a few hours, including drying time. Allow joint compound to dry fully before sanding and painting for best results.
Conclusion
Fixing a drywall hole from a towel rack is simple and quick. Gather basic tools and follow easy steps carefully. Patch the hole, sand it smooth, and paint to match. This small repair improves your wall’s look instantly. Save money and avoid calling a professional.
Taking time to fix it yourself feels rewarding. Your bathroom will look neat and well cared for. Try this project to keep your home in good shape.