If you want to keep your pet safe and your home organized, attaching a pet gate to your wall is a smart move. But how do you do it the right way without damaging your walls or making the gate unstable?
You’re about to discover simple, step-by-step tips that make this task easy—even if you’ve never done it before. By the end of this guide, you’ll have the confidence to install your pet gate securely and quickly. Keep reading to learn how to protect your furry friend and your space with a sturdy, well-attached pet gate.
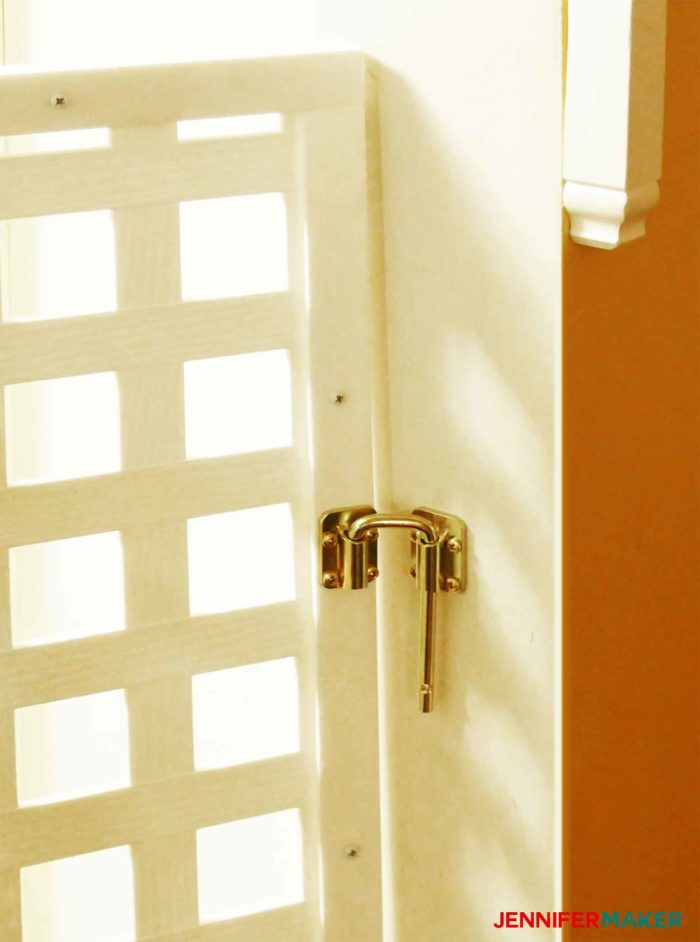
Credit: jennifermaker.com
Choose The Right Pet Gate
Choosing the right pet gate is the first step to keeping your pet safe and your home secure. A well-chosen gate fits your space and suits your pet’s needs. The right gate makes installation easier and prevents damage to walls. Let’s explore the key points to consider before buying a pet gate.
Types Of Pet Gates
Pet gates come in different styles. Pressure-mounted gates use tension to stay in place without drilling. They work well for doorways and hallways but may not hold strong pets. Hardware-mounted gates attach to the wall with screws. These are more secure and better for active or large pets. Some gates fold or expand to fit wide openings. Choose a type based on your pet’s size and behavior.
Materials And Durability
Pet gates are made from wood, metal, or plastic. Metal gates are strong and last long. They handle scratches and bites well. Wooden gates look nice but may break if your pet chews. Plastic gates are light and easy to move but less durable. Pick a material that suits your pet’s habits and your home style. Durability helps keep your pet safe for a long time.
Size And Placement Considerations
Measure the space where you want to put the gate. The gate should fit snugly without gaps. Height is important—choose a gate tall enough to stop your pet from jumping over. Small pets need gates with narrow bars or solid panels to prevent slipping through. Think about where the gate will be placed. Near stairs or rooms with hazards, a strong gate is a must.

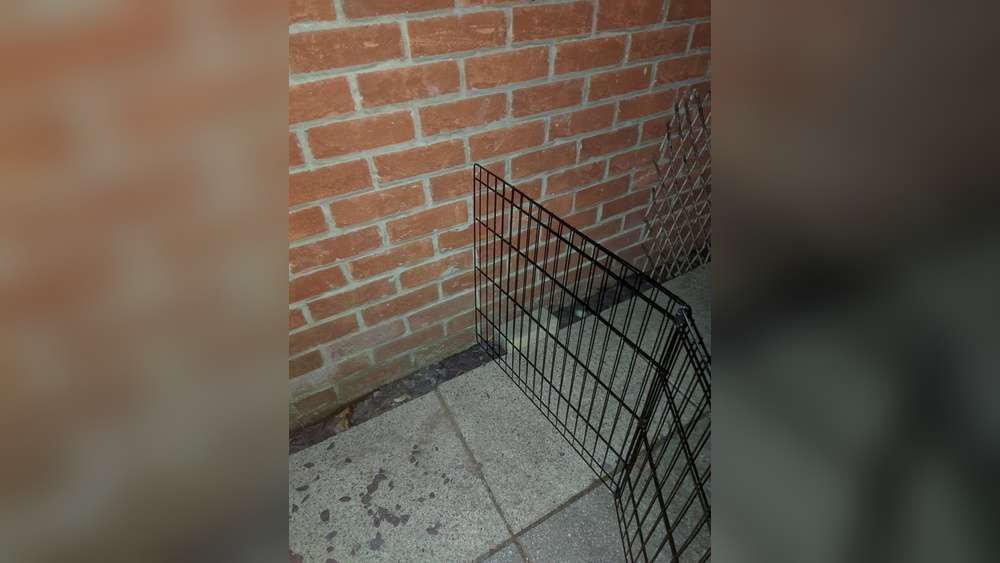
Credit: www.reddit.com
Gather Necessary Tools
Gathering the right tools makes attaching a pet gate easier and safer. Having everything ready before starting saves time and avoids frustration. This section lists tools and equipment needed for the job.
Basic Tools Needed
- Drill with drill bits
- Screwdriver (manual or electric)
- Measuring tape
- Level
- Pencil for marking
- Screws or mounting hardware
These basic tools help you measure, mark, and securely attach the gate to the wall. The drill makes holes for screws and anchors. The level keeps the gate straight.
Optional Accessories
- Wall anchors or plugs for drywall
- Stud finder to locate wall studs
- Rubber mallet for gentle tapping
- Protective pads to avoid wall damage
Accessories improve stability and protect walls. Wall anchors support weight on drywall. A stud finder helps find strong spots to install the gate.
Safety Equipment
- Safety goggles to protect eyes
- Work gloves to protect hands
- Dust mask if drilling creates dust
Safety gear protects you during installation. Goggles shield eyes from debris. Gloves prevent cuts and scrapes. A mask keeps dust out of your lungs.
Prepare The Wall Area
Preparing the wall area is a key step before attaching a pet gate. This step ensures the gate stays strong and safe. Proper preparation helps avoid damage to walls and keeps the gate secure for your pet. Follow simple steps to get the wall ready for mounting.
Select Mounting Location
Choose a spot where the gate will block your pet well. Pick a location with enough space for the gate to open and close. Avoid places near corners or uneven surfaces. A flat, clear wall section works best for secure mounting.
Check Wall Material
Identify the type of wall you have. Common walls include drywall, plaster, brick, or wood. This affects which tools and anchors you will use. Stronger walls like brick need heavy-duty anchors. Drywalls require special wall plugs for support.
Mark Drill Points
Hold the gate frame at the chosen spot on the wall. Use a pencil to mark where screws will go. Check the marks twice to ensure they align with the gate holes. Accurate marks make drilling easier and keep the gate level.

Credit: www.reddit.com
Install Mounting Hardware
Installing mounting hardware is a key step in attaching a pet gate to the wall. It ensures the gate stays secure and safe for your pet. Follow these simple steps for a strong installation. Taking time here makes a big difference in the gate’s stability.
Drilling Pilot Holes
Start by marking the spots where the brackets will go. Use a pencil to mark the wall through the bracket holes. Drill small pilot holes to guide the screws. This prevents the wall from cracking. Choose a drill bit slightly smaller than the screws you will use. Drill straight to keep the holes clean and even.
Installing Anchors
Use wall anchors if your wall is drywall or hollow. Anchors provide extra support for the screws. Push or tap the anchors into the pilot holes until flush with the wall. Make sure the anchors fit tightly. Loose anchors reduce holding power. Use anchors rated for the weight of your gate.
Securing Brackets
Align the brackets with the pilot holes or anchors. Insert screws through the bracket holes and into the wall. Tighten screws with a screwdriver until the brackets are firm. Do not overtighten, or you may strip the screw holes. Check that the brackets do not wiggle or move. A solid hold keeps your pet gate safe and stable.
Attach The Pet Gate
Attaching a pet gate to the wall keeps your pet safe and your space secure. Follow simple steps to install the gate properly. Proper attachment stops the gate from falling or wobbling. Use the right tools and parts for a strong hold.
Aligning The Gate
Place the gate between the brackets on the wall. Check the height matches the pet’s size. Keep the gate straight and level. Adjust the position until it fits perfectly. This step ensures easy opening and closing.
Securing The Gate To Brackets
Use screws or bolts to fix the gate into brackets. Tighten all fasteners firmly. Avoid over-tightening to prevent damage. Confirm the gate stays in place without gaps. Secure fixing helps the gate hold firm under pressure.
Testing Gate Stability
Push the gate gently from different sides. The gate should not move or shake. Test the lock to ensure it works well. Check the gate after a few days for looseness. Stability keeps your pet safe and your gate reliable.
Adjust And Maintain
After attaching your pet gate to the wall, the next step is to adjust and maintain it. Proper adjustment ensures the gate fits perfectly and stays secure. Maintenance keeps the gate safe for your pet and extends its life.
Fine-tuning Gate Fit
Check the gate’s alignment with the wall. Use the screws or knobs to tighten or loosen the fit. Make small adjustments to avoid gaps. Ensure the gate opens and closes smoothly. A well-fitted gate stops pets from pushing it open.
Regular Safety Checks
Inspect the gate weekly for loose parts or damage. Test the latch to make sure it locks securely. Look for cracks or bends in the frame. Tighten any loose screws immediately. This prevents accidents and keeps your pet safe.
Cleaning And Upkeep
Wipe the gate with a damp cloth to remove dirt and dust. Avoid harsh chemicals that can harm the gate’s finish. Clean the latch and hinges to prevent sticking. Regular cleaning keeps the gate looking good and working well.
Frequently Asked Questions
How Do I Securely Attach A Pet Gate To A Wall?
Use appropriate wall anchors and screws for your wall type. Mark the gate’s bracket positions. Drill pilot holes, then fasten brackets tightly to ensure stability and safety for your pet.
What Tools Are Needed To Install A Pet Gate On A Wall?
You typically need a drill, screwdriver, measuring tape, pencil, level, and wall anchors. These tools help ensure precise and secure mounting of the pet gate to the wall.
Can I Install A Pet Gate On Drywall Without Studs?
Yes, use heavy-duty drywall anchors or toggle bolts. These provide enough support to hold the gate securely without damaging the wall or risking gate failure.
How High Should I Mount A Pet Gate On The Wall?
Mount the gate so the top is at least 2 inches above your pet’s head. This prevents them from jumping over and ensures effective containment.
Conclusion
Attaching a pet gate to the wall keeps your pet safe and your home organized. Use the right tools and follow steps carefully. Measure and mark the wall before drilling. Secure the gate firmly to avoid accidents. Check the gate often to ensure it stays strong.
A well-installed gate gives peace of mind. Keep your pet safe with simple wall attachment tips. Easy to do, and it works well every time.