Are you ready to boost your home’s security and convenience with the Video Doorbell 3? Installing it yourself might seem tricky, but with the right steps, you can have it up and running quickly.
Imagine seeing who’s at your door anytime, from anywhere, right on your phone. In this guide, you’ll find simple, clear instructions that make the process easy—even if you’re not a tech expert. Keep reading, and you’ll discover how to transform your front door into a smart, secure entry point in no time.
Choosing The Right Location
Choosing the right location for your Video Doorbell 3 is very important. The right spot helps the device capture clear video and work well. A good location also keeps your device safe and easy to use. Consider height, angle, and signal strength before installation. Avoid spots that block the camera view or weak Wi-Fi zones.
Ideal Height And Angle
Place the doorbell at about 4 feet high. This height shows visitors’ faces clearly. Tilt the camera slightly downward. This angle covers the porch and door area well. Avoid placing it too high or too low. The right angle helps catch motion and capture clear video.
Avoiding Obstructions
Remove objects that block the camera view. Trees, plants, or decorations can hide visitors. Keep the area clear for the best image. Also, avoid glare from direct sunlight or lights. Shadows or bright spots reduce video quality.
Considering Wi-fi Signal Strength
Check Wi-Fi strength at the chosen spot. The doorbell needs a strong, steady signal. Weak Wi-Fi causes delays or missed alerts. Move closer to the router if needed. Use a Wi-Fi extender for better coverage. Strong signal means smooth live video and fast notifications.
Gathering Required Tools
Before installing the Video Doorbell 3, gather all necessary tools. Having everything ready saves time and avoids interruptions. It also ensures a smooth and safe installation process. This step is important for both beginners and experienced users.
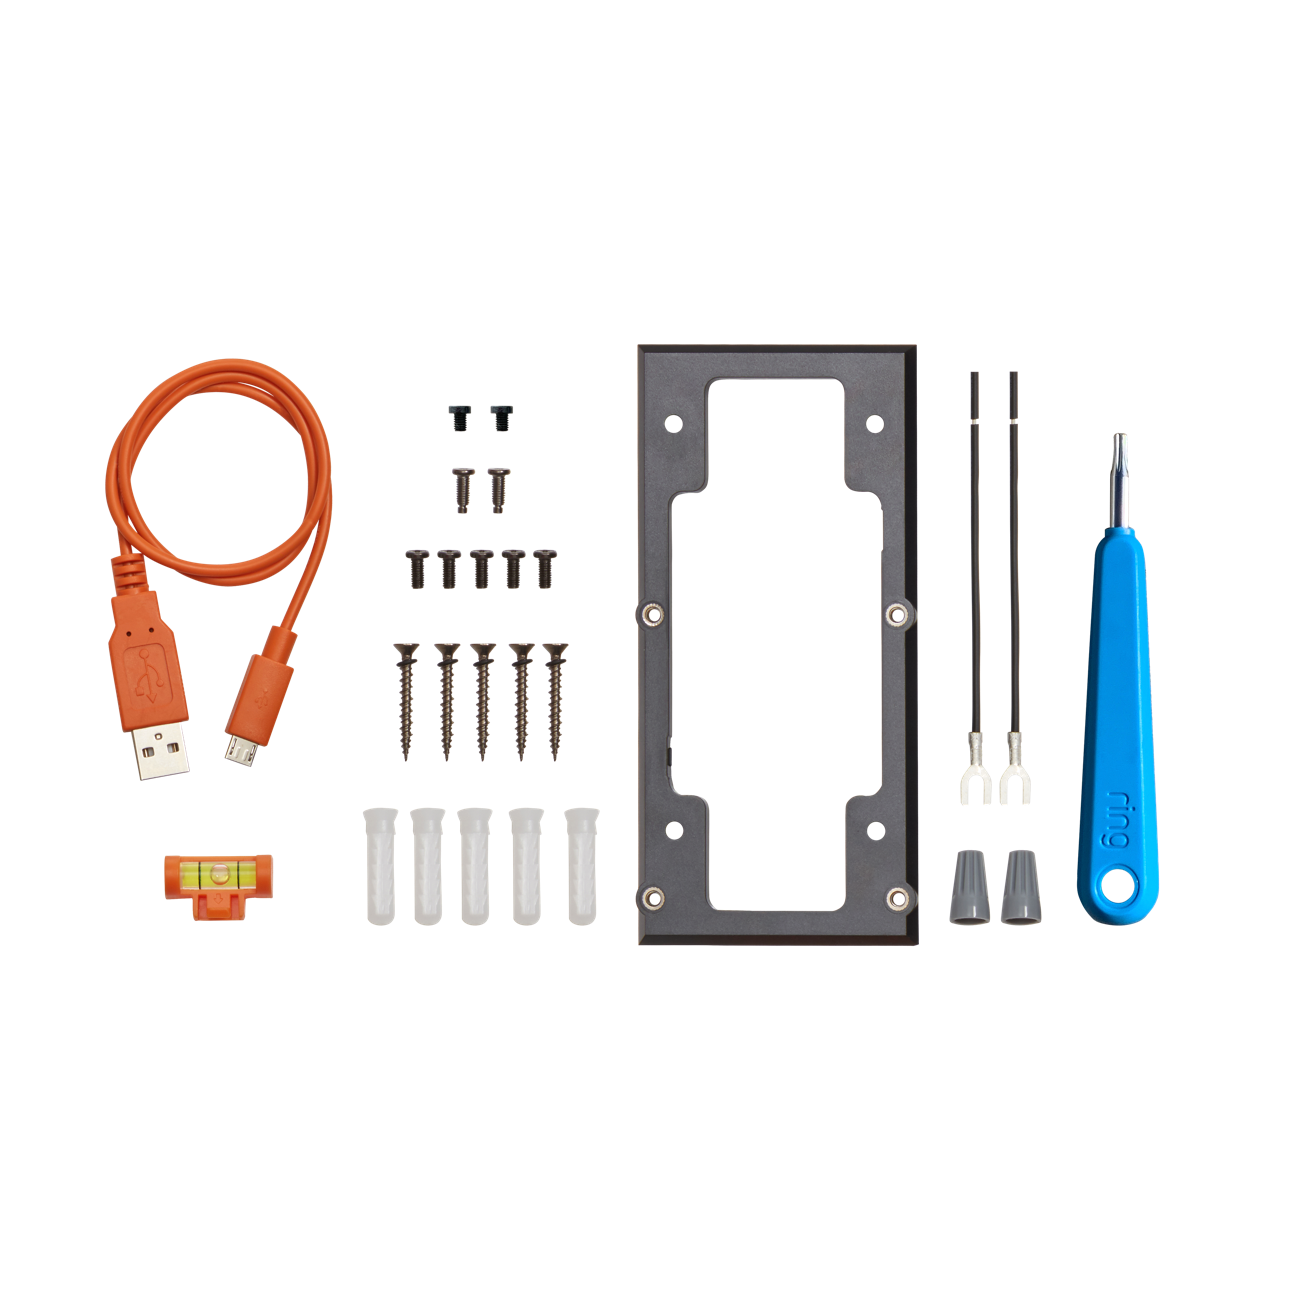
Tools Needed For Installation
Prepare a drill with a suitable drill bit for wall mounting. A screwdriver is essential to secure screws. Have a level handy to keep the doorbell straight. Wire cutters and strippers help with electrical connections. A tape measure allows precise placement. Lastly, keep the mounting screws and anchors provided with the doorbell.
Safety Precautions
Turn off power at the circuit breaker before starting any electrical work. Use insulated tools to reduce electric shock risk. Avoid installing during wet weather or in damp conditions. Wear safety glasses to protect eyes from dust and debris. Follow all instructions in the product manual carefully. Safety ensures a trouble-free and secure installation.
Preparing The Installation Site
Preparing the installation site is the first step for a smooth setup of your Video Doorbell 3. This process helps avoid issues during installation and ensures your doorbell works well. Take time to check the old doorbell and wiring before starting.
Removing Old Doorbell
Turn off power at the breaker to avoid shocks. Unscrew the old doorbell from the wall carefully. Disconnect the wires attached to the doorbell. Keep the wires safe for the new installation. Remove any old mounting hardware or adhesive. Clean the surface to prepare for the new doorbell.
Checking Existing Wiring
Look at the wires for any damage or wear. Make sure wires are copper and not broken. Measure voltage using a tester to confirm power supply. Video Doorbell 3 needs 16-24 volts AC. If wiring is old or weak, consider replacing it. Proper wiring ensures your doorbell runs without problems.
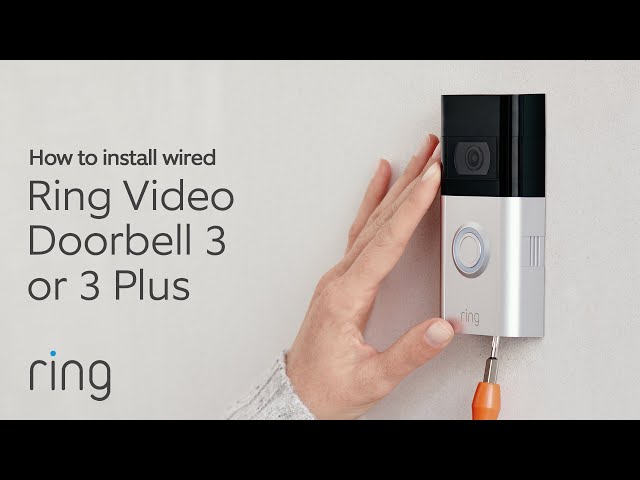
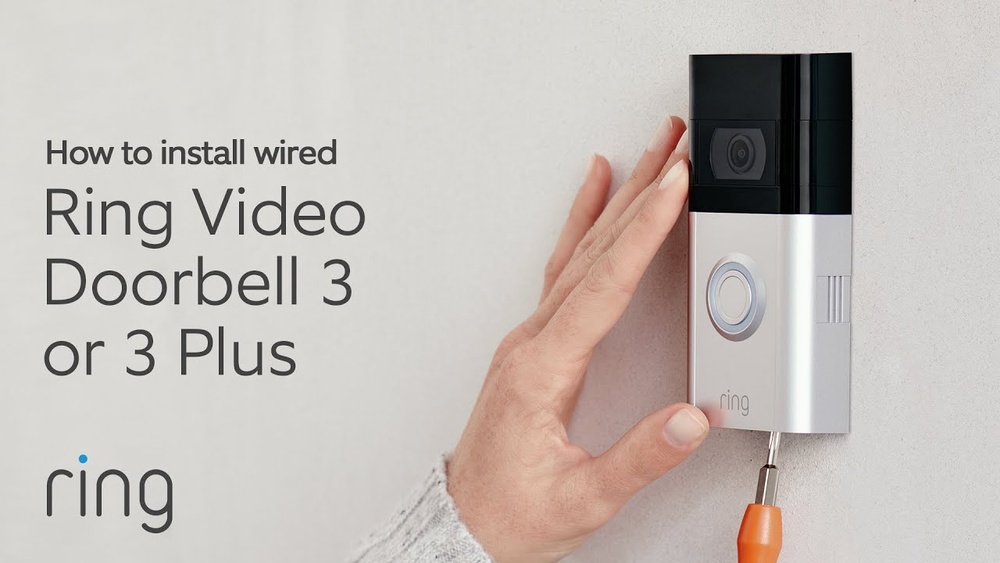
Credit: www.youtube.com
Mounting The Video Doorbell 3
Mounting the Video Doorbell 3 is a simple process that anyone can do. It involves placing the mounting plate and then securing the doorbell onto it. This step is important to ensure the doorbell stays in place and works well.
Attaching The Mounting Plate
Start by choosing the right spot near your door. Use the screws that come with the doorbell. Hold the mounting plate against the wall. Mark the screw holes with a pencil. Drill small holes if needed. Screw the plate tightly to the wall. Make sure it is level for the best view.
Securing The Doorbell
After the plate is fixed, place the doorbell on it. Align the doorbell with the plate. Push the doorbell gently until it clicks. Check if it feels firm and does not move. Use the security screws to lock the doorbell. Tighten these screws with the provided tool. This keeps the doorbell safe from theft or damage.
Connecting The Wiring
Connecting the wiring is a key step when installing the Video Doorbell 3. It ensures your doorbell gets power and works correctly. Proper wiring makes the doorbell reliable and safe. Follow these steps carefully to connect the wires the right way.
Identifying Wires
Start by finding the doorbell wires in your home. Usually, two wires come out of the wall near your door. One wire connects to the power source, and the other goes to the doorbell button. Use a voltage tester to check if the wires have power. Mark the wires for easy connection later.
Connecting To Transformer
The transformer changes your home’s high voltage to low voltage for the doorbell. Locate the transformer, often near your electrical panel or doorbell chime. Connect the doorbell wires to the transformer’s low voltage terminals. Make sure the power is off before connecting wires to avoid shocks.
Ensuring Secure Connections
Use wire connectors or terminal screws to join wires tightly. Loose connections can cause the doorbell to fail or spark. Wrap exposed wires with electrical tape for safety. Tug gently on the wires to confirm they are secure. Proper connections keep your doorbell working smoothly for years.
Setting Up The Device
Setting up your Video Doorbell 3 is easy and quick. Follow simple steps to get your device ready to use. This guide helps you start with the basics.
Make sure you have your smartphone and Wi-Fi details ready. This setup process works smoothly on most phones.
Downloading The App
First, download the official app for Video Doorbell 3. Visit your phone’s app store and search for the app name. The app is free and safe to install. It lets you control and view your doorbell from anywhere.
Creating An Account
Open the app after installation. Create a new account using your email address. Choose a strong password to keep your account secure. The app may ask for basic information to set up your profile. This step is important for managing your device.
Connecting To Wi-fi
Next, connect your doorbell to your home Wi-Fi network. Select your network name in the app and enter the password. Your doorbell needs a strong Wi-Fi signal for best performance. Wait a few moments while the device connects. The app will confirm once the connection is successful.
Configuring Settings
After installing your Video Doorbell 3, configuring the settings is essential. This step ensures the device works exactly how you want. Proper settings improve security and convenience. Let’s explore key options to adjust for best performance.
Adjusting Motion Detection
Start by setting the motion detection zones. Choose areas where movement matters most. Avoid busy streets to reduce false alerts. Adjust sensitivity levels to match your needs. Higher sensitivity catches small movements. Lower sensitivity limits alerts to bigger actions.
Setting Notification Preferences
Decide how you want to receive alerts. Enable push notifications on your phone for instant updates. Set quiet hours to pause notifications during sleep. Choose which events trigger alerts, like motion or doorbell rings. This prevents unnecessary distractions throughout the day.
Customizing Video Quality
Video quality affects both clarity and data use. Select high definition for clear images of visitors. Lower settings save bandwidth and storage space. Balance quality with your internet speed. Test different options to find the best fit for your home setup.
Credit: ring.com
Testing The Video Doorbell
Testing your Video Doorbell 3 is important after installation. It ensures the device works correctly and keeps your home safe. Each function must work well for best results. Check the live video feed, test the two-way audio, and verify motion alerts. These steps confirm your doorbell is ready to use.
Checking Live Video Feed
Open the app linked to your Video Doorbell 3. Look at the live video on your phone or tablet. The picture should be clear and steady. Check the view during day and night to confirm good quality. Make sure the camera angle covers your porch well.
Testing Two-way Audio
Press the microphone button in the app. Speak into your device and listen through the doorbell speaker. Ask someone at the door to reply. This confirms the sound works both ways. Clear audio helps you talk to visitors safely.
Verifying Motion Alerts
Walk in front of the doorbell to trigger motion detection. Check your phone for alert notifications. Alerts should arrive quickly and clearly. Adjust the motion sensitivity in the app if needed. This feature keeps you informed about visitors or activity.
Troubleshooting Common Issues
Troubleshooting common issues is key to a smooth Video Doorbell 3 experience. Problems can arise during setup or daily use. Recognizing these issues helps you fix them fast. This saves time and avoids frustration. Below are some common problems and easy solutions.
Wi-fi Connectivity Problems
Wi-Fi issues often cause the doorbell to stop working. Check if your router is on and nearby. Move the doorbell closer to the router if the signal is weak. Restart your router to refresh the connection. Make sure the doorbell is connected to a 2.4 GHz network. Avoid 5 GHz networks, as the doorbell may not support them. Use the app to test the Wi-Fi strength at the doorbell’s location.
Power Supply Concerns
Power supply problems can stop your doorbell from functioning. Check the battery level using the app. Charge or replace the battery if it is low. If your doorbell uses wired power, ensure the wires are connected properly. Turn off the power before checking the wiring to avoid shocks. Look for any loose or damaged wires. A stable power source is necessary for continuous operation.
App Synchronization Errors
App syncing errors can cause delayed or missing alerts. Ensure your phone has a stable internet connection. Close and reopen the app to refresh the data. Log out and log back into your account if syncing fails. Update the app to the latest version for better performance. Clear the app cache in your phone settings to fix glitches. These steps often restore proper app synchronization quickly.

Credit: www.homedepot.com
Frequently Asked Questions
How Do I Connect Video Doorbell 3 To Wi-fi?
To connect Video Doorbell 3 to Wi-Fi, open the app and follow the setup instructions. Ensure your phone is near the doorbell and Wi-Fi is strong. Select your network and enter the password. The doorbell will then connect automatically for live video and alerts.
What Tools Are Needed To Install Video Doorbell 3?
You need a drill, screwdriver, level, and mounting screws. The package usually includes screws and anchors. A power drill speeds installation, but a manual screwdriver works too. Use the level to ensure the doorbell is straight on the wall or door frame.
Can I Install Video Doorbell 3 Without Professional Help?
Yes, you can install Video Doorbell 3 yourself. Follow the step-by-step instructions in the manual or app. Basic tools and some DIY skills are enough. If unsure, watch tutorial videos online. Professional help is optional but can ensure perfect setup.
How Long Does Video Doorbell 3 Installation Take?
Installation typically takes 15 to 30 minutes. This includes mounting, wiring (if needed), and connecting to Wi-Fi. Time varies based on your experience and existing setup. Reading instructions beforehand helps speed up the process efficiently.
Conclusion
Installing the Video Doorbell 3 is simple and quick. Follow each step carefully to ensure success. Test the doorbell after installation to check the video and sound. Keep your home safer with this handy device. Enjoy the convenience of seeing visitors from anywhere.
Regular maintenance helps the doorbell work well for years. Now, you can feel more secure every day.