
Are you tired of towels slipping off your bathroom hooks or cluttering your counters? Installing a towel rack in your drywall can solve this problem quickly and neatly.
But if you’ve never done it before, the idea might feel a bit tricky. Don’t worry—you’re about to learn a simple, step-by-step way to get it done right. By the end of this guide, you’ll have a sturdy towel rack that keeps your space organized and looks great.
Ready to make your bathroom more functional and stylish? Let’s get started!
Credit: www.youtube.com
Tools And Materials Needed
Before installing a towel rack in drywall, gather all necessary tools and materials. Proper preparation saves time and prevents mistakes. It also ensures a strong, lasting hold for your towel rack. Here is a list of what you need to get started.
Essential Tools
Start with a drill to make holes in the drywall. A screwdriver will help tighten screws securely. Use a level to keep the rack straight. A tape measure ensures accurate placement. Pencil marks the spots where you drill. A stud finder helps locate wall studs for a stronger mount.
Choosing The Right Towel Rack
Select a towel rack that fits your bathroom style and size. Consider the weight the rack will hold. Metal racks offer durability. Wood racks add warmth and style. Pick a rack with mounting holes that match your wall setup.
Hardware And Anchors
Use screws and anchors designed for drywall. Plastic anchors work for light loads. Metal anchors hold heavier racks firmly. Toggle bolts are best for very heavy racks. Make sure all hardware fits your towel rack’s holes. Strong anchors keep the rack stable and safe.

Credit: www.wallshark.com
Preparing The Wall
Preparing the wall is a key step before installing a towel rack. It ensures the rack will be secure and safe to use. Proper preparation helps avoid damage to the wall and keeps the towel rack stable. This part requires attention to detail and some basic tools.
Locating Studs
Studs are the wooden supports behind drywall. They provide strong points to anchor the towel rack. Use a stud finder to locate these studs. Move the finder slowly along the wall. Mark the edges of each stud with a pencil. Knowing the stud position helps place the rack firmly.
Marking Mounting Points
Marking the mounting points ensures the towel rack fits well. Measure the height where you want the rack. Use a level to draw a straight line. Mark spots on this line where screws will go. These marks must align with the studs or anchors.
Checking For Obstacles
Check the wall for obstacles before drilling. Look for wires, pipes, or nails behind the drywall. A wire detector can help find hidden wires. Avoid drilling into these obstacles to prevent damage. This step keeps your home safe and your installation clean.
Drilling And Installing Anchors
Drilling and installing anchors is a key step for a secure towel rack on drywall. Proper anchors hold the rack steady and prevent damage. This process needs careful attention to detail for strong support.
Selecting Drill Bits
Pick a drill bit that matches the anchor size. Too small, and the anchor won’t fit. Too big, and the anchor won’t hold tightly. Use a standard drill bit for drywall anchors. Check the package for the right size.
Drilling Pilot Holes
Mark the spot where the towel rack will go. Hold the drill steady and drill straight into the drywall. Drill slowly to avoid cracking. The hole should be deep enough for the anchor to fit fully.
Inserting Wall Anchors
Push the anchor into the hole gently. Tap lightly with a hammer if needed. The anchor should sit flush with the wall. Do not force it too hard. Tighten screws into the anchor to expand it and lock it in place.

Credit: diy.stackexchange.com
Mounting The Towel Rack
Mounting the towel rack on drywall needs care and attention. This step ensures the rack stays secure and can hold towels without falling. Follow simple instructions for a strong and neat installation.
Aligning The Rack
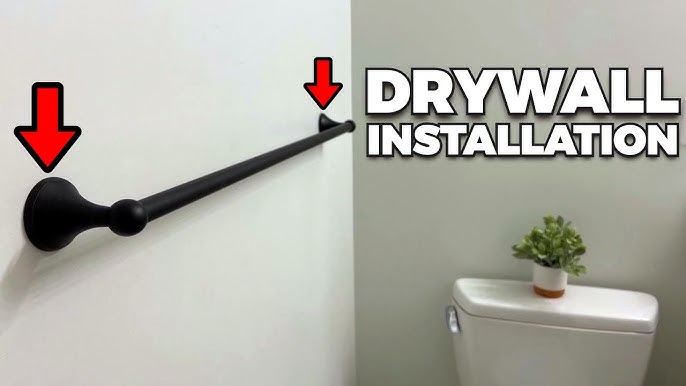
Place the towel rack against the wall at the height you want. Use a level to check if it is straight. Mark the spots for screws with a pencil. Make sure the marks match the rack’s holes.
Securing With Screws
Drill holes at the marked spots using a drill bit for drywall anchors. Insert the anchors firmly into the holes. Attach the towel rack by driving screws into the anchors. Tighten screws until the rack feels firm but avoid over-tightening.
Ensuring Stability
Check the rack by gently pulling it. It should not move or feel loose. If it moves, tighten the screws more. Test by hanging a towel to confirm it holds well. Proper stability keeps your rack safe and useful.
Finishing Touches
After installing your towel rack, the final steps matter a lot. The finishing touches make sure your rack looks neat and works well. These steps keep your bathroom tidy and your towel rack strong. Follow these simple tips to complete the job perfectly.
Cleaning The Area
Remove dust and debris around the rack. Use a soft cloth to wipe the wall and rack. Clean any marks or smudges left by tools. This helps the rack look fresh and new. A clean area also prevents damage to the wall finish.
Testing The Rack
Gently pull the rack to check its hold. Hang a towel to see if it stays secure. Make sure the rack does not wobble or move. Test every part to confirm it is tight and safe. This step avoids future problems and accidents.
Tips For Maintenance
Regularly wipe the rack to keep it clean and shiny. Check screws and brackets once a month for tightness. Avoid hanging very heavy items on the rack. Use mild soap and water to clean, not harsh chemicals. These habits extend the life of your towel rack.
Common Installation Mistakes
Installing a towel rack in drywall seems easy but common mistakes can cause problems. These errors lead to wall damage, weak support, or loose fixtures. Avoiding these mistakes saves time and effort. It keeps your towel rack strong and safe.
Avoiding Wall Damage
Drilling in the wrong spot can crack drywall. Use a stud finder to locate studs before drilling. If no stud is available, use drywall anchors. They hold screws firmly and stop damage. Do not overtighten screws; this can break the wall. Take your time to mark the spots clearly.
Ensuring Proper Support
Towel racks need strong support to hold weight. Screwing directly into drywall is not enough. Always find a stud or use heavy-duty anchors. Use a level to keep the rack straight. Uneven racks pull on one side, causing damage. Proper support helps the rack last longer.
Troubleshooting Loose Fixtures
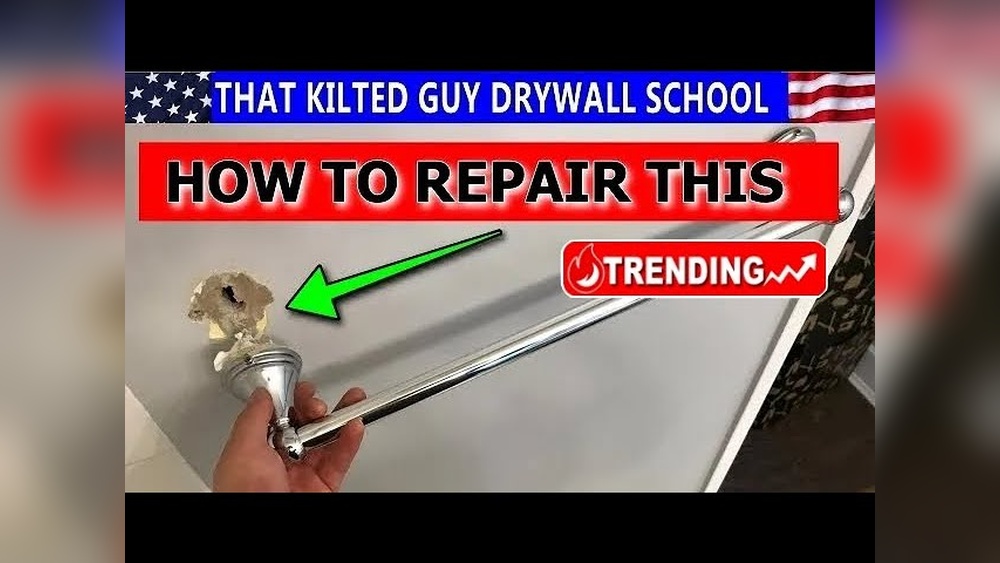
Loose towel racks often result from poor anchoring. Check if screws are tight but avoid overtightening. Replace weak anchors with stronger ones for better grip. If the rack wobbles, remove it and check the holes. Fill damaged holes with wall filler before reattaching.
Frequently Asked Questions
How Do I Find Studs In Drywall For Towel Rack Installation?
Use a stud finder tool to locate studs behind the drywall. Mark the stud positions clearly. Anchoring into studs ensures strong support for your towel rack.
Can I Install A Towel Rack Without Studs In Drywall?
Yes, use drywall anchors designed for heavy loads. These anchors distribute weight evenly and prevent damage. Follow package instructions for secure installation.
What Tools Are Needed To Install A Towel Rack In Drywall?
You need a drill, screwdriver, level, measuring tape, pencil, and stud finder. These tools help ensure accurate placement and secure mounting of the towel rack.
How High Should I Mount A Towel Rack On Drywall?
Mount the towel rack about 48 inches from the floor. This height is convenient for most users and keeps towels accessible and dry.
Conclusion
Installing a towel rack in drywall is simple and quick. Follow the steps carefully to ensure a strong hold. Use the right tools and anchors for safety. Double-check measurements before drilling any holes. A well-installed rack keeps towels neat and accessible.
Enjoy your organized bathroom with easy installation. Small projects like this boost your home’s look and function. Now, hang your towels with confidence and style.