Your smoke detector is one of the most important devices in your home. It keeps you and your loved ones safe by alerting you to danger.
But what happens when it stops working or gets old? You need to replace it, and you might wonder how to do that without any hassle. This guide will show you exactly how to replace your smoke detector quickly and safely.
By the end, you’ll feel confident handling this task yourself, ensuring your home stays protected. Keep reading to learn the simple steps that can make a big difference in your safety.
Credit: www.homedepot.com
Why Replace Your Smoke Detector
Smoke detectors are vital for home safety. They alert you early to fires, giving time to escape. Over time, smoke detectors lose effectiveness. Replacing them ensures your family stays safe.
Signs Your Detector Needs Replacement
Smoke detectors usually last about 10 years. Check the manufacture date on the back. If it’s older than 10 years, replace it. Frequent false alarms or no alarms during tests also signal issues. A detector that won’t stop beeping needs attention.
Risks Of An Outdated Detector
Old detectors may not sense smoke properly. This delays warnings and increases fire danger. Faulty detectors can fail during real emergencies. Dead batteries in old models add risk. Replace outdated units to keep your home protected.
Credit: www.swflelectric.com
Choosing The Right Smoke Detector
Choosing the right smoke detector is key to keeping your home safe. Not all smoke detectors work the same way or fit every home. Picking the right one means understanding the types, power options, and useful features. This helps you find a smoke detector that meets your needs and keeps your family protected.
Types Of Smoke Detectors
There are two main types of smoke detectors: ionization and photoelectric. Ionization detectors react faster to flaming fires. Photoelectric detectors are better at sensing smoldering fires. Some models combine both types for full protection. Choose a type based on your home’s risk and layout.
Battery Vs. Hardwired Models
Battery smoke detectors run on replaceable or sealed batteries. They are easy to install almost anywhere. Hardwired detectors connect to your home’s electrical system. They usually have battery backup for power outages. Hardwired models often link together to alert the whole house.
Features To Look For
Look for smoke detectors with loud alarms for clear warnings. A test button helps check if the device works. Some models have voice alerts that say “fire” or “warning.” Consider detectors with a hush feature to silence false alarms. Smart smoke detectors send alerts to your phone for extra safety.
Tools And Materials Needed
Replacing a smoke detector is a simple task. Having the right tools and materials makes the job faster and safer. This section lists what you need before starting.
Basic Tools Checklist
- Screwdriver (usually Phillips head)
- New smoke detector with mounting bracket
- Battery (if not included with detector)
- Ladder or step stool
- Voltage tester (for hardwired detectors)
- Wire nuts (for electrical connections)
- Flashlight (for dim areas)
Safety Gear
- Safety goggles to protect your eyes
- Work gloves to avoid cuts and scrapes
- Dust mask if old detector has dust or debris
- Non-slip shoes for stable footing
Step-by-step Replacement Process
Replacing a smoke detector is important for home safety. The process is simple and does not take much time. Follow each step carefully to ensure the new detector works well. This guide explains how to replace a smoke detector safely and correctly.
Turning Off Power
First, turn off the power to the smoke detector. Find the breaker box in your home. Switch off the breaker that controls the smoke detector circuit. This stops electricity from flowing to the device. Use a voltage tester to confirm no power is present.
Removing The Old Detector
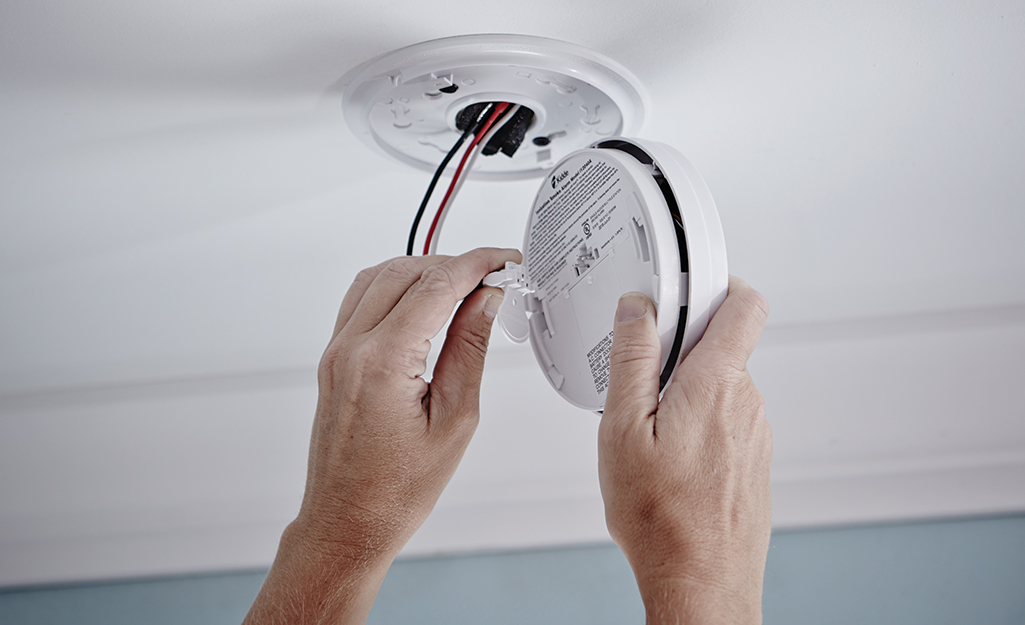
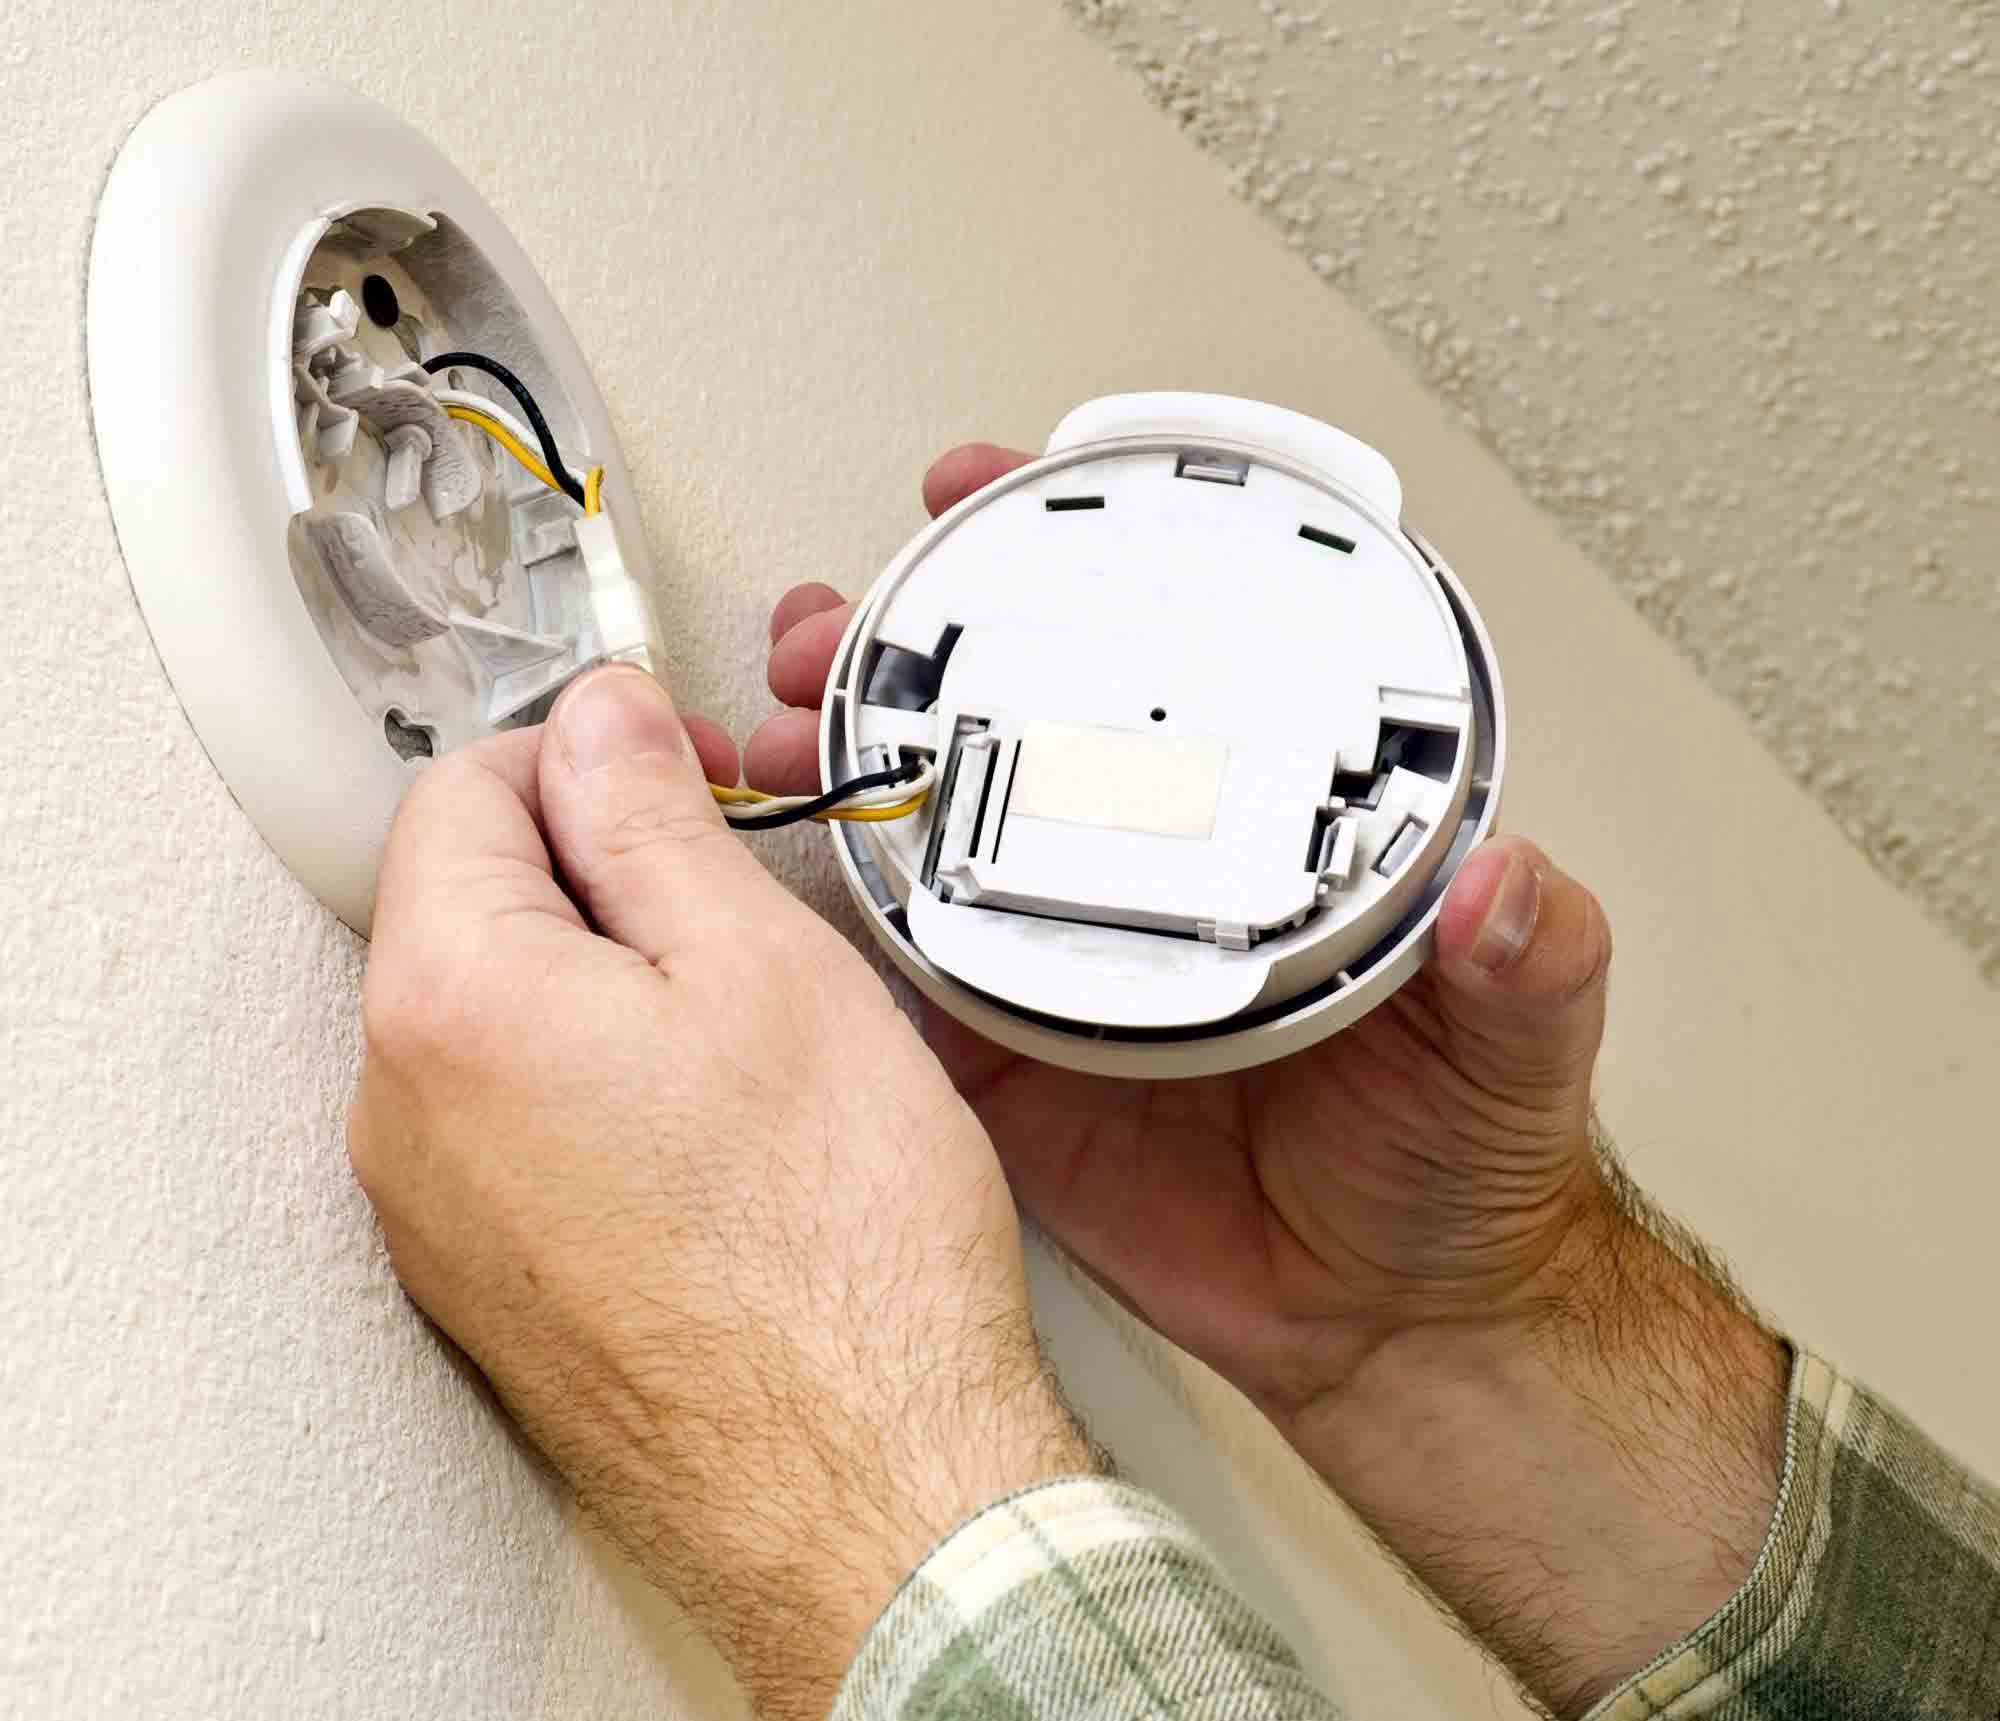
Next, gently twist the old detector counterclockwise. Pull it down from the mounting bracket. Disconnect the wires by pressing the release tab or unplugging the connector. Be careful not to damage the wires. Set the old detector aside for recycling or disposal.
Installing The New Detector
Connect the wires of the new smoke detector to the home’s wiring. Match the colors: black to black, white to white. Secure the connection with wire nuts if needed. Attach the new detector to the mounting bracket. Twist it clockwise until it locks in place.
Testing The New Unit
Turn the power back on at the breaker box. Press and hold the test button on the new detector. Listen for a loud alarm sound. This confirms the detector works correctly. Test monthly to ensure ongoing protection.
Maintenance Tips For Smoke Detectors
Smoke detectors keep you safe by warning you about fire early. Regular maintenance is key to ensure they work properly. Simple steps can extend their life and keep your home secure.
Regular Testing
Test your smoke detector once a month. Press the test button until you hear a loud alarm. If the sound is weak or silent, replace the batteries or the unit. Testing ensures the device works during emergencies.
Battery Replacement Schedule
Change batteries at least once a year. Use fresh, high-quality batteries for best results. Some detectors have sealed batteries that last 10 years. Replace the whole unit after 10 years for safety.
Cleaning Your Detector
Dust and dirt can block the sensor. Clean your smoke detector every six months. Use a soft brush or vacuum with a brush attachment. Avoid water or cleaning sprays. Keep the device free from debris for accurate alerts.
When To Call A Professional
Replacing a smoke detector can be simple, but some tasks need expert help. Calling a professional ensures safety and proper installation. Knowing when to ask for help saves time and avoids risks. Here are key signs to consider a professional for your smoke detector replacement.
Complex Wiring Issues
Smoke detectors often connect to home wiring. Faulty or old wiring can cause problems. Professionals understand electrical systems and follow safety codes. They detect hidden issues that can cause fire hazards. If wires look damaged or confusing, call an expert. Avoid handling electrical work alone to prevent shocks or shorts.
Multiple Detector Installations
Homes with many smoke detectors need careful setup. Interconnected units require proper wiring and configuration. Professionals ensure all detectors communicate correctly. This setup keeps your home safer in case of fire. They can install several units quickly and correctly. Complex installations are best left to trained technicians.

Credit: www.youtube.com
Frequently Asked Questions
How Do I Safely Remove An Old Smoke Detector?
Turn off the power at the circuit breaker first. Twist or unclip the detector from its mounting bracket. Disconnect the wiring carefully. Always handle with dry hands and avoid damaging the wires.
What Tools Are Needed To Replace A Smoke Detector?
You typically need a screwdriver, new smoke detector, and possibly a ladder. A voltage tester helps ensure power is off. These tools make replacement quick and safe.
How Often Should Smoke Detectors Be Replaced?
Replace smoke detectors every 10 years for optimal safety. Batteries should be changed annually or when low. Regular replacement ensures reliable fire detection and home protection.
Can I Replace A Smoke Detector Myself?
Yes, with basic tools and safety precautions, you can replace it. Turn off power, remove the old unit, connect wiring, and mount the new detector. Follow manufacturer instructions carefully.
Conclusion
Replacing a smoke detector is simple and important. It keeps your home safe from fire risks. Always test the new detector after installation. Change batteries regularly to avoid failures. Remember to follow the steps carefully for best results. Staying alert helps protect your family and property.
Don’t wait until it’s too late. A working smoke detector can save lives. Take action today and ensure your home is secure. Safety begins with small, smart choices.