Have you ever found yourself struggling to remove your KitchenAid Smart Blender jar because it’s stuck tight? It’s frustrating, especially when you’re ready to blend your favorite smoothie or whip up a sauce.
But don’t worry—you’re not alone, and this is a common issue that can be fixed with some simple steps. You’ll discover effective, easy-to-follow solutions to get your blender jar unstuck quickly and safely. Keep reading, and you’ll be back to blending in no time!
Causes Of Blender Jar Stuck
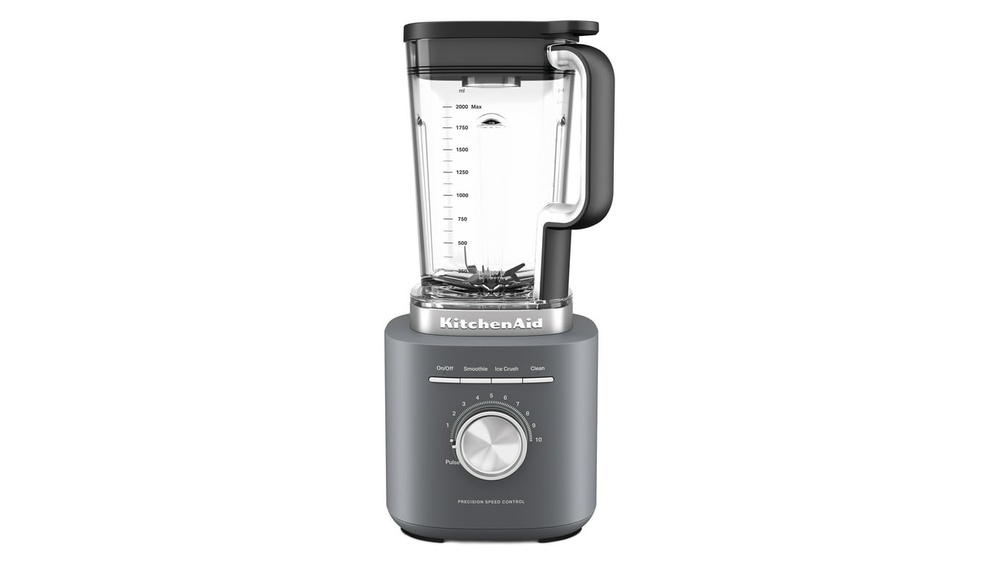
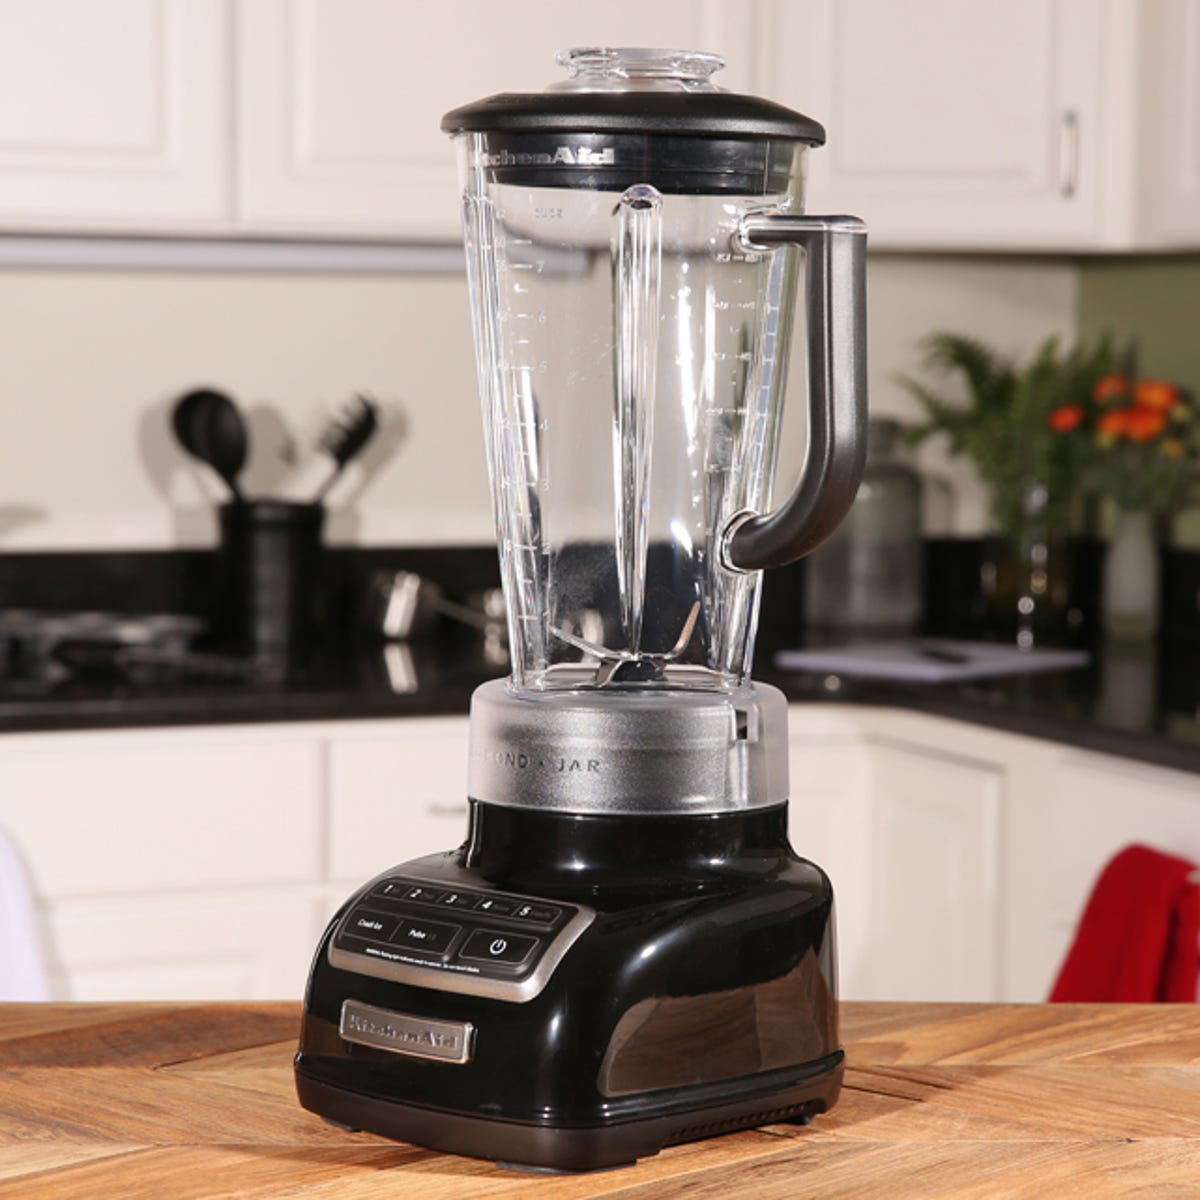
The KitchenAid Smart Blender jar can sometimes get stuck, causing frustration in the kitchen. Understanding the causes helps prevent damage and saves time. Several factors can make the jar hard to remove from the base. Identifying these issues allows for easier fixes and smoother use.
Common Mechanical Issues
Worn-out or damaged parts inside the blender cause jars to stick. The coupling that connects the jar to the motor may wear down over time. Misalignment of parts can create a tight fit that is hard to loosen. Sometimes, the locking mechanism inside the jar base can jam. Regular use and heavy blending increase the risk of mechanical problems.
Impact Of Dried Food Residue
Food particles trapped between the jar and base dry and harden. This dried residue acts like glue, making the jar hard to twist off. Sticky sauces and thick mixtures leave more residue than liquids. Cleaning the jar and base thoroughly after every use prevents buildup. Neglecting this cleaning step increases the chance of the jar sticking.
Effects Of Corrosion And Rust
Moisture inside the jar base can cause metal parts to rust. Rust forms rough patches that grip the jar tightly. Corrosion weakens the metal, causing parts to expand and stick. Exposure to water or dishwasher cycles worsens this problem. Keeping the blender dry and wiping metal parts helps avoid rust.
Credit: www.cnet.com
Safety Precautions Before Fixing
Before you start fixing the KitchenAid Smart Blender jar that is stuck, safety is very important. Taking the right precautions helps avoid damage and injury. Work carefully and stay alert. This section covers key safety steps to follow before attempting any repairs.
Unplugging The Blender
Always unplug the blender from the power outlet first. This stops electricity flow and prevents accidental starts. Handling the blender while it is plugged in can cause electric shock or injury. Never try to fix the jar while the blender is connected to power.
Protecting Motor And Electronics
Keep water and liquids away from the motor and electronic parts. Moisture can cause short circuits or damage the blender. Avoid spraying or pouring liquids near the base. Use a dry cloth to clean only the outside parts before working on the jar.
Preparing Your Workspace
Choose a clean, flat surface with good lighting. Clear away clutter to avoid knocking things over. Have tools ready and within reach. Wear gloves to protect your hands from sharp edges. Keep small parts in a container to prevent loss.
Using Warm Compress To Loosen Jar
The KitchenAid Smart Blender jar can sometimes get stuck on the base. This is often due to tight seals or metal parts contracting. Applying a warm compress helps by gently expanding the metal and loosening the jar. This method is safe and effective for many users.
Using heat carefully can make it easier to remove the jar without damage. Follow the steps below for best results.
How Heat Expands Metal Parts
Heat causes metal to expand slightly. When the jar’s metal parts warm up, they loosen their grip. This expansion reduces tightness between parts. Even a small temperature change helps in releasing stuck jars. Warm compress works by using this simple metal property.
Applying A Warm Compress Correctly
Use a clean cloth soaked in warm water, not hot enough to burn. Wring the cloth so it is damp but not dripping. Wrap it around the stuck area for about 5 minutes. Reheat the cloth if it cools down too fast. Avoid using boiling water to prevent damage.
Techniques To Twist And Wiggle The Jar
After warming, hold the jar firmly with both hands. Try twisting it gently in both directions. Use a slight wiggling motion to break the seal. Keep pressure steady but do not force too hard. Repeat warming if the jar still feels stuck.
Applying Mineral Oil Or Cooking Spray
Applying mineral oil or cooking spray can help loosen a stuck KitchenAid Smart Blender jar. These lubricants reduce friction between the jar and base. This method is simple and uses items found in most kitchens.
Selecting Food-safe Lubricants
Choose lubricants safe for food contact. Mineral oil is a good option because it is odorless and tasteless. Cooking spray also works well but may leave a residue. Avoid harsh chemicals that can harm plastic or contaminate food.
Proper Application And Waiting Time
Apply a small amount of mineral oil or cooking spray around the jar’s base. Use a cotton swab or soft cloth for even coverage. Let the lubricant sit for 5 to 10 minutes. This time allows it to seep into tight spaces and loosen the jar.
Cleaning Residue After Removal
After removing the jar, clean off any leftover lubricant. Use warm soapy water and a soft cloth. Make sure no oily residue remains. This step prevents slippery surfaces and keeps the blender safe for food use.
Tapping And Gentle Striking Methods
Tapping and gentle striking methods help loosen a stuck KitchenAid Smart Blender jar. These techniques apply light force to break the seal or debris holding the jar. They work best when other simple removal steps fail. Careful tapping avoids damage to the jar and blender base. Use the right tools and gentle motions for safe results.
Using A Hammer And Pin Punch
Use a small hammer and pin punch to tap stuck parts gently. Hold the pin punch against the stuck area, then tap lightly with the hammer. This action can push debris or bent parts back into place. Avoid heavy hits that could dent or crack the jar or blender base. Repeat carefully until the jar loosens.
Employing Rubber Or Wooden Mallets
Rubber or wooden mallets offer softer tapping compared to metal hammers. Tap around the jar base softly to break any sealed debris. These mallets reduce the risk of damage during tapping. Strike evenly and gently in a circular pattern. Stop frequently to check if the jar has moved.
Breaking Up Solidified Debris Safely
Solidified food or residue often causes jars to stick. Use tapping to loosen this debris safely. Avoid sharp tools that can scratch the jar. Applying gentle taps helps crack and break hardened residue. After tapping, try twisting the jar again to remove it. Clean the jar and base thoroughly once free.

Credit: www.walmart.com
Inspecting For Damage Or Rust
Removing attachments from your KitchenAid mixer can sometimes be tricky. Attachments may stick due to food residue, dried batter, or metal expansion. Learning simple tips helps you remove these parts safely and easily. Proper care keeps your mixer working well for years.
Below are some useful tricks and maintenance advice for removing KitchenAid attachments like beaters and blades. Follow these steps to avoid damage and frustration.
Beater And Blade Removal Tricks
Always unplug the mixer before removal to stay safe. Use a warm compress on the shaft to expand the metal slightly. This loosens the attachment. Gently wiggle and twist the beater or blade counterclockwise while pulling down.
If the part remains stuck, apply a small amount of food-safe mineral oil or cooking spray around the shaft. Let it sit for five minutes to penetrate. Then try twisting the attachment off again. Clean the shaft well if you use cooking spray to avoid stickiness.
For very stubborn attachments, tap the pin gently with a hammer and pin punch. This can help push the pin back into place and free the beater or blade.
Avoiding Common Removal Mistakes
Do not force the attachment by pulling too hard. This can damage the mixer or the part. Avoid using sharp tools that might scratch or bend metal pieces. Never try to remove attachments while the mixer is plugged in.
Do not soak the entire attachment in water while connected to the mixer. Moisture near electronics may cause damage. Always dry parts fully before reattaching or storing.
Maintenance To Prevent Sticking
Clean attachments immediately after use to stop food from hardening. Use warm soapy water and a soft brush to reach crevices. Dry all parts thoroughly before reassembling.
Occasionally, apply a thin layer of mineral oil on the shaft to keep it smooth and rust-free. Store attachments in a dry place to avoid corrosion.
Regular maintenance reduces the chance of stuck parts. It also makes your mixer last longer and work better every day.

Credit: www.ebay.com
Frequently Asked Questions
Why Is My Blender Jar Stuck?
Your blender jar may be stuck due to food debris, dried residue, or tight coupling. Warm the base, apply food-safe oil, then twist and wiggle gently to loosen it. Avoid force to prevent damage. Clean and dry parts regularly to prevent future sticking.
How To Get Off A Stuck Blender Lid?
Unplug the blender first. Apply warm water or a warm compress to the lid to expand it slightly. Twist the lid gently while pulling upward. Use a rubber grip or towel for better traction. Avoid forcing to prevent damage. Repeat if necessary.
How To Remove Stuck Kitchenaid Attachment?
Unplug the mixer first. Apply a warm compress to the shaft to expand the metal. Twist and wiggle the attachment gently. Use a small amount of food-safe mineral oil if stuck. Let it sit, then try removing again. Tap the pin gently with a hammer if needed.
How To Unseize A Blender Blade?
Unplug the blender first. Apply warm water or a warm compress to the blade base. Use a cloth to grip and twist the blade gently. Apply food-safe oil if it remains stuck. Avoid forcing to prevent damage. Repeat the process until the blade loosens.
Conclusion
Dealing with a stuck KitchenAid Smart Blender jar can be frustrating. Start by unplugging the blender for safety. Use a warm compress to loosen the metal parts gently. Applying a little mineral oil helps if the jar still won’t budge.
Twist and wiggle carefully to avoid damage. If these steps fail, check for rust or debris. Sometimes tapping gently with a rubber mallet works. Persistent problems may need professional help. Taking these simple actions can save time and avoid extra costs.
Keep your blender working smoothly with these easy tips.