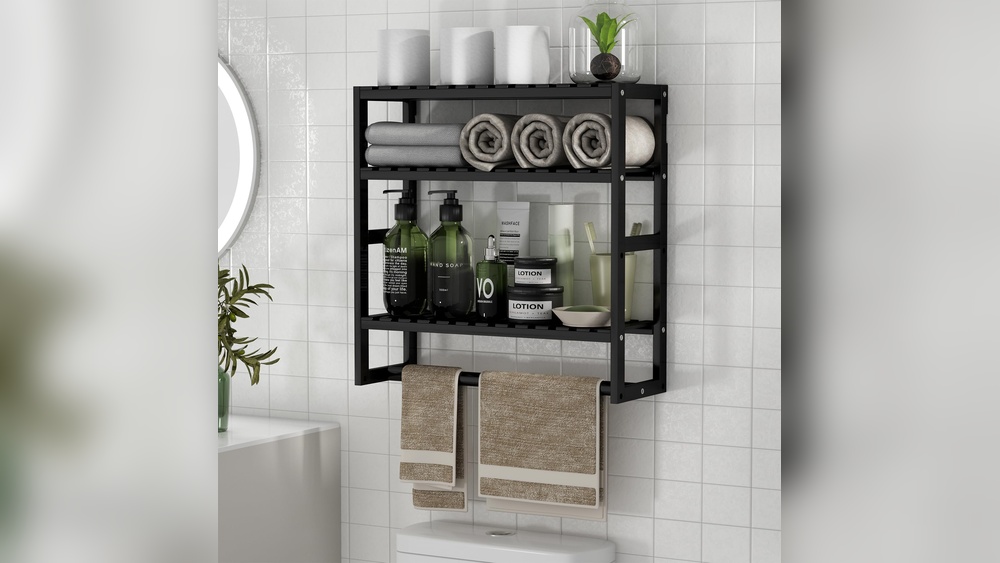

Looking for a smart way to organize your towels while adding a personal touch to your space? Imagine a towel rack that not only holds your towels but also showcases your favorite pictures right above it.
This clever combination can transform your bathroom or laundry area into a stylish and functional spot. In this guide, you’ll discover simple steps to create your own towel rack with pictures above—no fancy tools or skills needed. Ready to make your space more inviting and uniquely yours?
Keep reading, and let’s get started!
Materials Needed
Gathering the right materials is the first step to make a sturdy towel rack. Use quality items for a long-lasting result. This section lists the wood types, tools, and extra supplies needed.
Types Of Wood
Choose wood that resists moisture and warping. Cedar and teak are good options for bathrooms. Pine is cheaper but needs sealing to protect from water. Pick wood that fits your style and budget.
Tools Required
You will need a drill, saw, measuring tape, and screwdriver. A level helps keep the rack straight. Sandpaper smooths rough edges. Have clamps to hold wood while working.
Additional Supplies
Grab screws, wood glue, and wall anchors. Use paint or wood stain for a finished look. A brush or cloth helps apply the finish evenly. Use safety goggles and gloves for protection.
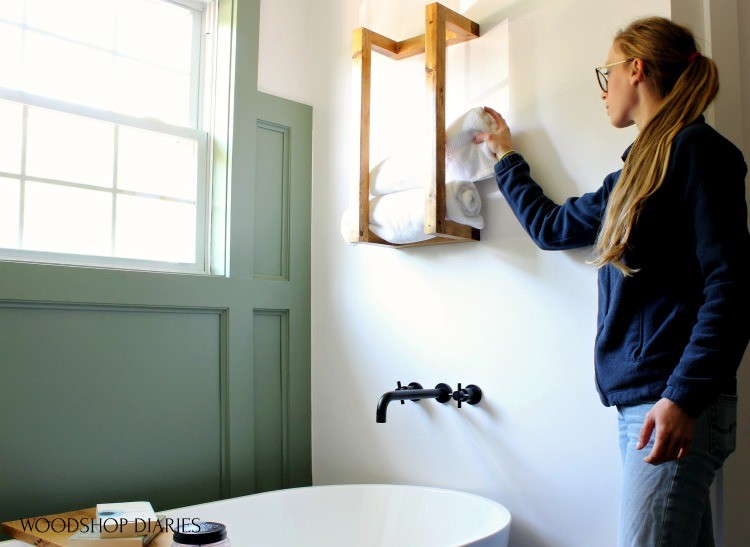
Credit: www.woodshopdiaries.com
Choosing The Design
Choosing the design for your towel rack with pictures sets the tone for your bathroom decor. It helps blend function with style. A well-chosen design makes the space look neat and inviting. Focus on elements that match your room’s feel. Balance creativity with practicality to create a unique towel rack.
Selecting The Style
Start by deciding the style that fits your bathroom. Rustic, modern, or classic styles work well for towel racks. Pick a style that matches your existing decor. Simple wooden racks add warmth. Metal racks give a sleek look. Choose colors and materials that complement your wall and floor.
Deciding The Size
Measure the space where you plan to install the rack. The size should fit without overcrowding the area. Consider how many towels you want to hang. Small racks suit compact bathrooms. Larger racks work well in spacious rooms. Keep the rack height easy to reach for all users.
Incorporating Picture Frames
Adding picture frames makes the towel rack unique. Use frames to display art or photos above the rack. Match the frame colors with your towel rack style. Choose waterproof frames for bathroom safety. Frames bring personality and charm to the setup. They make your towel rack more than just a holder.
Preparing The Wood
Preparing the wood is a key step in making a sturdy towel rack. Good preparation helps the wood last longer and look better. This step includes measuring, cutting, sanding, and finishing. Take your time to do each task well. It makes the building process easier and the final product stronger.
Measuring And Cutting
Start by measuring the wood pieces carefully. Use a tape measure to get exact lengths. Mark the wood clearly with a pencil. Cut the wood straight using a saw. Keep the cuts smooth and even. Accurate cuts help the towel rack fit together properly.
Sanding And Finishing
Sand all wood surfaces to remove rough spots. Use medium-grit sandpaper first, then fine-grit for smoothness. Sand edges and corners well to avoid splinters. After sanding, wipe the dust off with a cloth. Apply a wood finish or paint to protect the wood. Let it dry fully before building the rack.
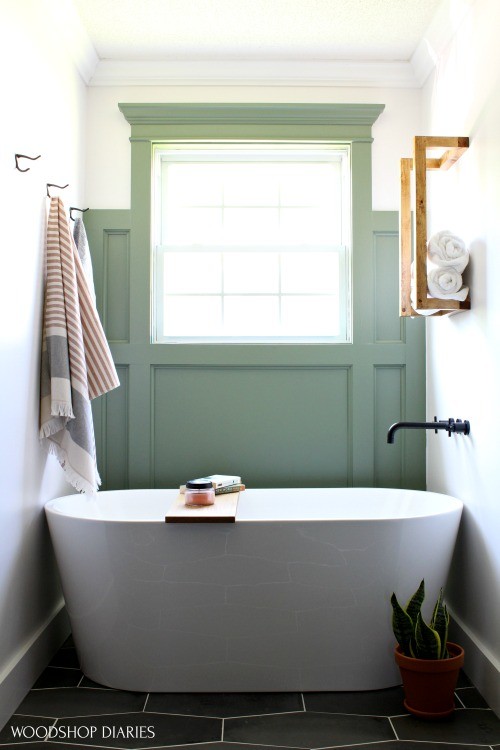
Credit: www.woodshopdiaries.com
Assembling The Rack
Assembling the towel rack is the key step to bring your project to life. This part involves putting together the main parts so the rack stands strong and looks neat. Follow each step carefully to ensure a sturdy and attractive rack.
Attaching The Supports
First, gather the supports and screws. Place the supports on a flat surface. Align them with the marks on the rack frame. Use a screwdriver to fix the screws tightly. Check that the supports are straight and secure. This forms the base that holds the towel bars.
Mounting The Towel Bars
Next, take the towel bars and position them between the supports. Match the holes on the bars with the supports. Insert screws through the holes and tighten them firmly. Make sure the bars are level and do not wobble. Proper mounting keeps towels in place and makes the rack easy to use.
Adding Pictures Above
Adding pictures above your towel rack creates a charming and personal touch. It makes the space feel warmer and more inviting. Pictures bring color and style to plain walls. They also reflect your personality and taste. This section guides you through placing and hanging frames securely above your towel rack.
Choosing Frame Placement
Pick pictures that fit the space well. Measure the wall area above the towel rack first. Leave some space between the rack and the frames. Balance the size of the frames with the rack width. Align the frames so they look neat and tidy. Group several small frames or use one large frame. Keep the placement eye-level for easy viewing.
Hanging The Frames Securely
Use strong hooks or nails for hanging. Check the wall type before choosing hardware. Drywall needs anchors for extra support. Wooden walls can hold nails directly. Hang the frames at the planned spots. Use a level tool to keep frames straight. Press firmly to secure each hook or nail. Test the frame’s stability by gently shaking it. Secure frames prevent accidents and keep your display safe.
Installation Tips
Installing a towel rack with pictures above requires careful planning. Proper installation keeps the rack stable and safe. Follow these tips to ensure a neat and secure setup. Each step helps your rack hold towels and pictures without problems.
Wall Anchors And Studs
Find wall studs before mounting the rack. Studs provide strong support for heavy items. Use a stud finder to locate them easily. If no stud is available, use wall anchors. Anchors hold screws tightly in drywall. Choose anchors rated for the rack’s weight. Drill holes carefully to avoid damage. Secure the rack firmly with screws in studs or anchors.
Leveling The Rack
Check the rack’s level before fixing screws. Use a spirit level to get a straight line. Mark the screw spots lightly with a pencil. Adjust marks if needed to keep the rack even. A crooked rack looks messy and can cause towels to slide off. Take time to level it right for a clean look. Tighten screws after confirming the rack is straight.
Maintenance And Care
Proper maintenance and care keep your towel rack looking great and lasting longer. Regular attention prevents damage and keeps the wood strong. This section explains how to clean and protect your rack.
Cleaning The Rack
Dust the rack often to avoid buildup. Use a soft cloth to wipe the wood gently. For sticky spots, use mild soap and water. Avoid harsh chemicals that can damage the wood finish. Dry the rack with a clean towel to stop water marks.
Protecting The Wood
Apply wood oil or polish every few months. This keeps the wood from drying and cracking. Use a product made for your wood type. Avoid placing the rack in direct sunlight or near heat sources. These can warp or fade the wood over time.
Credit: www.drivenbydecor.com
Frequently Asked Questions
How Do I Start Making A Towel Rack?
Begin by gathering materials like wood, screws, and brackets. Cut wood pieces as per design. Assemble using screws and brackets, then mount on the wall securely. Follow the step-by-step pictures for precise guidance.
What Tools Are Needed To Build A Towel Rack?
You need a saw, drill, screwdriver, measuring tape, and level. These tools help cut, assemble, and install the rack accurately. Using proper tools ensures safety and a professional finish.
How Long Does It Take To Make A Towel Rack?
Typically, it takes 1 to 2 hours to complete. Time varies by design complexity and skill level. Following the pictures speeds up the process and reduces errors.
Can I Customize The Towel Rack Design?
Yes, you can adjust size, shape, and finish. Customize to fit your bathroom style and space. Use different wood types or paint colors for a unique look.
Conclusion
Making a towel rack with pictures is simple and fun. Follow each step carefully to get the best result. Use the right tools and materials for safety and durability. Personalize your rack to fit your style and space. This project saves money and adds charm to your room.
Enjoy your new towel rack every day. Try different designs to keep improving your skills. Small efforts create big changes in your home. Start your DIY project now and feel proud of your work.