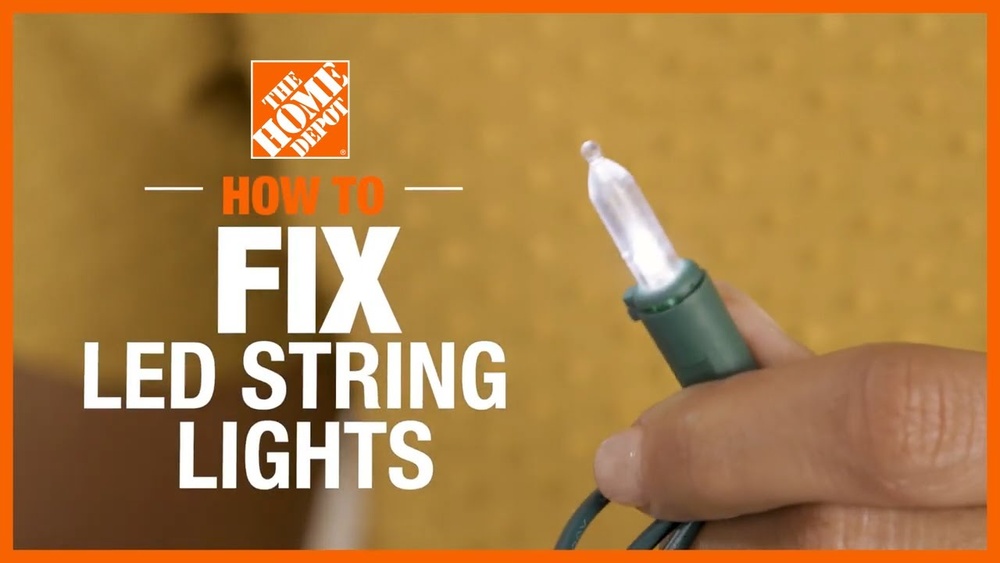
Are your string LED lights flickering, dim, or not turning on at all? It can be frustrating when your favorite decorations or lighting setups stop working.
But before you toss them out or spend money on replacements, there’s a good chance you can fix them yourself. In this guide, you’ll discover simple and effective ways to bring your LED lights back to life. By following easy steps, you’ll save time, money, and avoid unnecessary hassle.
Keep reading to find out how to get your string LED lights shining brightly again.
Credit: www.homedepot.com
Common Issues With String Led Lights
String LED lights are popular for decoration and mood lighting. They are easy to use but can face some common problems. Knowing these issues helps to fix them fast. This saves time and keeps your lights shining bright.
Burnt Out Bulbs
Burnt out bulbs stop the string from lighting fully. One bad bulb can make the whole string go dark. Check each bulb carefully. Replace any bulb that looks black or broken.
Broken Wires
Broken wires cause parts of the string to lose power. Look for cuts or bends in the wires. Use tape or wire connectors to fix small breaks. Avoid pulling or twisting wires too much.
Faulty Connectors
Connectors join parts of the string or the power source. Loose or dirty connectors stop electricity flow. Clean connectors with a dry cloth. Push connectors firmly to ensure a good connection.
Power Supply Problems
Power supply issues can cause the lights to flicker or not turn on. Check if the plug fits well in the socket. Test the power source with another device. Replace the power adapter if it is damaged.
Tools Needed For Repairs
Fixing string LED lights needs the right tools. Having these tools ready makes the job easier and safer. This section covers essential tools for repairs. You will learn about basic electrical tools, testing devices, and replacement parts.
Basic Electrical Tools
Start with simple electrical tools. Wire cutters help trim damaged wires cleanly. A wire stripper removes insulation without harming the wire inside. Electrical tape secures connections and protects against shorts. Small screwdrivers assist in opening LED light covers or cases. These basic tools are a must for any repair task.
Testing Devices
Testing devices check if your LED lights work correctly. A multimeter measures voltage, current, and resistance in wires. It helps find broken circuits or faulty bulbs. A continuity tester checks if electricity flows through a wire or connection. These devices save time by spotting the exact problem quickly.
Replacement Parts
Keep some replacement parts handy. Spare LED bulbs match the original lights in size and color. Extra wire helps replace damaged sections. Connectors and soldering supplies allow secure joins between wires. Having these parts ready avoids delays during repairs. It also ensures the lights work like new again.
Troubleshooting Steps
String LED lights can stop working for many reasons. Troubleshooting helps find the exact problem fast. Follow clear steps to check each part carefully. This saves time and avoids guesswork.
Start by testing the power source. Then, look closely at bulbs and sockets. Finally, check wires and connections. Each step shows what needs fixing.
Checking The Power Source
First, make sure the lights are plugged in properly. Check the outlet by plugging in another device. If the outlet works, test the light’s power switch. Sometimes the switch can be off or broken. Use a different power source to confirm.
Inspecting Bulbs And Sockets
Look for burned-out or broken bulbs. Remove each bulb and check the filament inside. Replace any bulb that looks dark or damaged. Check sockets for dirt or corrosion. Clean sockets gently with a dry cloth. Loose bulbs can cause the whole string to fail.
Testing Wires And Connections
Examine the wires for cuts or frays. Damaged wires can stop electricity flow. Check where wires connect to bulbs and plugs. Tighten loose connections carefully. Use a multimeter to test continuity if available. Fix or replace any faulty wire or connector.
Fixing Burnt Out Or Broken Bulbs
Fixing burnt out or broken bulbs in string LED lights can bring your decoration back to life. Damaged bulbs cause gaps in lighting and reduce the overall brightness. Repairing them is often simple and cost-effective. This guide shows how to spot and replace faulty bulbs safely.
Identifying Damaged Bulbs
Look closely at the bulbs for dark spots or cracks. Burnt out bulbs often appear black or cloudy inside. Broken bulbs may have visible glass damage or loose wires. Test bulbs by gently pressing or twisting them. Lights that flicker or stay off usually have a damaged bulb nearby.
Replacing Individual Bulbs
Unplug the string lights before starting any repairs. Remove the damaged bulb by pulling it straight out. Insert a new bulb carefully into the empty socket. Make sure it fits snugly and points in the right direction. Check the lights to confirm the new bulb works properly.
Using Compatible Replacements
Use bulbs that match the voltage and size of your string lights. Incompatible bulbs may cause electrical issues or fail to fit. Purchase replacements from the original manufacturer or trusted sellers. Keep spare bulbs on hand for future quick fixes. Proper bulbs ensure safe and long-lasting repairs.
Repairing Broken Wires
Repairing broken wires in string LED lights can restore their glow without buying new sets. Fixing wires is simple with basic tools and a little care. This guide shows clear steps to spot and fix wire issues safely.
Locating Wire Damage
First, unplug the lights. Look closely along the wire for cuts, tears, or burn marks. Feel for soft spots or breaks by gently bending the wire. Use a flashlight to check dark areas. Damaged parts often cause lights to flicker or stop working.
Stripping And Reconnecting Wires
Use wire strippers to remove about half an inch of the plastic covering. Be careful not to cut the wire strands inside. Twist the exposed wire ends together tightly. For better contact, use small wire connectors or solder the wires together. This step ensures the electric flow is restored.
Insulating And Securing Repairs
Wrap the repaired section with electrical tape to avoid short circuits. Use heat shrink tubing for a stronger, neat finish. Slide the tubing over the fix and heat it to shrink tightly. Secure the repair with cable ties if needed. This protects the wires and keeps the lights safe to use.
Fixing Faulty Connectors
Fixing faulty connectors is a key step in repairing string LED lights. Connectors can get dirty, loose, or damaged, causing the lights to stop working. Checking these parts can save time and money. This guide explains simple ways to fix common connector problems.
Cleaning Corroded Contacts
Corrosion blocks electricity and stops lights from working. Use a soft cloth or fine sandpaper to clean the contacts gently. Remove dirt and rust until the metal shines. Clean connectors help electric current flow freely, restoring light function.
Reattaching Loose Connectors
Loose connectors cause flickering or no light at all. Check if connectors fit tightly. Push connectors back together firmly to ensure a solid connection. Use tape to hold connectors in place if needed. Secure connections improve light performance and prevent interruptions.
Replacing Damaged Connectors
Cracked or broken connectors cannot fix with cleaning or tightening. Remove the damaged connector carefully. Buy a new connector that matches the size and type. Attach the new connector securely following the instructions. New connectors restore proper electrical flow and light up your string.
Addressing Power Supply Issues
Power supply issues often cause string LED lights to stop working. Checking and fixing these problems can save time and money. Start by examining the power source carefully. Many times, the adapter or voltage level causes the problem.
Testing The Adapter
First, unplug the adapter from the power outlet. Use a multimeter to check its output voltage. Compare the reading with the voltage written on the adapter label. No reading or a very low voltage means the adapter is faulty. Try using a different adapter with the same voltage rating. This step helps confirm if the adapter is the issue.
Replacing Faulty Power Supplies
If the adapter is broken, replace it with a new one. Make sure the new power supply matches the original’s voltage and current ratings. Using the wrong adapter can damage the LED string or cause it not to work. Buy a reliable adapter from trusted brands or stores. Check the connections to ensure they fit snugly.
Ensuring Proper Voltage
LED string lights need the right voltage to work well. Too much voltage can burn out the LEDs. Too little voltage makes the lights dim or not light at all. Check the power supply’s voltage output regularly. Use a voltage regulator if your power source is unstable. Proper voltage keeps the lights bright and safe.

Credit: www.youtube.com
Preventive Maintenance Tips
Taking care of string LED lights helps them last longer and work better. Simple steps can stop common problems. Preventive maintenance keeps lights bright and safe.
Regular Cleaning
Dust and dirt can block light and cause heat build-up. Clean the lights gently with a soft cloth. Avoid water or harsh chemicals. Clean the bulbs and wires to keep them bright.
Safe Storage Practices
Store the lights in a dry, cool place. Avoid tangling by wrapping them loosely. Use a spool or a box to keep wires neat. Proper storage stops damage and makes setup easy next time.
Avoiding Overloading Circuits
Plugging too many lights into one outlet can cause problems. Check the power limits of your string lights. Use multiple outlets or extension cords safely. This prevents electrical issues and keeps lights working well.

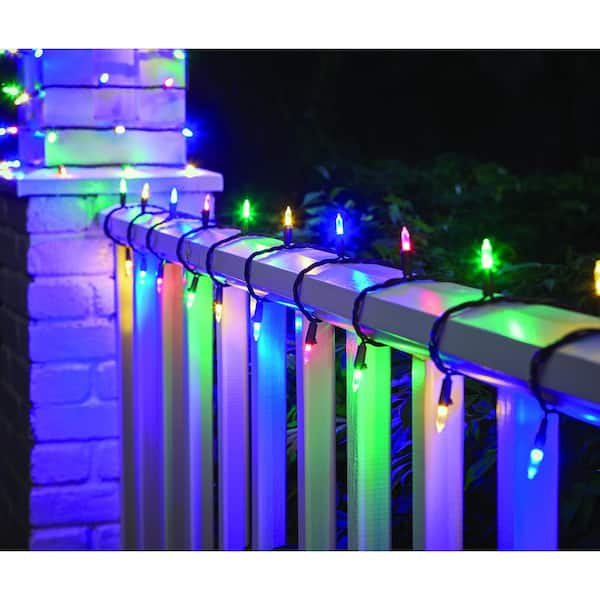
Credit: www.amazon.com
Frequently Asked Questions
How Do I Troubleshoot Non-working Led String Lights?
Check the power source and connections first. Inspect bulbs for damage and replace faulty ones. Test the fuse and wiring for issues.
What Tools Do I Need To Fix Led String Lights?
You need a multimeter, replacement bulbs, electrical tape, wire cutters, and a small screwdriver for repairs.
Can I Replace Individual Bulbs In String Led Lights?
Yes, most LED strings allow individual bulb replacement. Ensure you use the correct bulb type and wattage.
Why Are Some Led Lights Flickering Or Dim?
Flickering often means loose connections or faulty bulbs. Dim lights may indicate power supply problems or voltage drops.
Conclusion
Fixing string LED lights can be simple with the right steps. Check each bulb and connection carefully. Replace broken bulbs and secure loose wires. Clean dirt from sockets to improve contact. Test the lights often to find issues early. Small problems can stop the whole string.
Taking time to fix them saves money. Enjoy bright, working lights for your space. Keep these tips handy for future repairs. Your lights will shine again without stress. A little care goes a long way.