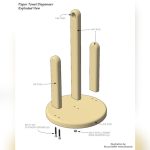
Is your ceramic towel rack broken and leaving your bathroom looking messy? You don’t have to replace the whole thing or call a costly professional.
Fixing a broken ceramic towel rack is easier than you think, and you can do it yourself with a few simple steps. Imagine saving money and restoring your bathroom’s neat look in no time. Keep reading, and you’ll discover the straightforward tricks to bring your towel rack back to life quickly and safely.
Assessing The Damage
Before fixing a broken ceramic towel rack, it is important to assess the damage carefully. This step helps you understand how serious the break is and what tools you need. Taking time to check the rack closely will save effort later.
Identifying Types Of Breaks
Look closely at the towel rack to find the type of break. Is it a clean crack, a chip, or a complete break? Cracks might be repairable with glue. Chips may need filling or sanding. Complete breaks often require gluing pieces back together.
Knowing the break type helps you choose the right repair method. Small cracks are easier to fix than large breaks. Notice if the break affects how the rack holds towels.
Checking For Missing Pieces
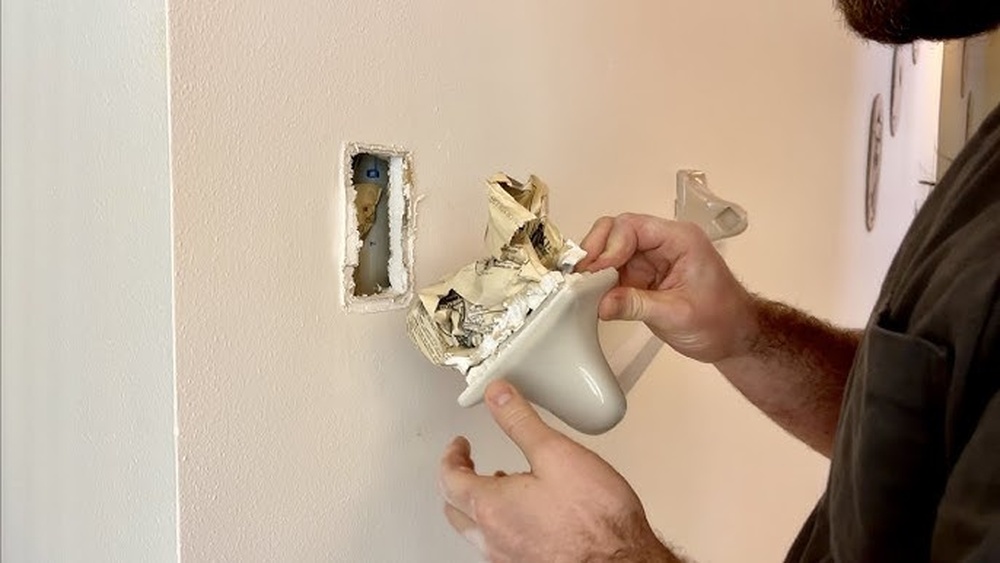
Check if any pieces are missing from the towel rack. Missing parts make repair harder or impossible. Gather all broken parts before starting the fix. Look around the area carefully to find small shards or fragments.
If pieces are missing, you may need replacement parts or consider buying a new rack. Complete pieces allow for a stronger repair. Keep all parts safe and clean before gluing them back together.
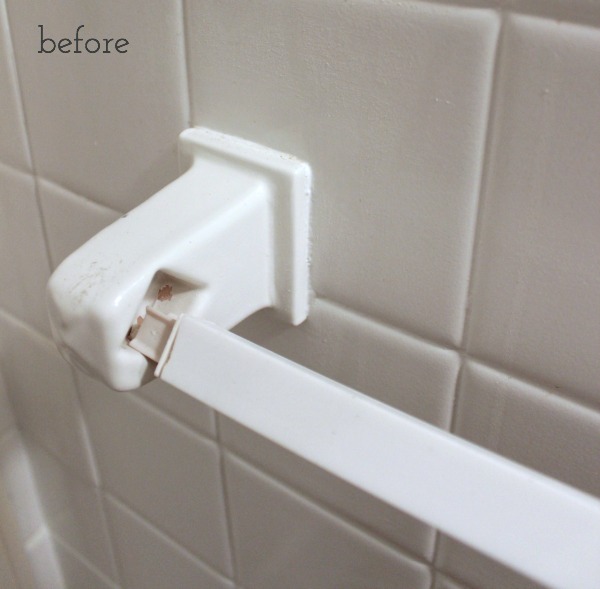
Credit: www.drivenbydecor.com
Gathering Repair Tools
Before starting to fix a broken ceramic towel rack, gather all the necessary tools. Having the right supplies helps the repair go smoothly. It saves time and avoids frustration. Prepare everything in one place for easy access during the repair process.
Essential Adhesives
Choose the right glue made for ceramics. Epoxy glue is strong and waterproof. Super glue works well for small cracks or breaks. Avoid regular glue; it won’t hold ceramic pieces firmly. Read the label to check if the adhesive suits ceramic surfaces.
Cleaning Supplies
Clean the broken surfaces before gluing. Use rubbing alcohol or mild soap with water. Remove dust, grease, and old glue bits. Dry the pieces fully after cleaning. Clean surfaces help the glue stick better and last longer.
Safety Gear
Wear safety goggles to protect your eyes from glue splashes. Use gloves to keep your hands safe and clean. Work in a well-ventilated area to avoid breathing in fumes. Safety gear keeps you safe throughout the repair process.
Preparing The Towel Rack
Preparing the towel rack is the first step to fix it properly. It helps the repair last longer. Taking time to get the surfaces ready is important. Clean and dry surfaces make the glue stick better. Positioning the pieces correctly prevents mistakes during fixing.
Cleaning The Surfaces
Remove dust and dirt from the broken parts. Use a soft cloth with mild soap and water. Avoid harsh chemicals that might damage the ceramic. Clean all glue points carefully. Rinse with clean water to remove soap. Let the surfaces look clean and free of grease.
Drying And Positioning
Dry the cleaned parts completely with a soft towel. Moisture can stop the glue from holding. Check the broken pieces and how they fit. Place the parts together without glue first. Make sure edges line up perfectly. This step helps avoid wrong placement later.
Applying Adhesive Correctly
Applying adhesive correctly is key to fixing a broken ceramic towel rack. The right glue and method ensure a strong, lasting bond. Poor application can cause the rack to break again quickly. Follow these steps carefully to restore your towel rack.
Choosing The Right Glue
Select an adhesive made for ceramics. Epoxy glue works well for strong bonds. Avoid glue that stays soft or flexible. Clear-drying glue looks better on ceramic surfaces. Check the glue package for water resistance. This helps the rack hold up in a moist bathroom.
Step-by-step Bonding Process
Clean both broken surfaces with rubbing alcohol. Remove dirt and grease for better glue grip. Apply a thin layer of glue to one side. Press the pieces together firmly for 30 seconds. Hold or clamp to keep parts still while drying. Follow the glue’s drying time on the package. Avoid moving the rack until the glue sets fully.
Securing And Curing
Securing and curing are vital steps in fixing a broken ceramic towel rack. They ensure the pieces stay firmly in place. Proper securing holds the parts together during the drying process. Curing allows the adhesive to harden fully. Both steps affect the strength and durability of the repair.
Clamping Techniques
Use clamps or tape to hold the broken pieces tightly. Avoid shifting the parts during this stage. Place soft padding between the clamp and ceramic to avoid damage. Apply even pressure across the joint for a strong bond. Check the alignment before tightening the clamps fully.
Curing Time And Conditions
Allow the adhesive to cure for at least 24 hours. Avoid moving or using the rack during this period. Keep the area dry and at room temperature. Extreme heat or cold can weaken the bond. Follow the adhesive manufacturer’s instructions for best results.
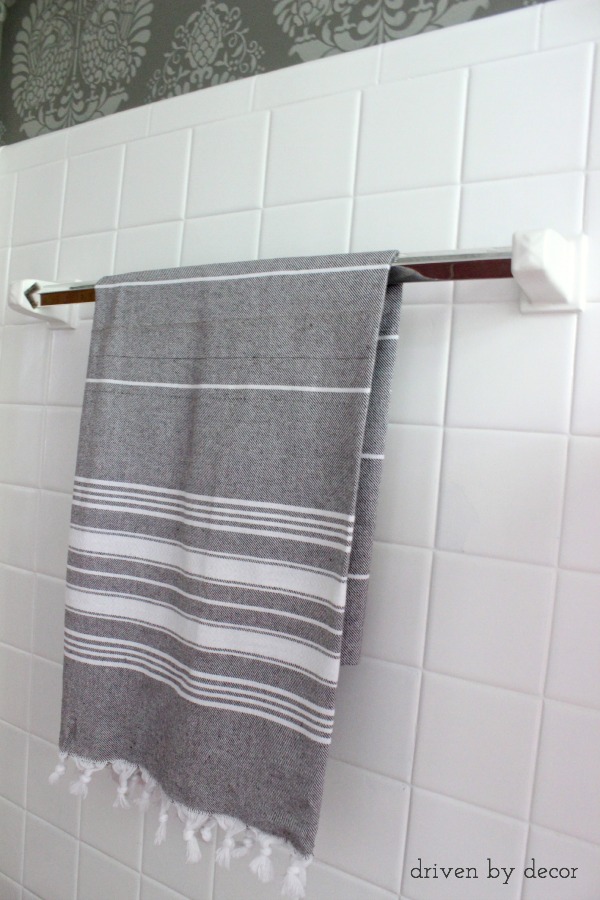
Credit: www.drivenbydecor.com
Finishing Touches
After repairing a broken ceramic towel rack, the finishing touches make all the difference. These steps help your rack look neat and last longer. Taking time here improves the overall result and keeps your bathroom looking fresh.
Removing Excess Glue
Start by checking the glued areas for any extra glue. Use a damp cloth to wipe off fresh glue carefully. For dried glue, gently scrape it with a plastic scraper or your fingernail. Avoid harsh tools that can scratch the ceramic surface. Removing glue residue prevents stains and rough spots.
Sanding And Polishing
Lightly sand the repaired area using fine-grit sandpaper. This smooths out any uneven edges and blends the repair with the rest of the rack. Be gentle to avoid damaging the ceramic. After sanding, polish the surface with a soft cloth. Polishing restores shine and makes the repair less noticeable. These final steps help your towel rack look almost new again.
Preventing Future Damage
Preventing future damage to a ceramic towel rack helps keep it strong and beautiful. Careful steps stop breaks and cracks from happening again. Small efforts protect your rack and save money on repairs.
Proper Installation Tips
Choose a solid wall to mount the towel rack. Drywall alone may not hold the weight well. Use wall anchors or screws designed for ceramic holders. Tighten screws gently to avoid cracks. Align the rack straight to spread weight evenly. Avoid overloading the rack with heavy towels. Follow the manufacturer’s instructions carefully for best results.
Maintenance Advice
Clean the rack regularly with a soft cloth and mild cleaner. Avoid harsh chemicals that can weaken ceramic glaze. Check screws and brackets often for looseness. Tighten loose parts before they cause damage. Dry towels before hanging to reduce moisture build-up. Handle the rack gently to prevent accidental hits. Regular care extends the rack’s life and keeps it safe.

Credit: diy.stackexchange.com
Frequently Asked Questions
How Do I Repair A Cracked Ceramic Towel Rack?
To repair a cracked ceramic towel rack, clean the crack thoroughly. Apply a strong ceramic adhesive carefully along the crack. Press the pieces together and allow the adhesive to cure fully. Sand lightly if needed and touch up with matching paint for a seamless finish.
Can I Fix A Broken Ceramic Towel Rack Myself?
Yes, you can fix a broken ceramic towel rack yourself using the right tools. Clean, glue, and clamp the broken parts carefully. Use epoxy adhesive for strong bonding. Follow safety precautions and allow sufficient drying time to ensure durability and restore functionality.
What Tools Are Needed To Fix A Ceramic Towel Rack?
You need ceramic adhesive or epoxy glue, sandpaper, a clean cloth, and possibly paint. A clamp or tape helps hold parts together while drying. These tools ensure proper repair and restore the towel rack’s strength and appearance efficiently.
How Long Does Ceramic Adhesive Take To Dry?
Ceramic adhesive usually takes 24 hours to dry fully. Some quick-dry adhesives set in 1-2 hours but need more curing time for strength. Always follow the manufacturer’s instructions for optimal drying and bonding results to ensure a sturdy repair.
Conclusion
Fixing a broken ceramic towel rack is easier than it seems. Small cracks and breaks can be repaired with basic tools and glue. Take your time and follow each step carefully. This helps your rack look good and last longer.
A repaired rack saves money and reduces waste. You can enjoy a neat and functional bathroom without buying new items. Try this simple fix and see the difference it makes. Keep your towel rack sturdy and safe for everyday use.