Looking to hang your Lowe’s towel rack quickly and securely? You’re in the right place.
Installing a towel rack might seem simple, but getting it right makes a big difference in how sturdy it feels and how great your bathroom looks. In this guide, you’ll discover easy, step-by-step instructions that anyone can follow—no special tools or skills needed.
By the end, you’ll have your towel rack up and ready to use, adding both convenience and style to your space. Keep reading, and let’s get started!

Credit: saintnicholashospital.com.br
Tools And Materials Needed
Preparing the right tools and materials makes hanging a Lowe’s towel rack easier. Knowing what you need saves time and avoids frustration. Gather everything before starting your project.
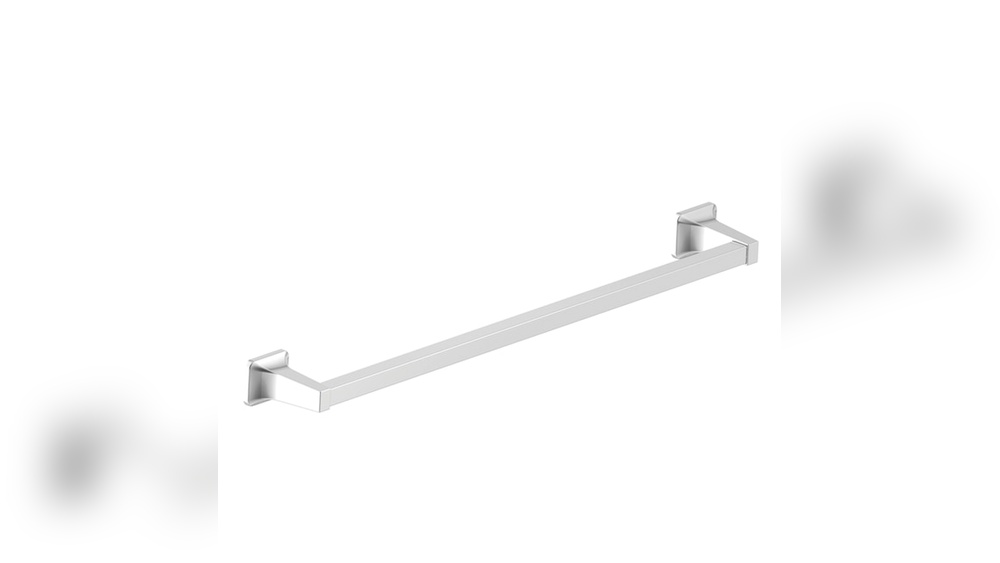
Towel Rack Components
The towel rack kit usually includes brackets, screws, and the rack bar. Check the package for all parts. Missing pieces can delay your work. Some racks come with wall anchors for drywall installation. Make sure you have these if needed.
Essential Tools
You will need a drill with drill bits to make holes. A screwdriver helps secure screws tightly. A measuring tape is important for correct placement. Use a level to keep the rack straight. A pencil is useful to mark where to drill.
Safety Gear
Wear safety glasses to protect your eyes from dust. Gloves keep your hands safe from sharp edges. Ear protection is good if you use loud power tools. These simple safety steps prevent accidents during installation.
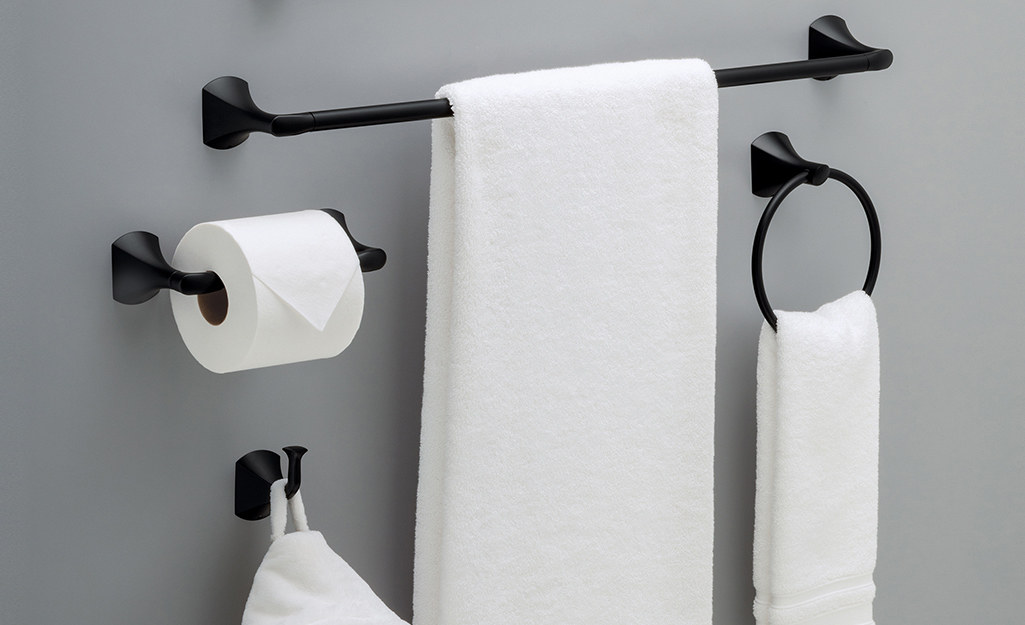
Choosing The Right Location
Choosing the right location for your Lowes towel rack makes a big difference. A well-placed rack looks good and works well. It keeps towels within easy reach and helps your bathroom stay tidy. Think about the space, height, and wall type before installation.
Ideal Height And Placement
Place the towel rack at a height that suits everyone. Usually, 48 inches from the floor works well. This height fits most adults and children. Position it near the sink or shower for easy access. Avoid spots too close to water to prevent damage.
Wall Surface Types
Check the wall surface before hanging the rack. Drywall, tile, and wood need different tools and anchors. Use wall anchors for drywall to hold weight safely. For tile, use a drill bit made for tiles to avoid cracks. Wood walls allow direct screwing without anchors.
Avoiding Obstacles
Look for obstacles like light switches, outlets, or shelves nearby. Avoid hanging the rack where it blocks access or looks crowded. Leave enough space around the rack for towels to hang freely. Clear space helps towels dry faster and keeps your bathroom neat.
Preparing The Wall
Preparing the wall is the first step to hang your Lowes towel rack properly. It ensures the rack stays secure and looks neat. Taking time here saves effort later and prevents damage to the wall.
Start with cleaning the wall surface. Remove dust, dirt, or grease. A clean wall helps the rack stick better and holds screws firmly.
Marking Drill Points
Measure the towel rack’s mounting holes carefully. Use a pencil to mark exact spots on the wall. Check the marks twice before drilling.
Keep the marks level. Use a spirit level or a ruler to align marks horizontally. Straight marks avoid a crooked towel rack.
Finding Studs
Studs provide strong support for heavy items. Use a stud finder to locate wooden studs behind the drywall. Mark stud positions near your drill points.
If studs are not where you want to place the rack, consider using wall anchors. Avoid drilling only into drywall without support.
Using Wall Anchors
Wall anchors help hold screws in drywall. Choose anchors that fit your screw size and wall type. Insert anchors into drilled holes before screwing.
Push anchors flush with the wall. They spread the load and prevent the rack from pulling out. Use anchors for towels racks away from studs.
Credit: www.kaz-metiz.com
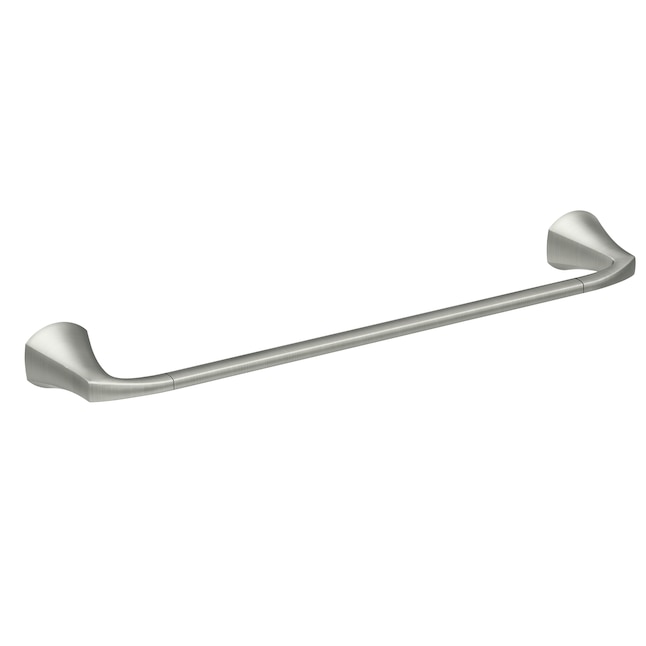
Installing The Towel Rack
Installing the Lowe’s towel rack is simple with the right steps. Follow these clear instructions for a secure setup. Each step ensures your towel rack holds well and looks neat.
Drilling Holes
Start by marking the spots for the holes. Use a level to keep marks straight. Choose a drill bit matching the wall anchors. Drill holes carefully at the marked points. Clean dust from holes before moving on.
Securing Mounting Brackets
Insert wall anchors into drilled holes. Tap them gently until flush with the wall. Align mounting brackets with the anchors. Screw brackets firmly in place. Check brackets are tight and stable.
Attaching The Rack
Place the towel rack onto the brackets. Make sure it fits securely over the brackets. Tighten any screws to lock the rack in place. Test the rack by gently pulling on it. It should feel solid and safe.
Finishing Touches
Finishing touches make your towel rack both useful and neat. These steps ensure your rack stays safe and looks good. Small details matter for lasting satisfaction.
Checking Stability
Test the rack by gently pulling on it. Make sure it does not wobble or feel loose. Tighten screws if anything moves. A firm rack prevents accidents and damage.
Cleaning Up
Remove dust and debris from the installation area. Wipe the rack with a damp cloth to remove fingerprints. Clean surroundings keep your bathroom fresh and tidy. Proper cleanup gives a polished look.
Maintaining Your Towel Rack
Check the rack regularly for loose screws or rust. Tighten parts as needed to keep it secure. Avoid using harsh chemicals that damage the finish. Proper care extends the life of your rack.
Troubleshooting Common Issues
Installing a towel rack from Lowe’s can be simple, but some common problems might happen. These issues can stop your rack from working well or looking right. Fixing them fast keeps your bathroom neat and safe. Below are easy tips to solve usual troubles when hanging your towel rack.
Loose Fixtures
Loose fixtures make the towel rack unstable. This happens if screws are not tight enough. Use a screwdriver to tighten all screws firmly. Check the wall anchors. Replace any damaged ones for better hold. Test the rack by gently pulling it. It should stay steady without moving.
Misaligned Rack
A misaligned rack looks crooked and can cause towels to fall. Measure the distance between mounting holes carefully. Mark spots with a pencil before drilling. Use a level tool to ensure straight placement. Drill holes exactly where marked. Attach the rack and check alignment again. Adjust if needed to keep it even.
Damage To Wall
Wall damage can happen if drilling is done too hard. Small cracks or holes weaken the wall. Fill holes with spackle or wall filler and let dry. Sand the area smooth before painting. Use proper anchors for the wall type. Drywall anchors work best for drywall. For tile walls, use a drill bit made for tiles.
Credit: www.lowes.com
Frequently Asked Questions
How Do I Install A Lowes Towel Rack Securely?
Use a stud finder to locate wall studs. Mark drill points, drill pilot holes, insert anchors if needed, and tighten screws firmly. This ensures your Lowes towel rack is stable and can hold weight without falling.
What Tools Are Needed To Hang A Lowes Towel Rack?
You need a drill, screwdriver, level, measuring tape, pencil, and wall anchors. These tools help you mount the towel rack straight and secure, making installation quick and efficient.
Can I Mount A Lowes Towel Rack On Tile Walls?
Yes, use a masonry bit to drill holes in tile. Insert appropriate anchors to avoid cracking. This method ensures a strong hold on tile surfaces for your towel rack.
How High Should I Hang A Lowes Towel Rack?
Hang the towel rack about 48 inches from the floor. This height is convenient for most users to reach towels comfortably, ensuring both usability and aesthetic appeal.
Conclusion
Hanging a Lowe’s towel rack is simple with clear steps. Use the right tools and measure carefully for best results. Secure the rack firmly to avoid any accidents. Take your time to align everything straight and even. This small task can improve your bathroom’s look and function.
Enjoy your new towel rack and the added convenience it brings.