Are you tired of cluttered spaces and looking for a simple way to add extra storage without buying new furniture? What if you could turn something as ordinary as your towel rack into a stylish, functional shelf?
Imagine having a neat spot to display your favorite items or keep essentials within easy reach—all by repurposing what you already have. You’ll discover easy steps to transform your towel rack into a sleek shelf that fits your space and style.
Keep reading, and you’ll be amazed at how a small change can make a big difference in your home.

Credit: www.ebay.com
Materials Needed
Before starting to turn a towel rack into a shelf, gather all the materials. Having everything ready makes the project smooth and fast.
Most materials are easy to find at home or a local store. Use simple tools and supplies to keep the project low cost and quick.
Wooden Board
Choose a wooden board that fits the towel rack size. It will be the main surface of your new shelf. Smooth wood works best for a clean look.
Towel Rack
Pick a sturdy towel rack that can hold weight. Metal racks are strong and last longer. Make sure it is firmly attached to the wall.
Screws And Wall Anchors
Use screws to secure the wooden board to the rack. Wall anchors help hold the rack tight on drywall. These keep the shelf safe and stable.
Drill And Screwdriver
A drill makes holes for screws easier and faster. A screwdriver helps tighten screws by hand. Both tools save time and effort.
Measuring Tape And Pencil
Measure the wood and rack carefully before cutting or drilling. Mark spots with a pencil for precise work. Accuracy helps the shelf fit perfectly.
Sandpaper
Sand the wooden board edges for a smooth finish. It stops splinters and gives a neat look. Sandpaper is cheap and easy to use.
Choosing The Right Towel Rack
Choosing the right towel rack is key to creating a sturdy and stylish shelf. Not all towel racks work well as shelves. Some are too thin or weak to hold items safely. Others may not have the right shape or size.
Selecting the perfect towel rack means checking its strength, design, and size. The right rack supports your items and matches your room’s look. This step makes your project easier and the result more useful.
Material And Strength
Pick a towel rack made from strong materials like metal or solid wood. These materials hold weight better. Avoid plastic racks. They often bend or break under pressure.
Design And Shape
Choose a rack with flat or wide bars. These bars create a good base for placing items. Rounded or thin bars may not support a shelf well.
Size And Length
Measure the space where you want to place the shelf. Select a towel rack that fits well. Longer racks hold more items and offer better shelf space.
Preparing The Towel Rack
Preparing the towel rack is the first step in turning it into a shelf. This stage makes sure the rack is clean and ready for new use. Taking time here helps the project go smoothly. A good preparation creates a strong base for the shelf.
Cleaning And Sanding
Start by cleaning the towel rack. Remove dust and dirt with a damp cloth. Use mild soap if needed. Let it dry completely before sanding.
Next, sand the rack’s surface. Use medium-grit sandpaper to smooth rough spots. Sanding removes old paint or rust. It helps paint or stain stick better later.
Removing Unnecessary Parts
Look for parts you don’t need on the rack. Remove hooks or bars that won’t fit the shelf design. Use a screwdriver or pliers for this step.
Keep only the main frame and supports. Removing extra pieces makes the rack lighter. It also gives a cleaner look for the new shelf.

Credit: simplyorganized.me
Selecting The Shelf Surface
Choosing the right surface for your towel rack shelf is important. The material affects how strong and stylish the shelf will be. It also decides how well the shelf fits your room’s look. Pick a surface that holds up well to moisture and daily use. The size and weight of items you plan to place on the shelf matter too.
Below are some common materials that work well for towel rack shelves.
Wood Options
Wood is a popular choice for shelves. It looks warm and natural. Pine and oak are affordable and easy to find. They can be stained or painted to match your decor. Cedar wood resists moisture and smells nice. Hardwood like maple or walnut is very strong but costs more. Make sure the wood is smooth and sealed to protect it from water damage.
Alternative Materials
Metal shelves offer a sleek, modern look. They are strong and resist water well. Aluminum or stainless steel works best for bathrooms. Glass adds a clean and airy feel. Tempered glass is safe and tough but needs careful handling. Plastic or acrylic shelves are light and easy to clean. Choose thick materials that won’t bend under weight.
Attaching The Shelf
Attaching the shelf to your towel rack is the key step in turning it into a functional shelf. This part requires careful measuring and solid mounting. Proper attachment ensures the shelf holds weight and looks good. Follow these steps to secure your new shelf safely and neatly.
Measuring And Cutting
Measure the length and width of the towel rack. Match the shelf size to these measurements for a balanced look. Use a pencil to mark the wood where you need to cut. Cut the shelf board carefully with a saw. Make sure edges are smooth for safety. Double-check the size before moving on.
Mounting Techniques
Choose strong screws or brackets for mounting. Attach brackets under the shelf to support weight. Use a drill to fix screws into the towel rack frame. Ensure the shelf is level by using a spirit level. Tighten screws firmly but avoid splitting the wood. Test the shelf by placing light items first.
Finishing Touches
The finishing touches bring your towel rack shelf to life. They protect the wood and make the shelf look great. These steps help your shelf last longer and fit your room’s style.
Painting Or Staining
Choose paint or stain to match your room’s color. Paint covers the wood completely and gives a smooth look. Stain shows the wood’s natural grain and adds warmth. Use a brush or cloth to apply evenly. Let it dry fully before adding another coat.
Sealing For Durability
Seal your shelf to protect it from water and damage. Use a clear sealant made for wood surfaces. Apply thin layers with a brush, allowing each to dry. Sealing stops moisture from soaking in and keeps the shelf strong. This step is important, especially in bathrooms or kitchens.
Mounting The Shelf
Mounting the shelf is a key step in turning a towel rack into a functional shelf. This process makes sure your shelf stays strong and safe. Careful mounting also keeps your wall from damage. Follow these tips to mount your shelf properly.
Choosing The Location
Pick a spot with enough space for your shelf. Make sure it is easy to reach and fits your room style. Avoid areas near water or heat sources to protect items on the shelf. Check the wall surface for strength and flatness. A solid wall holds weight better than drywall alone. Measure the height so the shelf is comfortable to use.
Securing To The Wall
Use a stud finder to locate wall studs for strong support. Mark the spots where you will place screws. Drill pilot holes to prevent the wall from cracking. Use wall anchors if you cannot find studs. Attach the towel rack firmly with screws or bolts. Test the shelf by applying light pressure to confirm it is secure.
Creative Uses For Your New Shelf
Transforming a towel rack into a shelf gives you a new space to organize and display items. This small change can improve any room’s look and function. Use your new shelf in creative ways to fit your needs and style. Here are some ideas to inspire you.
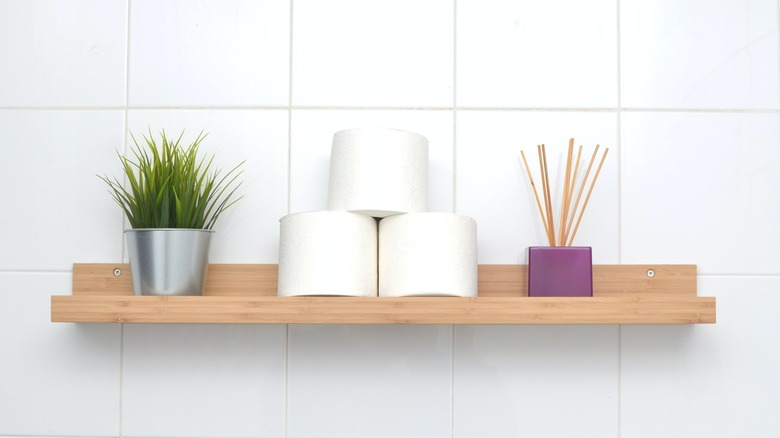
Display Small Plants And Succulents
Place small pots with plants on the shelf. Greenery adds freshness and color to your room. Succulents need little care and fit nicely on narrow shelves.
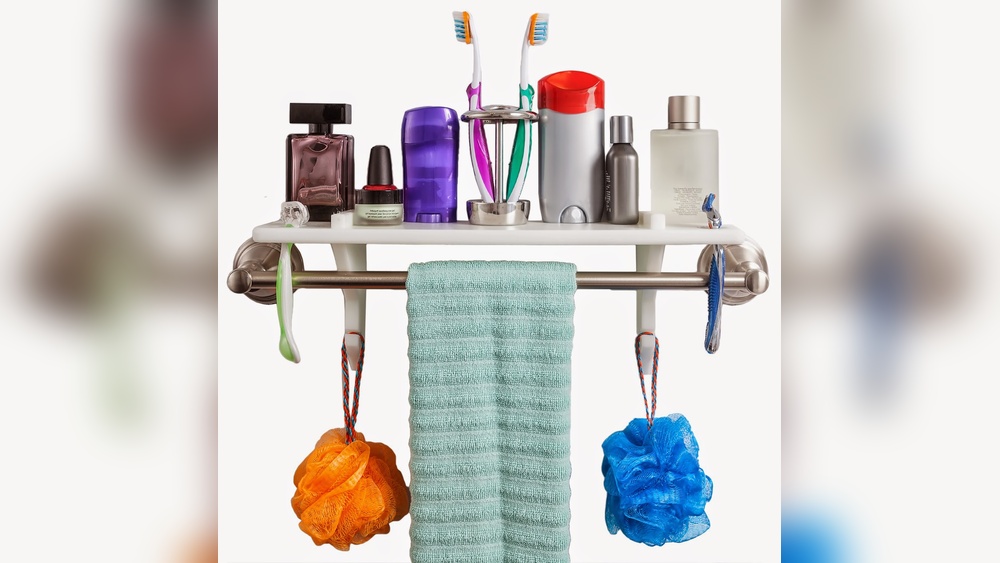
Organize Bathroom Essentials
Store toiletries like soap, lotion, and brushes. Keep things neat and easy to reach. This frees up counter space for other uses.
Showcase Decorative Items
Use the shelf to display candles, figurines, or photo frames. It creates a personal touch in your space. Change items with seasons or moods.
Hold Kitchen Spices And Jars
Keep spices, jars, or small bottles within easy reach. It helps when cooking and saves cabinet space. Label jars for quick identification.
Create A Mini Bookshelf
Store a few favorite books or magazines. It makes reading material easy to find. This is perfect near a reading chair or bed.
Credit: www.housedigest.com
Frequently Asked Questions
How Do I Convert A Towel Rack Into A Shelf?
To convert a towel rack into a shelf, remove the bars. Attach a wooden plank or board on top using screws or brackets. This creates a sturdy flat surface to hold items.
What Tools Are Needed To Make A Towel Rack Shelf?
You need a screwdriver, drill, screws, brackets, a wooden plank, and sandpaper. These tools help safely and securely attach the shelf to the existing rack.
Can I Install A Shelf On Any Towel Rack?
Most metal or wooden towel racks can be converted. Ensure the rack is firmly mounted and strong enough to hold shelf weight before installation.
How Much Weight Can A Towel Rack Shelf Hold?
Weight capacity depends on rack material and mounting method. Properly secured racks with strong brackets can hold 10 to 30 pounds safely.
Conclusion
Turning a towel rack into a shelf saves space and adds style. It costs little but gives a fresh look. Anyone can do this with simple tools and steps. Try it to organize your room better. Small changes can make a big difference.
Give your space a new purpose and enjoy the result. Simple projects like this bring fun and function together. Why not start today and see the change?