Are you looking to add a magical glow to your space with tiny, twinkling lights? Making your own micro LED string lights is easier than you think, and it gives you full control over the design and brightness.
Imagine creating a custom set that fits perfectly in your room, garden, or even on your favorite craft project. This guide will walk you through simple steps to build your own micro LED string lights, even if you’re a beginner.
By the end, you’ll have a beautiful, glowing creation that’s uniquely yours. Ready to light up your world? Let’s get started!
Materials Needed
Gathering the right materials is the first step to making micro LED string lights. Each component plays an important role in the final product. Use quality parts to ensure your lights work well and last long.
Choose items that fit your project’s size and style. Small, lightweight parts make the string lights neat and flexible. Prepare all materials before starting to save time and avoid mistakes.
Micro Led Lights
Micro LED lights are tiny bulbs that create bright, colorful light. Pick LEDs with low voltage and small size. These lights use less power and fit easily on thin wires. Choose colors that match your decoration theme.
Wiring And Connectors
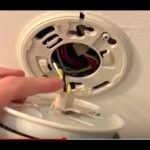
Use thin, flexible wires to connect the LEDs. Copper wires work well for good electrical flow. Make sure wires have insulation to prevent short circuits. Small connectors help join wires securely without loose ends.
Power Source Options
Select a power source that matches your LED voltage and current. Batteries are portable and simple to use. USB power banks offer longer use and easy charging. Some may use wall adapters for steady power supply.
Tools Required
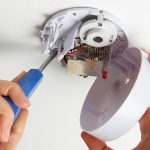
Basic tools help you build the string lights safely and neatly. Wire strippers remove insulation without damaging wires. A soldering iron joins wires and LEDs firmly. Tweezers help handle small parts with precision.
Preparing The Components
Preparing the components is the first step in making micro LED string lights. Good preparation makes the project easier and the final product better. Gather all parts and tools before starting. This saves time and avoids mistakes.
Selecting The Right Leds
Choose micro LEDs that fit your design needs. Look for size, color, and brightness. Smaller LEDs work best for delicate string lights. Check the voltage and current ratings to match your power source. Pick LEDs with clear, bright light for better effect.
Cutting And Stripping Wires
Use thin, flexible wires suitable for small LEDs. Cut the wires into equal lengths for neatness. Strip about 1/4 inch of insulation from each wire end. Be careful not to damage the wire strands. Clean cuts and strips help make strong connections.
Testing Leds For Functionality
Test each LED before soldering or connecting. Use a simple LED tester or a battery with a resistor. Check if the LED lights up correctly. Replace any LED that does not work. Testing early saves time and prevents problems later.
Assembling The Led String
Assembling the LED string is a key step in creating your micro LED string lights. This process involves joining the tiny LEDs with wires, making strong connections, and arranging the lights evenly. Careful assembly ensures the lights work well and look great.
Connecting Leds To Wires
Start by preparing the LED leads and wires. Strip a small section of the wire insulation. Hold the LED leads next to the wire ends. Twist the wire and LED lead together tightly. This helps electricity flow smoothly through the connection.
Work slowly to avoid breaking the small LED leads. Use a gentle touch. Check each connection twice before moving on.
Securing Connections
Secure each twisted connection with solder for strength. Heat the soldering iron and melt a small amount of solder onto the joint. This seals the connection and stops wires from coming loose.
Let the solder cool naturally. Avoid moving the wires during cooling. Use heat shrink tubing or electrical tape to cover each soldered joint. This protects the connections and prevents shorts.
Arranging Led Placement
Plan the LED spacing along the wire before final assembly. Use a ruler to measure equal distances. Place the LEDs evenly for a neat look.
Lay the string flat on a clean surface. Adjust LED positions gently to avoid damage. This arrangement creates a balanced and attractive light string.

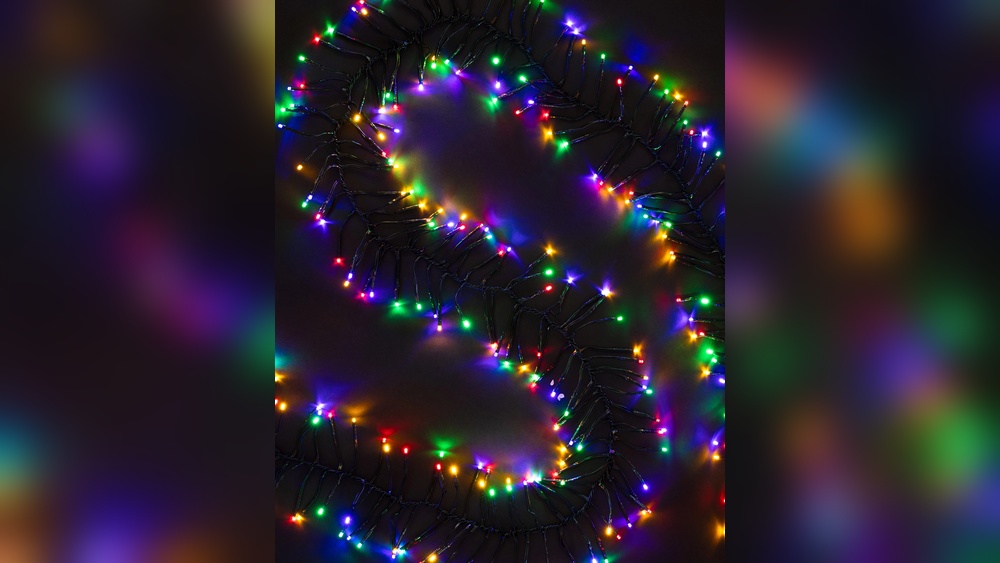
Credit: www.amazon.com
Soldering Tips
Soldering is an important step in making micro LED string lights. Good soldering ensures the lights work well and last long. It is not hard, but you need to be careful. Using the right tools and methods helps you avoid damage. Below are some useful tips to help you solder like a pro.
Safe Soldering Practices
Always work in a well-ventilated space. Solder fumes can irritate your eyes and throat. Use safety glasses to protect your eyes from splashes. Keep your soldering iron on a stand when not in use. Never touch the hot tip. Use heat-resistant gloves if you feel unsure. Turn off the soldering iron after finishing your work.
Avoiding Common Mistakes
Do not use too much solder; it can cause shorts. Avoid moving parts while the solder cools. Clean the tip of your soldering iron often. Dirty tips make weak joints. Use the right size solder wire for small LED parts. Do not apply heat for too long; it can harm LEDs. Test your connections gently before final assembly.
Ensuring Durable Joints
Heat the wire and pad together before applying solder. This helps the solder flow evenly. Use a small amount of solder to cover the joint fully. Let the joint cool naturally without blowing on it. Check joints for cracks or gaps. Strong joints keep your LED lights working longer. A good joint looks shiny and smooth.
Powering The String Lights
Powering micro LED string lights is a key step. It brings your lights to life. Choose the right power source. Connect wires carefully. Test the whole setup to ensure it works well. This section guides you through these steps.
Choosing Batteries Or Adapters
Batteries offer portability. Choose AA or AAA types for small lights. Rechargeable batteries save money over time. Adapters provide constant power. Look for one that matches your LED voltage. Use low voltage adapters to avoid damage. Decide based on where you plan to use the lights.
Wiring Power Connections
Use thin wires suited for LED current. Connect positive wires to LED’s positive pins. Attach negative wires to LED’s negative pins. Secure connections with solder or electrical tape. Avoid loose or exposed wires. Proper wiring prevents short circuits and ensures brightness.
Testing The Complete Circuit
Power on your setup. Check if all LEDs light up. Look for flickering or dim lights. Use a multimeter to test voltage across LEDs. Fix any loose connections or wrong wiring. Testing saves time and ensures safety before final use.
Credit: www.balsamhill.com
Design Ideas
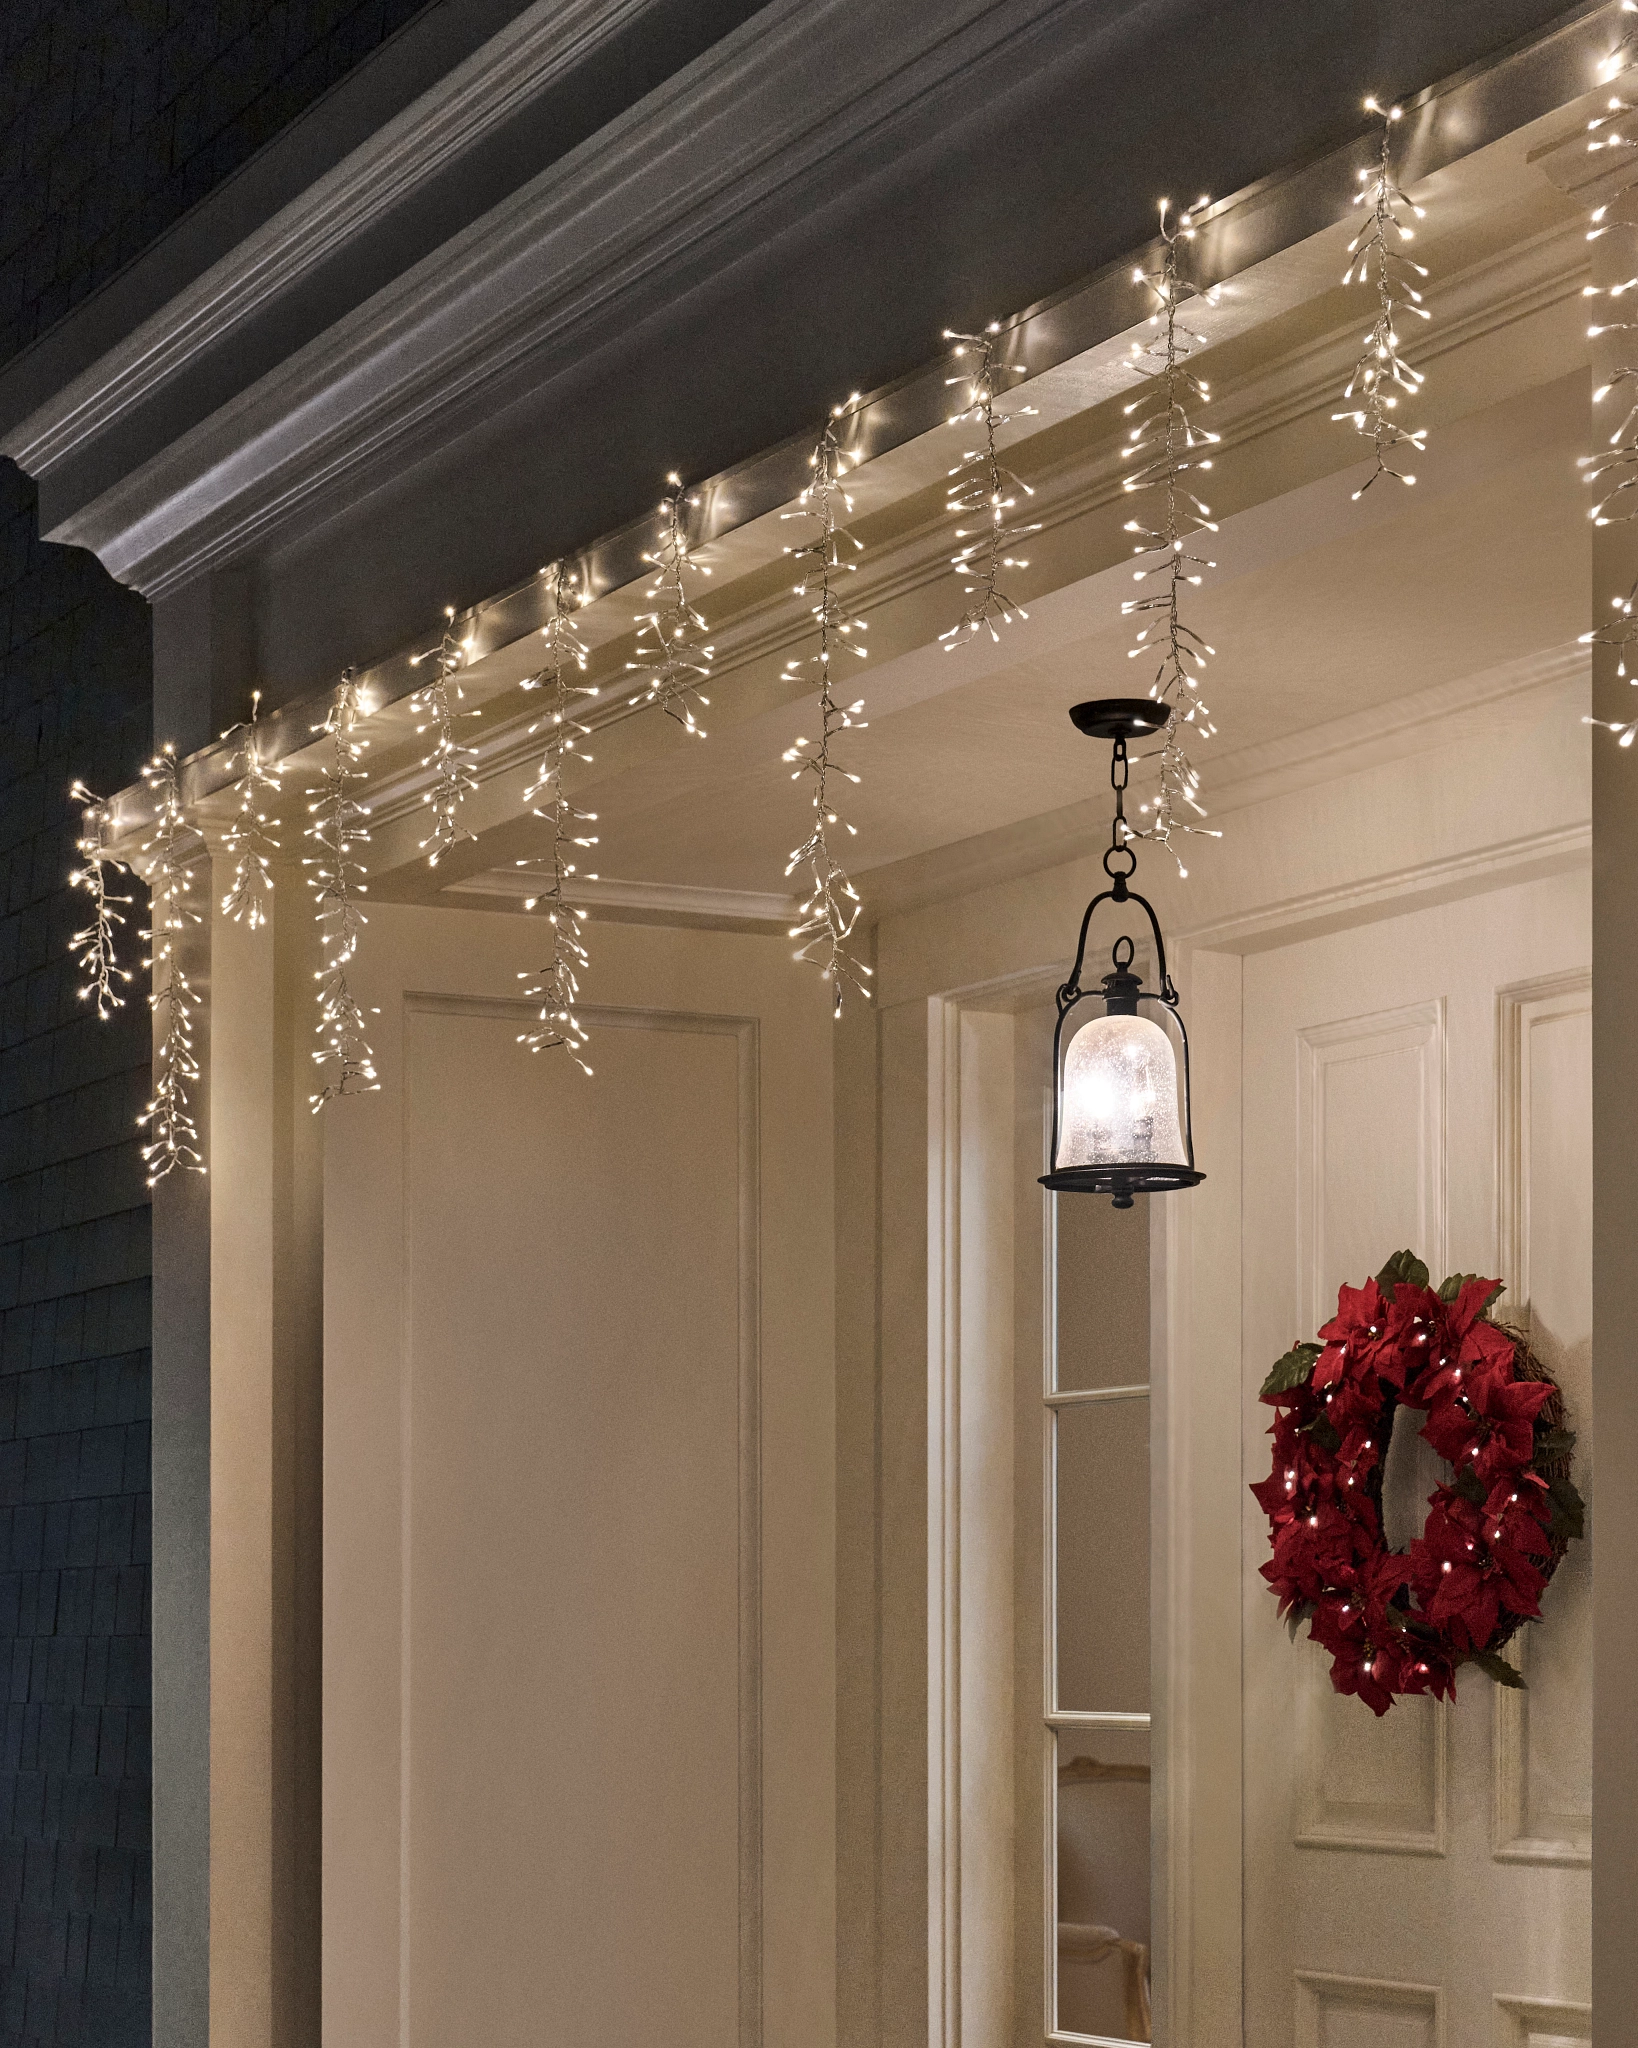
Design ideas for micro LED string lights can brighten up any space. These tiny lights offer great flexibility and charm. Use them to create a warm and inviting atmosphere. Choose a style that fits your space and mood. Experiment with shapes, colors, and layouts to find the perfect look.
Indoor Decoration Uses
Hang micro LED string lights around windows for a soft glow. Wrap them around bed frames to add cozy light. Place lights inside glass jars for a simple centerpiece. Drape them over shelves to highlight books or plants. Use lights to outline mirrors or picture frames. The small size lets you decorate in many creative ways.
Outdoor Setup Tips
Choose waterproof micro LED string lights for safety outside. Hang lights along fences or railings to mark paths. Wrap them around tree branches for a magical effect. Use stakes to secure lights in the garden soil. Check the power source and keep cords dry. Keep lights away from flammable materials for safety.
Creative Display Arrangements
Shape lights into words or symbols on walls. Create star or heart shapes using wire frames and lights. Mix different colors for a playful look. Combine micro LED lights with other decorations like flowers. Use battery-powered lights for flexible placement. Change arrangements seasonally to keep your space fresh.
Troubleshooting Common Issues
Troubleshooting common issues in making micro LED string lights helps keep your project on track. Small problems often stop lights from working well. Finding and fixing these issues saves time and effort. This section guides you through simple checks and fixes.
Identifying Faulty Leds
Faulty LEDs cause some lights not to glow. Check each LED with a multimeter or a battery. A good LED will light up briefly when tested. Replace any LED that stays off or flickers. Look for cracked or damaged parts on the LED body. These signs usually mean the LED is bad.
Fixing Wiring Problems
Loose or broken wires stop electricity from flowing. Inspect the wires carefully along the entire string. Use a magnifier to see tiny breaks or weak spots. Re-solder any loose connections with a fine soldering iron. Make sure all wires connect firmly to the LEDs and power source. Proper wiring ensures steady light and avoids flickers.
Improving Light Brightness
Dull lights reduce the beauty of your string. Clean the LED surfaces gently to remove dust or dirt. Check the power supply voltage matches the LED requirements. Use thicker wires for longer strings to reduce power loss. Adjust the resistor values if the lights stay too dim. Bright lights make your project stand out beautifully.
Safety Precautions
Safety is very important when making micro LED string lights. These lights use electricity, which can be dangerous without care. Taking simple safety steps helps prevent accidents and keeps the project fun and safe.
Follow the right rules to protect yourself and your home from electrical hazards. Keep your work area clean and organized. Always check your tools and materials before starting.
Handling Electrical Components
Always turn off power before handling wires or LEDs. Use insulated tools to avoid electric shocks. Avoid touching metal parts directly with bare hands. Check wires for damage or frays before use. Keep components dry and away from water. Work in a well-lit area to see clearly.
Preventing Overheating
Use resistors to control the current flowing through LEDs. Do not connect too many LEDs in one string without proper resistance. Allow space between LEDs for air to flow. Avoid covering lights with flammable materials. Turn off lights when not in use to cool down. Monitor the string lights for signs of heat buildup.
Safe Usage Guidelines
Use the micro LED string lights indoors or in dry places. Do not overload electrical outlets with too many plugs. Keep lights away from children and pets. Store the lights properly when not in use to prevent damage. Follow manufacturer instructions for power supply and connections. Regularly inspect the lights for faults or wear.

Credit: www.amazon.com
Frequently Asked Questions
What Materials Are Needed For Micro Led String Lights?
You need micro LEDs, thin wiring, a power source, soldering tools, and insulation tape. These components ensure a functional and durable LED string light.
How Do You Connect Micro Leds In A String?
Connect LEDs in series or parallel using thin wires. Ensure correct polarity and secure solder joints for consistent lighting.
What Power Source Suits Micro Led String Lights?
Use low voltage DC power sources like batteries or USB adapters. They provide safe, efficient power without overheating.
How To Prevent Overheating In Micro Led Lights?
Use resistors to control current and choose LEDs with proper voltage ratings. Adequate spacing also helps heat dissipation.
Conclusion
Making micro LED string lights can be a fun and simple project. You only need a few basic materials and some patience. Step by step, you create lights that brighten any space beautifully. These lights use little power and last a long time.
You can customize colors and lengths as you like. Try making your own micro LED string lights to add a personal touch to your home. It’s a creative way to learn and enjoy lighting up your world.