Are you tired of constantly opening the door for your pet? Installing a modern pet door can give your furry friend the freedom they deserve while making your life easier.
But how do you get started? This guide will walk you through the simple steps to install a pet door that fits your home perfectly. By the end, you’ll have a safe, convenient way for your pet to come and go as they please—without any hassle for you.
Ready to make your pet’s day better? Let’s dive in.
Credit: nmndesigns.com
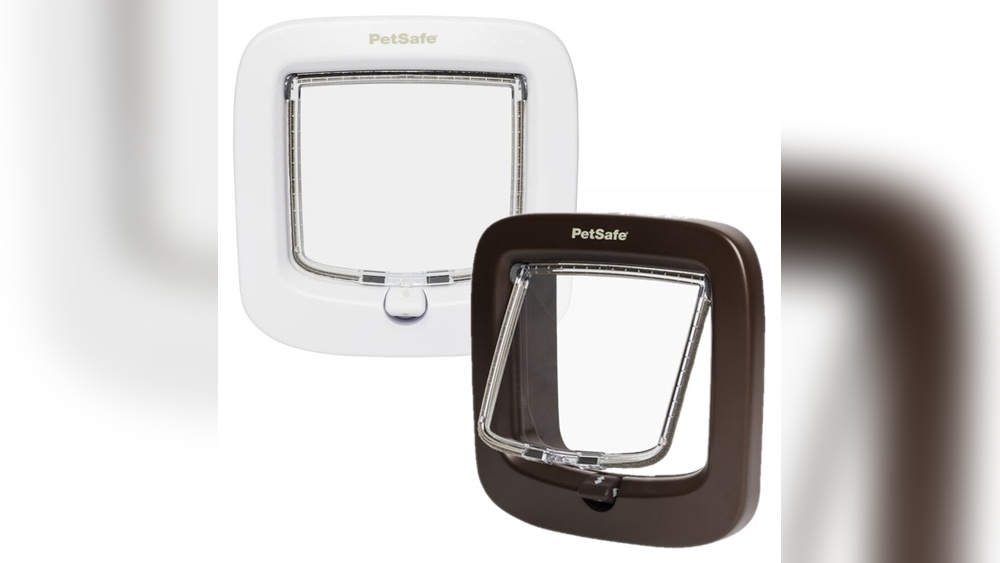
Choosing The Right Pet Door
Choosing the right pet door is an important step before installation. It helps your pet move freely and keeps your home safe. Selecting the best option depends on your pet’s size, your door type, and security needs. Take time to understand the different choices available.
Good choices make life easier for both you and your pet. Let’s explore key factors to consider when choosing a pet door.
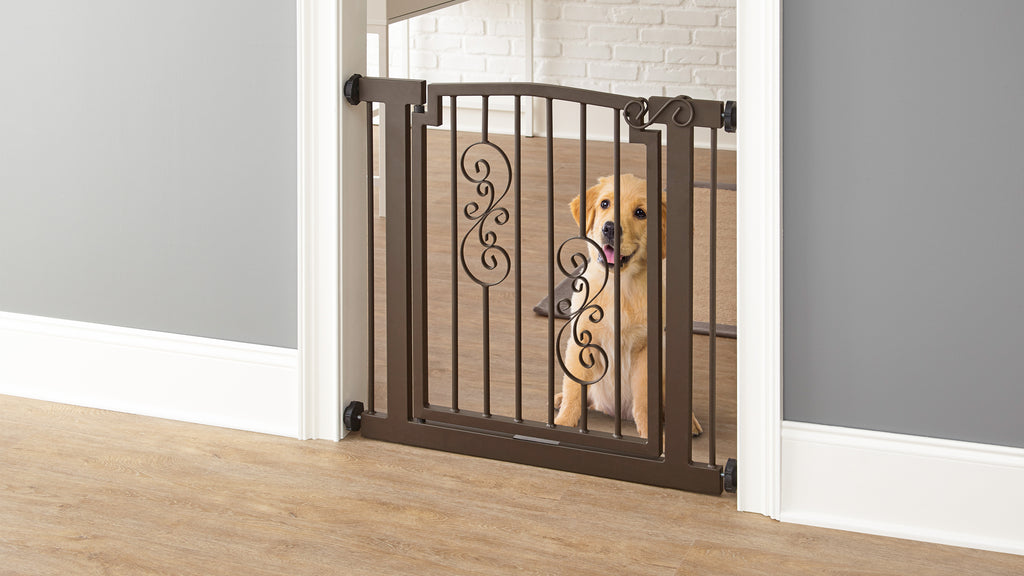
Types Of Pet Doors
There are several types of pet doors. Some fit into walls, others in doors or windows. Manual doors open when your pet pushes them. Electronic doors open only when your pet approaches. Choose a type that matches your home and pet’s habits.
Measuring Your Pet
Measure your pet carefully. Check height and width at the widest points. The door should be big enough for your pet to pass comfortably. Too small, and your pet will struggle. Too big, and your home loses security and insulation.
Material And Security Options
Pet doors come in plastic, metal, or wood. Plastic is light and easy to install. Metal is strong and more secure. Wood matches home decor but may need more care. Look for doors with locks or electronic sensors to keep unwanted animals out.
Credit: ccmp.org.mz
Tools And Materials Needed
Installing a modern pet door needs the right tools and materials. Having these ready helps the process go smoothly and safely. This section lists the essentials you need to get started. Keep everything close to save time and avoid frustration.
Essential Tools
- Measuring tape – for accurate size checks
- Power drill – to make holes quickly
- Jigsaw – to cut door or wall openings
- Screwdriver – to fix screws tightly
- Level – to ensure the door is straight
- Safety goggles – to protect your eyes
- Work gloves – to keep your hands safe
Additional Supplies
- Marker or pencil – to mark cutting lines
- Sandpaper – to smooth rough edges
- Caulk or sealant – to prevent air leaks
- Screws – usually come with the pet door
- Cleaning cloth – to wipe dust and debris
- Tape – to hold templates or parts temporarily
Preparing The Installation Area
Preparing the installation area is the first step to install a modern pet door. This step ensures the door fits well and works properly. It helps avoid mistakes and saves time during installation.
Clear the space around the door or wall where you plan to install the pet door. Measure carefully to match the pet door size. Check for any obstacles like wires or pipes inside the wall.
Selecting The Location
Choose a spot that your pet can reach easily. The location should be low enough for your pet to enter and exit without trouble.
Pick a place with enough space on both sides for the door to open fully. Avoid areas near heating or cooling vents.
Marking The Cutout
Use a pencil to mark the exact size of the pet door on the wall or door. Double-check the measurements before cutting.
Follow the template that comes with the pet door. Mark all corners and edges clearly to guide your cutting.
Safety Precautions
Wear safety glasses and gloves to protect your eyes and hands. Use a dust mask to avoid breathing dust particles.
Check for electrical wires or plumbing behind the wall before cutting. Use a stud finder to avoid cutting into studs.
Cutting The Opening
Cutting the opening for a modern pet door is a key step. It needs to be precise and clean for the door to fit well. A poorly cut opening can cause drafts or make the door hard to use. Prepare carefully before cutting to avoid mistakes. Measure twice, cut once. Follow the right steps to make the process smooth and safe.
Using The Right Saw
Select a saw that matches your wall material. A jigsaw works well for wood and drywall. For metal or thick walls, use a reciprocating saw. Make sure the blade is sharp and suitable for the material. Use safety glasses to protect your eyes. A steady hand helps keep the cut straight and smooth.
Creating A Clean Cut
Mark the opening clearly with a pencil or tape. Use a level to keep lines straight. Cut slowly to avoid rough edges or splinters. Remove debris and dust as you go. Sand the edges gently to smooth them out. A clean cut helps the pet door seal properly and look neat.
Dealing With Different Wall Types
Drywall is easy to cut but fragile. Be gentle to avoid cracking. For brick or concrete, use a masonry bit and drill holes first. Then use a hammer and chisel to finish the opening. Metal walls need special blades and extra care. Each wall type requires a unique approach for the best result.
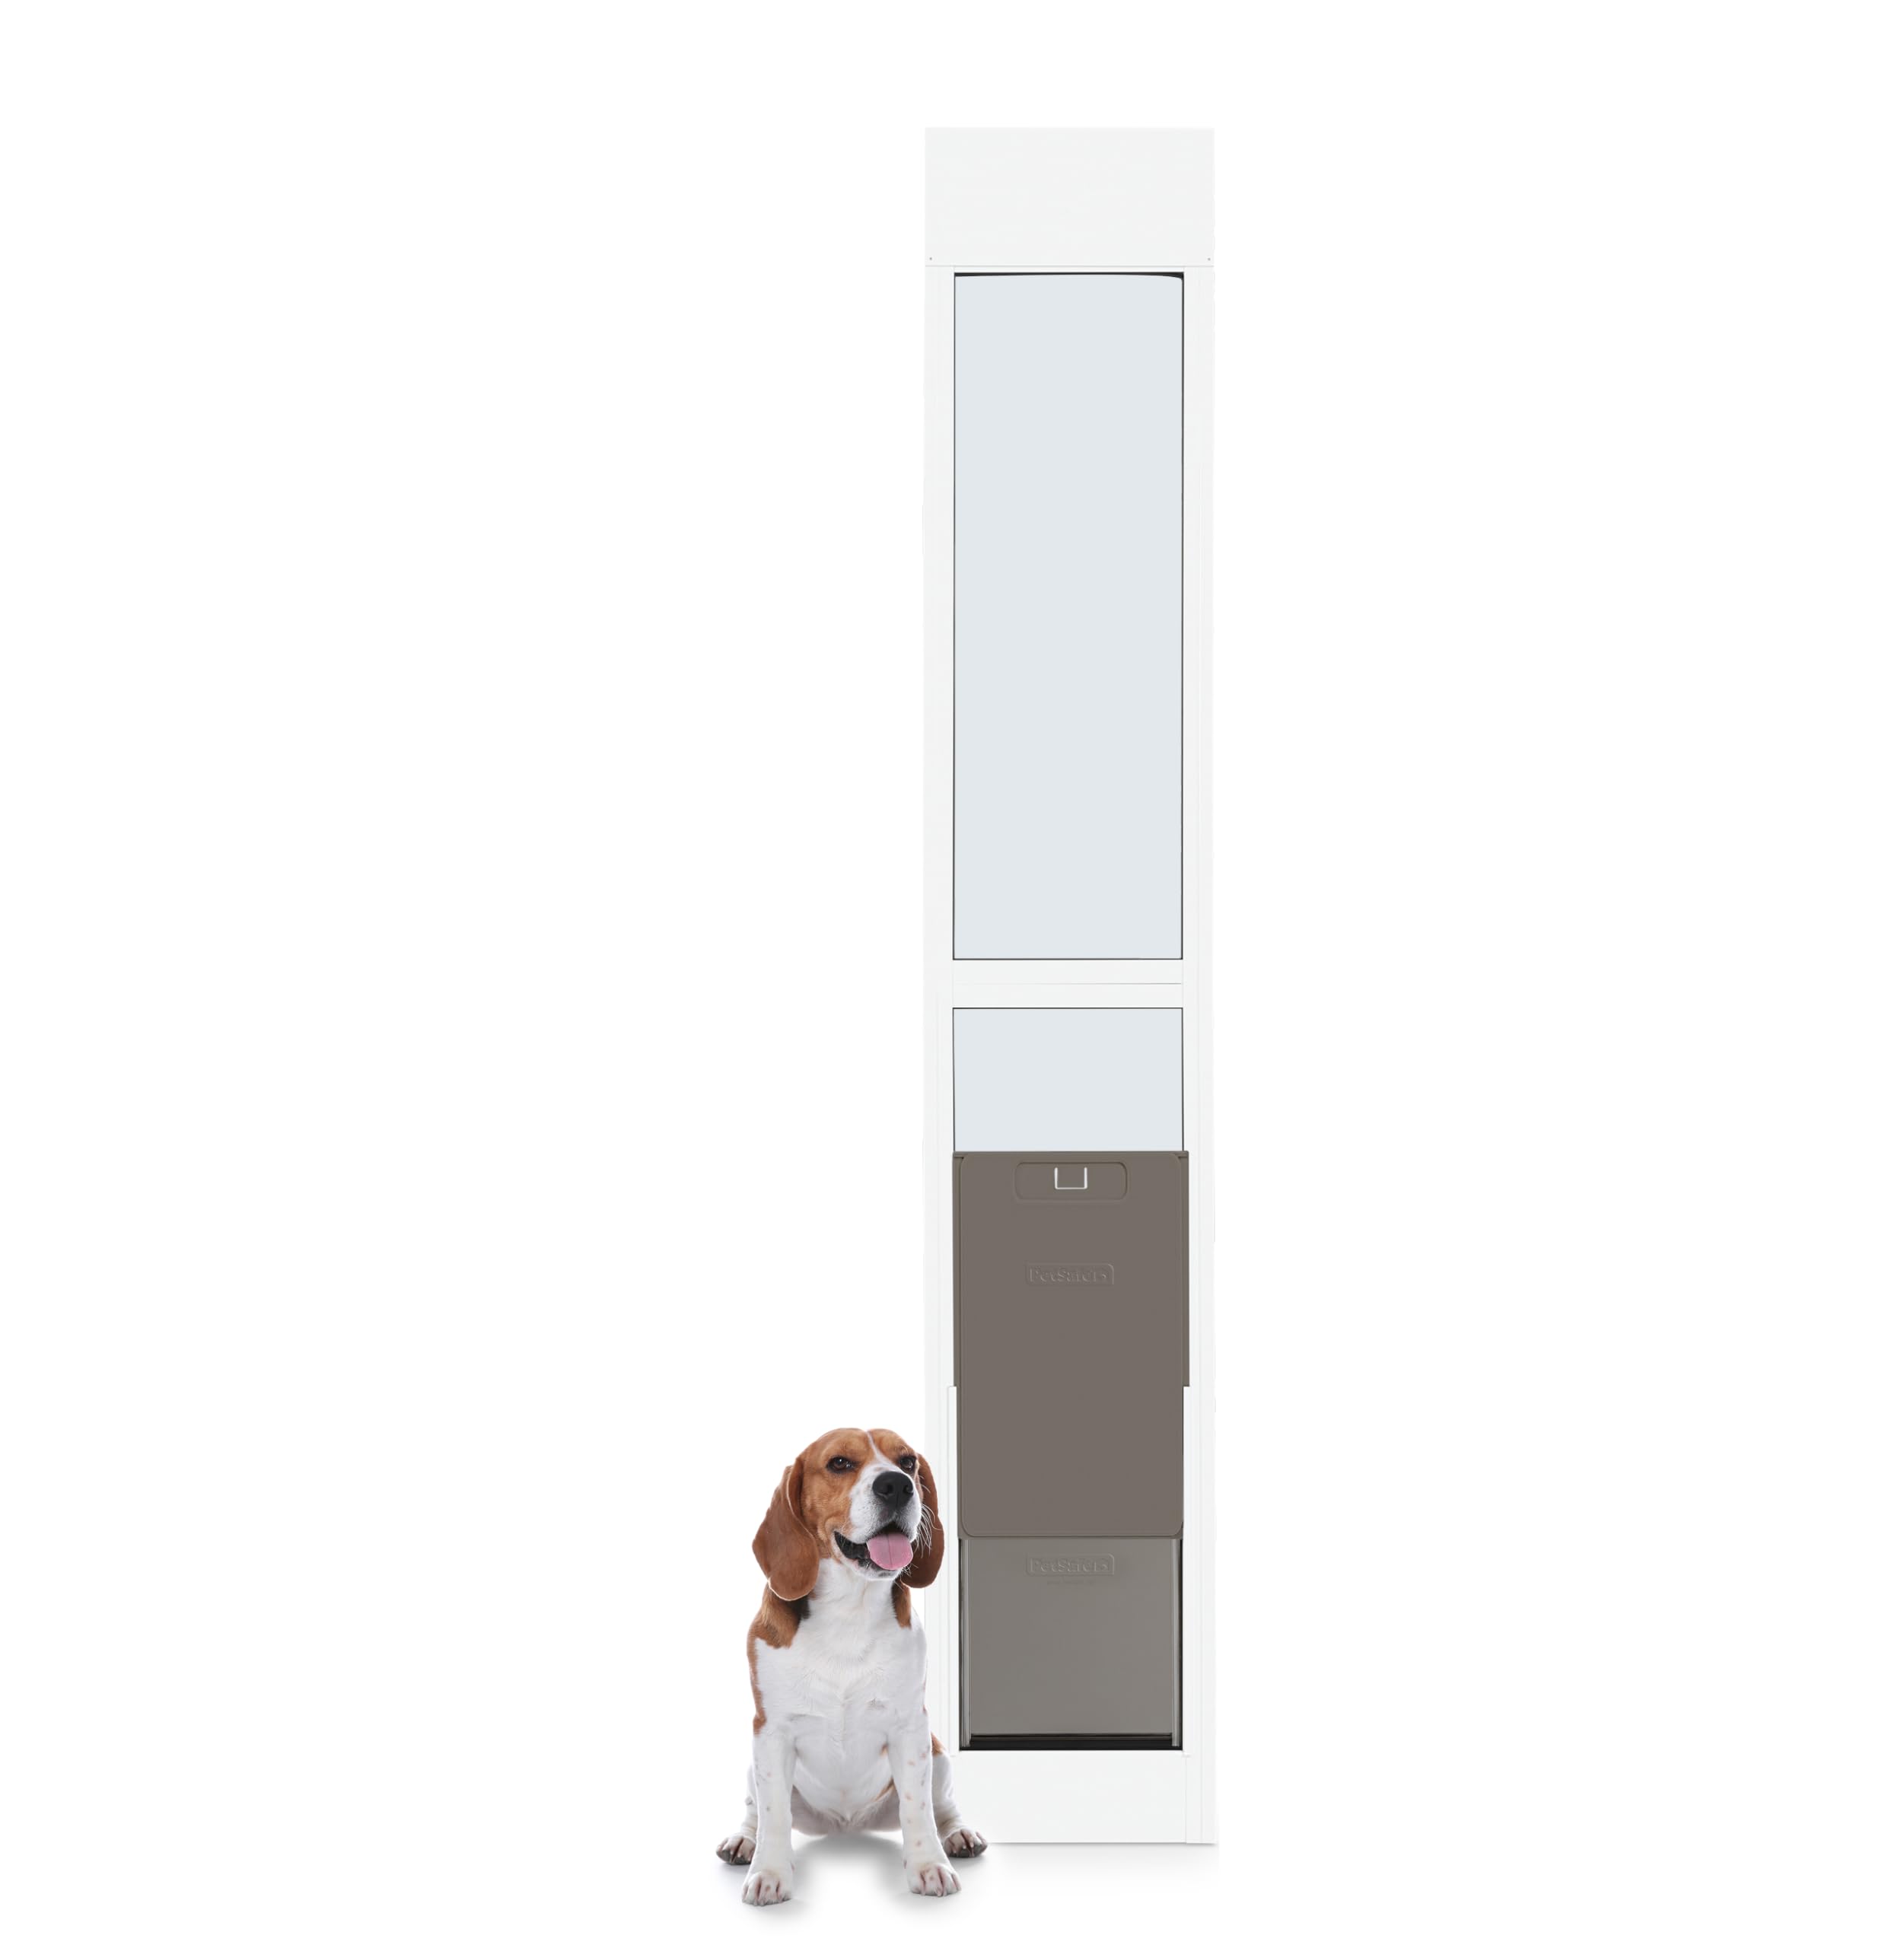
Installing The Pet Door Frame
Installing the pet door frame is the key step in adding a modern pet door. It creates the foundation for the door flap and ensures your pet can move freely. A well-fitted frame also keeps your home insulated and secure. Follow simple steps to fit, seal, and secure the frame for best results.
Fitting The Frame
Place the frame into the cut-out space in your door or wall. Check the frame fits snugly without gaps. Adjust the frame until it sits straight and level. Use a level tool for accuracy. A tight fit prevents drafts and keeps the door stable.
Sealing And Insulating
Apply weatherproof sealant around the frame edges. This blocks air and moisture from entering your home. Add foam insulation if needed inside gaps for extra protection. Proper sealing improves energy efficiency and keeps your pet comfortable.
Securing With Screws
Use screws to fix the frame firmly in place. Choose screws that match the frame material. Drill pilot holes before screwing to avoid splitting. Tighten screws evenly to hold the frame steady. Secure installation prevents wobbling and damage over time.
Attaching The Flap And Accessories
Attaching the flap and accessories is a key step in installing a modern pet door. This part ensures your pet can use the door easily and safely. Proper attachment also protects your home from weather and unwanted entry. Follow clear steps to hang the flap, add weatherproofing, and install security features.
Hanging The Flap
Start by aligning the flap with the door frame. Most flaps have a top edge that fits into a track or hinges. Slide the flap into place carefully. Make sure it swings freely without catching. Test the flap by pushing it gently. It should close smoothly after your pet passes through.
Adding Weatherproofing
Weatherproofing keeps cold air, rain, and dust outside. Use the weather seals that come with your pet door. Attach seals around the flap edges and frame. Press firmly so the seals stick well. Check for any gaps where air can pass. Weatherproofing helps save energy and keeps your home comfortable.
Installing Security Features
Security features protect your home from intruders and keep pets safe. Many pet doors have locks or magnetic closures. Follow the instructions to fix these on the flap or frame. Test the lock to ensure it works easily. Some models include electronic sensors for extra security. Add these features for peace of mind.
Testing And Adjustments
After installing a modern pet door, testing and making adjustments is key. This step ensures your pet door works correctly and keeps your pet safe. Proper testing helps avoid problems later. Follow these steps to check the fit, train your pet, and fix common issues.
Ensuring Proper Fit
Check the pet door’s frame carefully. Make sure it fits snugly in the wall or door. The flap should open smoothly without sticking. The seal must be tight to keep weather out. Measure twice to confirm the size fits your pet perfectly. A loose door lets cold air or bugs enter.
Training Your Pet
Show your pet how to use the door. Start by holding the flap open and encouraging your pet to pass through. Use treats or praise as rewards. Practice several times a day for a few days. Patience helps your pet feel confident and safe. Gradually close the flap to get your pet used to pushing it open.
Troubleshooting Common Issues
If your pet hesitates, check the flap’s weight. It might be too heavy or stiff. Adjust the flap or replace it with a lighter one. Watch for drafts or dirt blocking the door. Clean the flap and frame regularly. If the door sticks, tighten or loosen screws slightly. These fixes keep the door working smoothly.

Credit: petdoorproducts.com
Frequently Asked Questions
How Do I Measure My Pet For A Pet Door?
Measure your pet’s height and width at the shoulder and chest. Ensure the door size allows comfortable entry and exit. Accurate measurements prevent installation errors and ensure your pet’s safety and comfort.
What Tools Are Needed To Install A Modern Pet Door?
You’ll need a drill, jigsaw, screwdriver, tape measure, pencil, and safety goggles. These tools help cut and secure the pet door properly. Using the right tools ensures a clean, safe installation.
Can I Install A Pet Door On Glass Doors?
Yes, but you need a pet door designed for glass installation. It requires professional tools or a specialized kit to avoid damaging the glass. Proper installation ensures durability and safety.
How Do I Secure My Home After Installing A Pet Door?
Choose pet doors with locking mechanisms or electronic access controls. Install weatherproof seals to prevent drafts. These features enhance security and maintain energy efficiency after installation.
Conclusion
Installing a modern pet door is easier than you think. Follow each step carefully for best results. Your pet will enjoy more freedom and comfort. Make sure to measure and cut precisely. Check the door’s fit before finalizing the installation.
Regular maintenance keeps the pet door working well. Enjoy the convenience and happy pets every day. This simple upgrade adds value to your home too. Start your project today and see the difference.