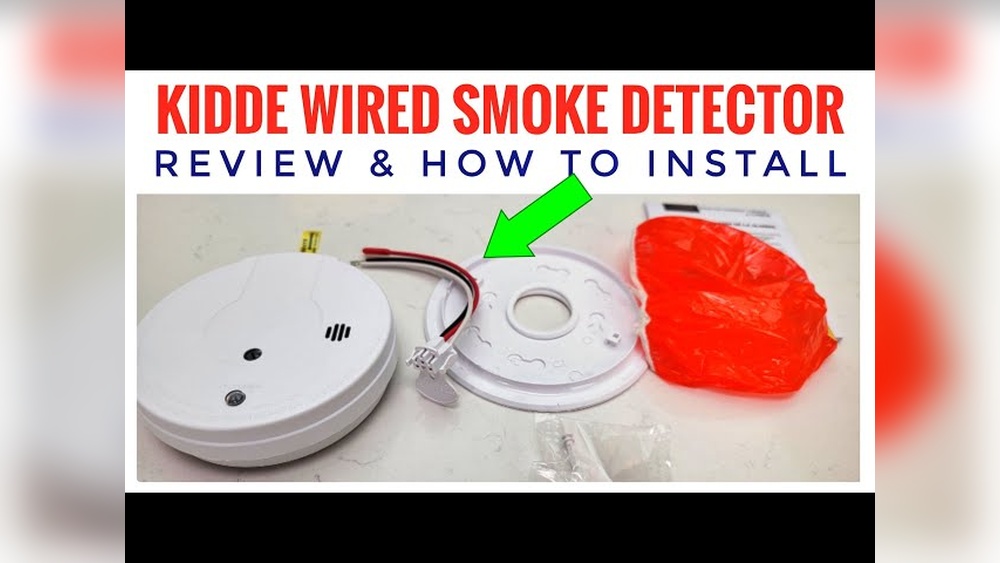
Making sure your home is safe starts with having the right smoke detectors in place. If you have a Kidde smoke detector, you’re already on the right track.
But do you know how to install it properly to keep your family protected? This guide will walk you through each simple step, so you can set up your Kidde smoke detector quickly and confidently. Keep reading, and you’ll have peace of mind knowing your home is ready to alert you if danger strikes.
Choosing The Right Location
Choosing the right location for your Kidde smoke detector is very important. A well-placed detector can save lives by alerting you early. Bad placement can delay warnings and increase risk. This section guides you to pick the best spots and avoid mistakes.
Ideal Spots For Installation
Install smoke detectors on ceilings or high on walls. Smoke rises, so higher spots detect smoke faster. Place one in every bedroom and outside sleeping areas. Install detectors on each floor, including the basement. Avoid corners where smoke may not reach easily. Hallways near bedrooms work well for quick alerts.
Avoiding Common Placement Mistakes
Do not install detectors near kitchens or bathrooms. Steam or cooking smoke can cause false alarms. Avoid placing detectors near windows or vents. Drafts can blow smoke away from sensors. Keep detectors away from ceiling fans. Fans can delay smoke reaching the detector. Do not place detectors too close to walls or corners. This can block smoke flow and slow detection.
Gathering Necessary Tools
Before starting the installation of your Kidde smoke detector, gather all necessary tools. This step helps you avoid delays and ensures a smooth process. Having the right tools on hand makes the installation easier and safer.
Tools You’ll Need
Prepare a screwdriver, preferably a Phillips head. It helps in removing or securing screws. You will also need a drill with a small drill bit. This tool is for making holes in the ceiling or wall. A pencil is useful to mark drill spots. A ladder or step stool helps reach high places safely. Lastly, have a pair of safety glasses to protect your eyes from dust.
Preparing The Smoke Detector
Take the Kidde smoke detector out of its box carefully. Check the user manual for any specific instructions. Insert the battery if it is not pre-installed. Test the detector by pressing the test button. A loud beep means it works well. Remove the mounting bracket from the back of the detector. This piece helps to fix the detector on the wall or ceiling.
Mounting The Smoke Detector
Mounting the Kidde smoke detector correctly is important for safety. It helps the detector work well and alert you quickly. Follow simple steps to place it in the right spot and fix it firmly on the ceiling or wall.
Marking And Drilling Holes
Start by holding the mounting plate against the ceiling or wall. Use a pencil to mark the holes where screws will go. Make sure the plate is flat and in the right position before marking.
Use a drill with a proper bit size to make holes on the marks. Drill carefully to avoid damage. Use anchors if the surface is drywall or plaster for strong support.
Securing The Mounting Plate
Place the mounting plate over the drilled holes. Insert screws into the holes and tighten them with a screwdriver. The plate should be tight and not move.
Check that the plate is level and secure. A well-fixed plate holds the smoke detector firmly in place. This ensures the detector stays connected and works properly.
Credit: www.kidde.com
Connecting The Smoke Detector
Connecting your Kidde smoke detector is a key step to ensure it works correctly. This process varies slightly depending on the model you have. Battery-powered detectors are simple to connect, while hardwired models need careful wiring. Follow these clear steps to connect your smoke detector safely and effectively.
Installing Batteries
Start by opening the detector’s battery compartment. Insert the batteries with the correct polarity. Use fresh batteries for the best performance. Close the compartment securely. Test the detector by pressing the test button. A loud beep means the batteries work well.
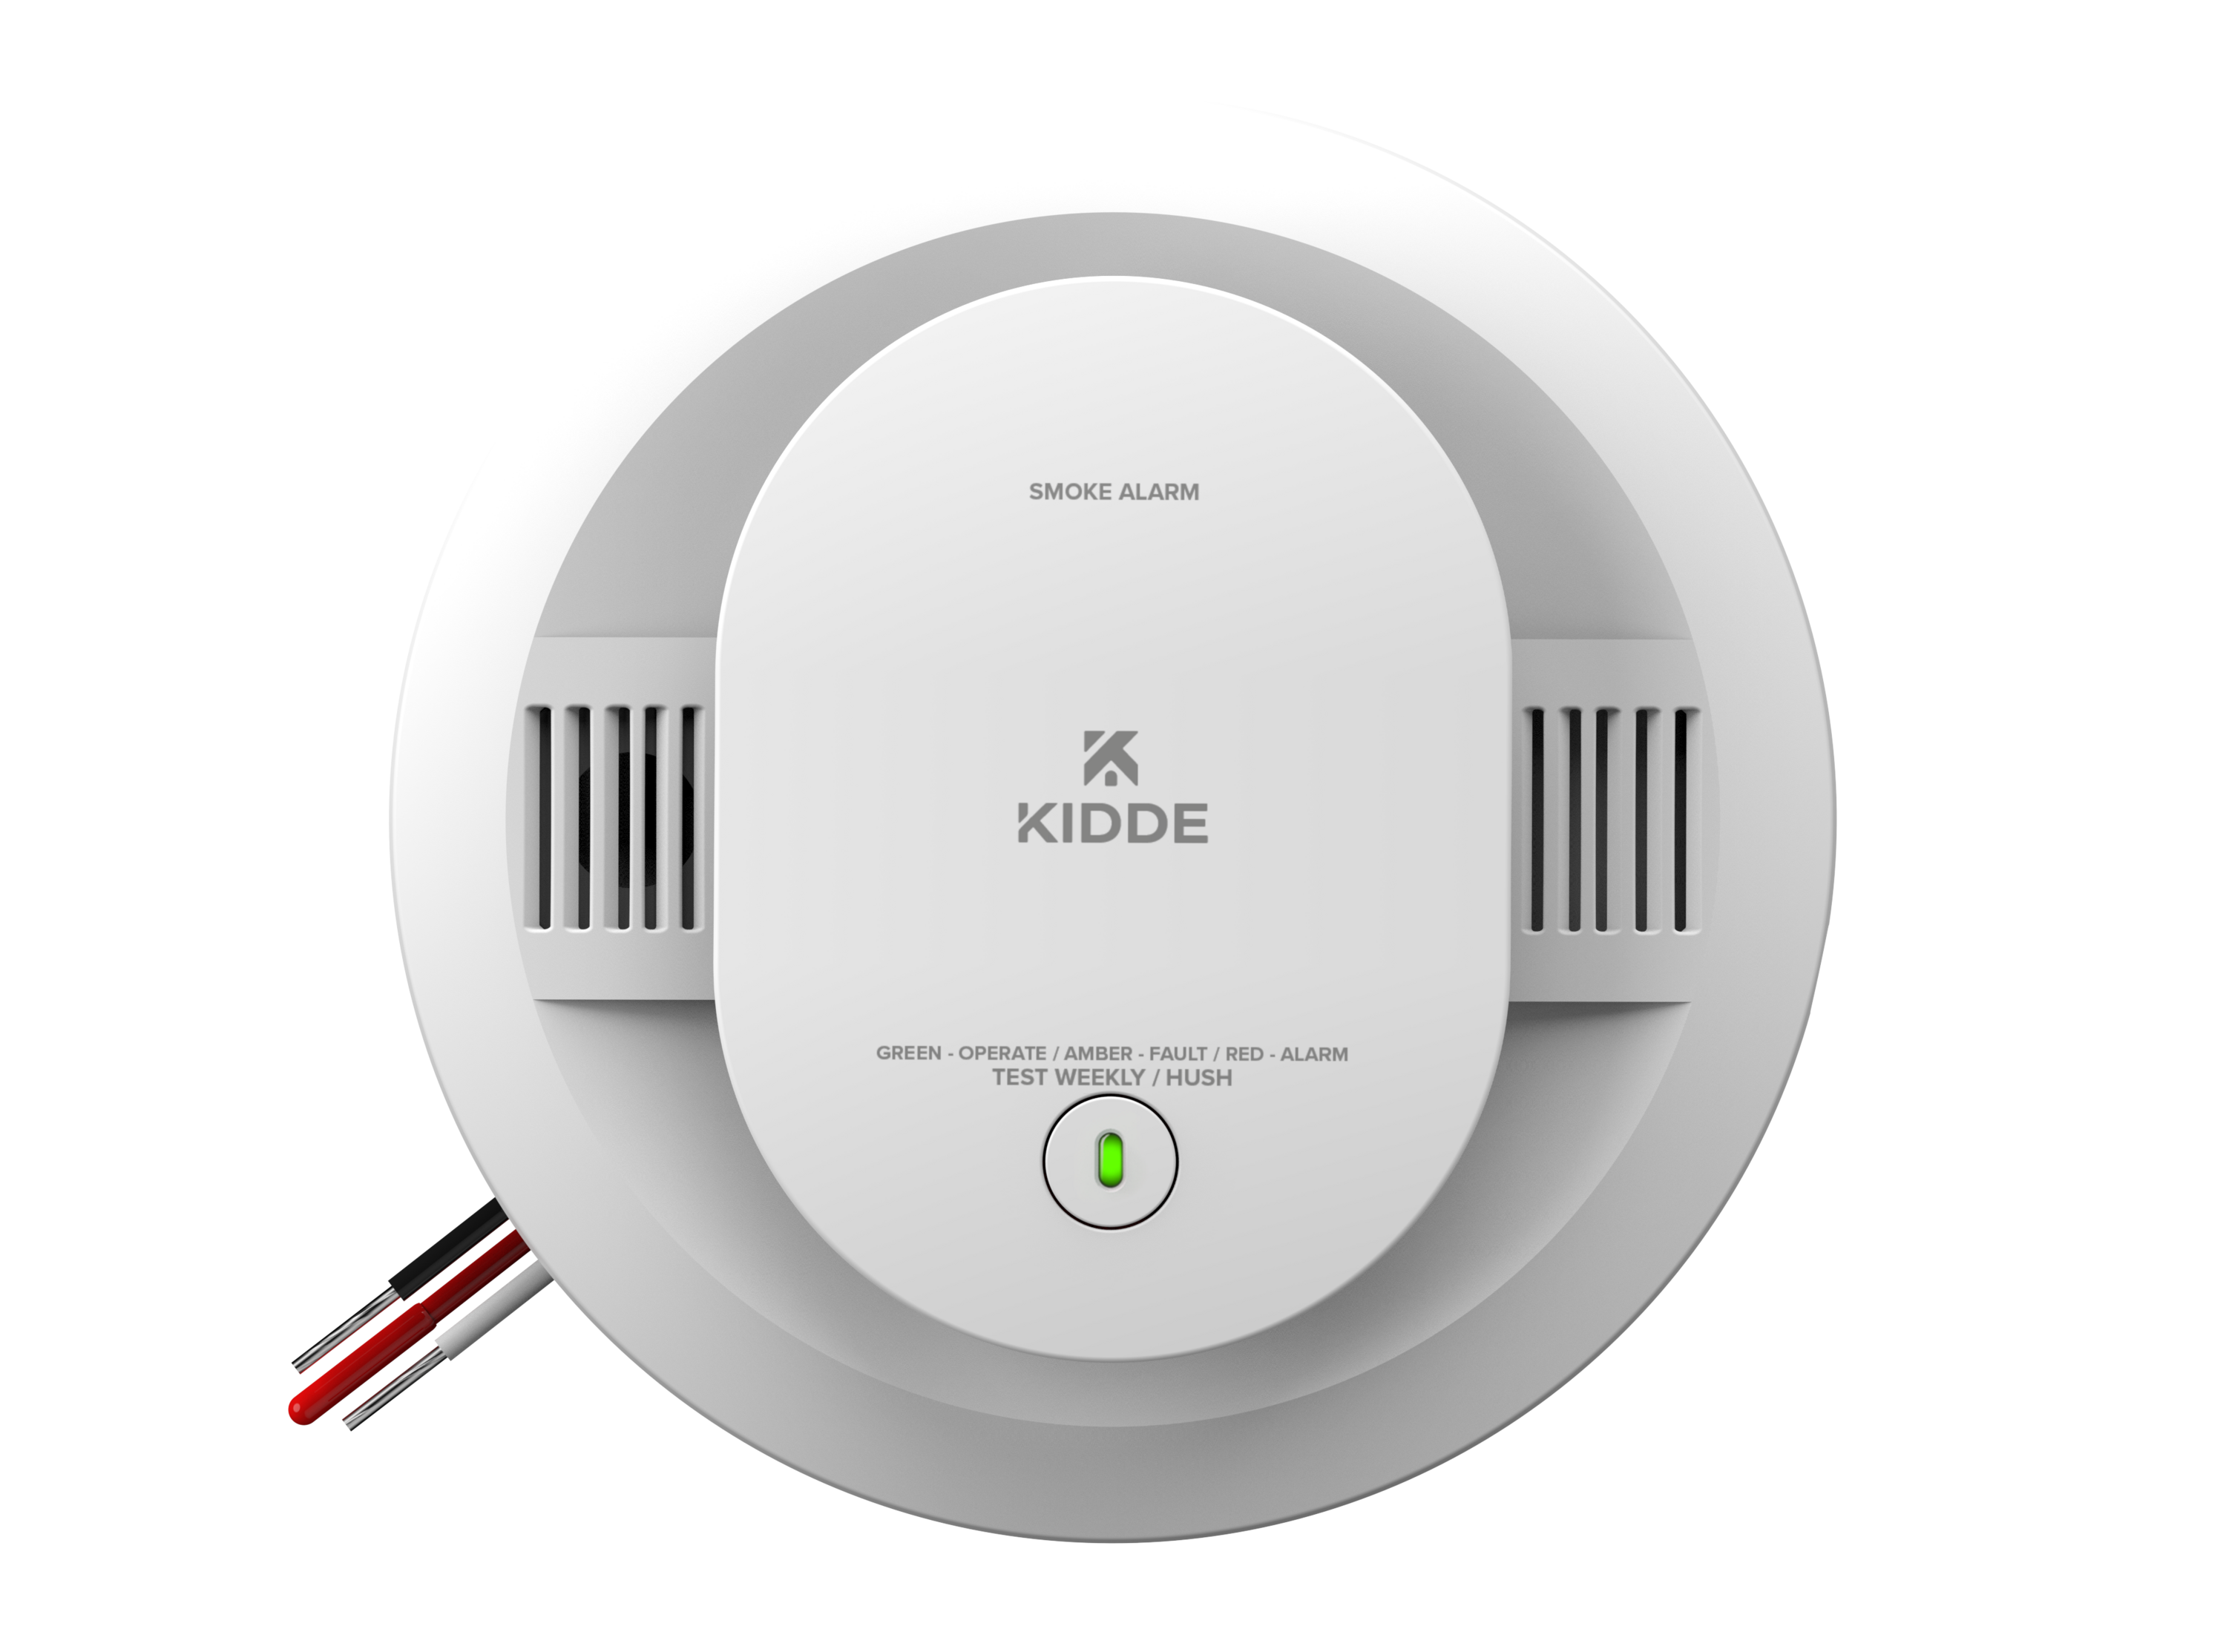
Wiring For Hardwired Models
Turn off the power at the circuit breaker first. Remove the old detector if needed. Connect the wires from your home to the matching wires on the detector. Usually, black is hot, white is neutral, and red links detectors together. Use wire nuts to secure the connections. Attach the detector base to the ceiling or wall. Restore power and press the test button. A strong beep means the wiring is correct.
Testing The Device
Testing your Kidde smoke detector ensures it works properly. A working alarm can save lives by alerting you early. Regular testing keeps your home safe. It also helps find issues before they become serious.
Performing A Test Alarm
Press and hold the test button on the smoke detector. The alarm should sound loudly within seconds. If the sound is weak or silent, check the batteries. Replace old batteries and test again. Test your alarm once a month. This keeps the device ready to warn you.
Troubleshooting Common Issues
If the alarm does not sound during testing, check the power source. Make sure batteries are installed correctly. Clean dust or debris from the detector’s vents. Dirt can block sensors and stop alarms. Replace the smoke detector if problems persist. A properly working alarm is crucial for safety.

Credit: www.youtube.com
Maintaining Your Smoke Detector
Keeping your Kidde smoke detector in good shape is very important. It helps protect your home and family from fire risks. Regular care makes sure it works well every day. Simple steps can keep your device ready to alert you quickly.
Regular Cleaning Tips
Dust and dirt can stop your smoke detector from working right. Clean it at least once a month. Use a soft brush or vacuum with a soft brush attachment. Gently remove dust from the vents and surface. Avoid using water or cleaners on the unit. Keep the detector dry to prevent damage.
Replacing Batteries And Units
Change the batteries twice a year. Use fresh, good-quality batteries only. Test the detector after changing batteries to check if it works. Replace the entire unit every 10 years. Old detectors may not sense smoke correctly. Mark the purchase date on the unit for easy tracking.

Credit: www.support.getzooz.com
Frequently Asked Questions
How Do I Install A Kidde Smoke Detector Step-by-step?
First, choose the right location on the ceiling or high on a wall. Use screws to mount the bracket. Connect the wires or insert batteries, then attach the detector to the bracket. Finally, test the alarm to ensure it works properly.
Where Should I Place Kidde Smoke Detectors In My Home?
Install smoke detectors inside each bedroom, outside sleeping areas, and on every home level. Avoid kitchens and bathrooms to reduce false alarms. Place detectors high on walls or ceilings for optimal smoke detection.
How Often Should I Test My Kidde Smoke Detector?
Test your Kidde smoke detector once a month. Press the test button until the alarm sounds. Regular testing ensures the device is working correctly and keeps your home safe.
Can I Install A Kidde Smoke Detector Without Professional Help?
Yes, Kidde smoke detectors are designed for easy DIY installation. Follow the included instructions carefully for safe and effective setup. If unsure, consult a professional for assistance.
Conclusion
Installing a Kidde smoke detector keeps your home safe and secure. Follow the steps carefully for a proper setup. Test the alarm regularly to ensure it works well. Replace batteries as needed to avoid any failures. Place detectors in key areas like bedrooms and hallways.
A working smoke detector can save lives in emergencies. Stay alert and maintain your device often. Safety starts with simple actions you can take today.