Are you ready to add a magical glow to your space without spending a fortune? Making your own LED string lights is easier than you think.
Imagine customizing the colors, length, and style to perfectly match your mood and décor. In this guide, you’ll discover simple steps to create stunning LED string lights that shine bright and save you money. Keep reading, and by the end, you’ll have the know-how to light up your world exactly the way you want.
Materials Needed
Making your own LED string lights is a fun project. Start by gathering the right materials. These materials ensure your lights work well and last long. Knowing what you need saves time and avoids frustration.
Choosing The Right Leds
Select LEDs that suit your style and purpose. Pick colors that match your room or event. Consider LED size; smaller ones fit tight spaces. Check the brightness—too bright can be harsh, too dim might not show well. Use LEDs with low power use to save energy.
Wiring And Power Sources
Use wires that fit the LED type and length of your string. Copper wires work best for good connection. Decide on a power source: batteries are portable but last shorter. Plug-in adapters offer constant power but need an outlet. Make sure the power source matches the LED voltage.
Additional Tools And Supplies
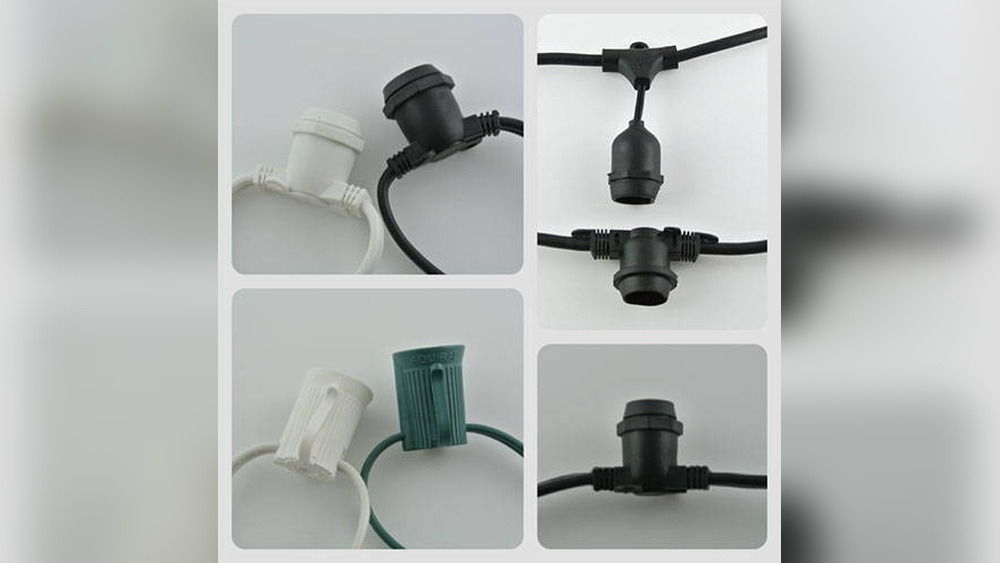
Gather tools like wire cutters and soldering iron for strong connections. Use electrical tape or heat shrink tubing to cover exposed wires. A multimeter helps check electrical flow and find problems. A ruler or measuring tape keeps spacing even. Having the right tools makes building easier and safer.

Credit: www.amazon.com
Planning Your Design
Planning your design is the first step in making LED string lights. It helps you create a clear idea before starting. Good planning saves time and avoids mistakes. Think about where you want to hang the lights and how they will look.
Consider the space and the mood you want to create. Planning allows you to choose the right length, colors, and patterns for your lights. This step makes your project easier and more fun.
Determining Length And Layout
Measure the area where you want to place the string lights. Use a tape measure for accuracy. Write down the total length needed. Add a little extra length for flexibility.
Decide on the layout style. Straight lines, zigzags, or loops work well. Think about how the lights will hang and where the power source is. Plan the spacing between each LED bulb. This affects brightness and look.
Selecting Colors And Patterns
Choose colors that match your space and mood. Warm white lights create a cozy feel. Cool white lights look modern and bright. Colored LEDs add fun and vibrancy.
Pick a pattern for the light bulbs. You can alternate colors or use a single color. Patterns like flashing, fading, or steady lights add interest. Keep the design simple for easy assembly and better effect.
Wiring The Led String
Wiring the LED string is a key step in making your own lights. It connects all parts and makes the string work. Proper wiring ensures the lights shine bright and last long.
Follow clear steps to prepare wires, connect LEDs, and check polarity. This helps avoid mistakes and keeps the project safe.
Preparing The Wires
Start by cutting the wire to your desired length. Use thin, flexible wire for easy handling. Strip about half an inch of insulation from each end. This exposes the metal needed for connections. Twist the wire strands to keep them tight. Clean wires ensure good contact and reduce resistance.
Connecting Leds To The Circuit
Identify the LED legs: longer leg is positive, shorter is negative. Solder the LED legs to the wires carefully. Use a small amount of solder to avoid shorts. Connect each LED in series or parallel depending on your design. Secure connections with electrical tape or heat shrink tubing. This prevents loose contacts and damage.
Ensuring Proper Polarity
LEDs only light up if polarity is correct. Match the positive wire to the LED’s longer leg. Connect the negative wire to the shorter leg. Double-check each connection before powering the string. Wrong polarity can burn out LEDs or stop them from working. Test the string with a battery or power source. Fix any issues before final assembly.
Testing The Lights
Testing the LED string lights is an important step after assembling them. It ensures all lights work properly before use. This process helps find any issues early. It saves time and effort in the long run.
Start by turning on the lights in a safe environment. Check each LED carefully. Observe if all lights shine evenly and brightly. Any dim or off LEDs need attention. Testing also helps confirm proper wiring and connections.
Checking For Faulty Leds
Look for LEDs that do not light up. These may be faulty or have loose connections. Gently press on each LED and wire joint. Sometimes a loose wire causes the problem. Replace any LED that stays dark after testing connections.
Use a multimeter to check each LED’s electrical flow. It helps identify broken LEDs quickly. Mark the faulty ones for replacement. Properly working LEDs show a small voltage drop on the meter.
Troubleshooting Common Issues
Check the power source first. Weak batteries or poor plugs can cause lights to flicker or not turn on. Try different batteries or outlets to confirm power is stable.
Look for damaged wires or shorts. Broken insulation or exposed wires can stop the circuit. Repair or replace any damaged wiring parts.
Test the entire circuit step-by-step. Disconnect sections to isolate the problem area. Test LEDs and wiring in small groups. This method helps find the exact fault quickly.
Sealing And Finishing
Sealing and finishing are key steps in making LED string lights. They protect the lights from moisture and dust. These steps also keep the connections safe and extend the life of your lights. Proper sealing ensures your LED lights work well outdoors or in damp places.
Insulating Connections
Insulating the connections stops short circuits and power loss. Use heat shrink tubing or electrical tape to cover all soldered joints. Make sure the insulation fits tightly around wires and LED leads. This prevents water from touching the metal parts. Check each connection carefully before sealing.
Adding Protective Coatings
Protective coatings shield your lights from weather and damage. Use a clear silicone or waterproof varnish to cover the entire string. Apply thin layers and let each dry fully. This coating keeps moisture out and protects the wires. It also makes your LED string lights last longer.
Creative Decorating Ideas
Creative decorating ideas with LED string lights bring charm to any space. These lights are flexible and easy to use. They add warmth and a soft glow. Perfect for many settings and moods.
Try different ways to place the lights. Use them to highlight features or create cozy corners. Let your imagination guide the style and look.
Indoor Arrangements
Drape LED string lights along shelves or picture frames. Wrap them around indoor plants for a gentle shine. Hang lights over a bed canopy for a dreamy effect. Use small jars or bottles to make glowing lanterns. These ideas brighten rooms without harsh lighting.
Outdoor Uses
Hang LED string lights on trees or fences for a festive feel. Outline patios or pergolas to create inviting spaces. String lights along garden paths for safety and style. Use waterproof models to withstand weather. Outdoor lights make evenings magical and safe.
Seasonal Themes
Match LED lights with seasons and holidays. Use warm white lights for fall and winter warmth. Choose bright colors for spring and summer fun. Shape lights into stars or hearts for special events. Seasonal lighting sets the mood with simple changes.
Safety Tips
Safety is key when making LED string lights. Working with electricity needs care. Small mistakes can cause shocks or fires. Follow these tips to stay safe and enjoy your project.
Handling Electrical Components
Always use insulated tools to avoid shocks. Check wires for damage before use. Connect wires firmly to prevent loose contacts. Never touch wires with wet hands. Work in a dry, well-lit area for better control. Keep children and pets away from your workspace.
Preventing Overheating
Use resistors to control current in the circuit. Avoid using too many LEDs on one power source. Space LEDs evenly to allow airflow. Turn off your lights when not in use. Choose wires with the right thickness for your setup. Overheating can damage components or cause fires.

Credit: www.youtube.com

Credit: www.youtube.com
Frequently Asked Questions
How Do I Make Led String Lights At Home?
To make LED string lights at home, gather LEDs, resistors, wires, and a power source. Connect components in series or parallel. Use a soldering iron for secure connections. Test the lights before final assembly for safety and functionality.
What Materials Are Needed For Diy Led String Lights?
You need LEDs, resistors, copper wire, a power supply, a soldering iron, and heat shrink tubing. These materials ensure a safe, bright, and durable LED string light setup.
How Do I Choose The Right Resistor For Led Lights?
Calculate the resistor value using the LED voltage and current. Use the formula: Resistor = (Power supply voltage – LED voltage) / LED current. This protects LEDs from burning out.
Can I Customize The Length Of Led String Lights?
Yes, you can customize LED string lights by adding or removing LEDs and adjusting wire length. Ensure the power supply matches the total LED load for optimal performance.
Conclusion
Making LED string lights at home is simple and fun. You can choose colors and lengths that fit your space. This project saves money and lets you be creative. Use safe materials and follow steps carefully. Brighten your room or garden with your own lights.
Enjoy the warm glow that you made yourself. Try making more designs as you learn. DIY LED string lights add charm to any place. Keep experimenting and lighting up your world.