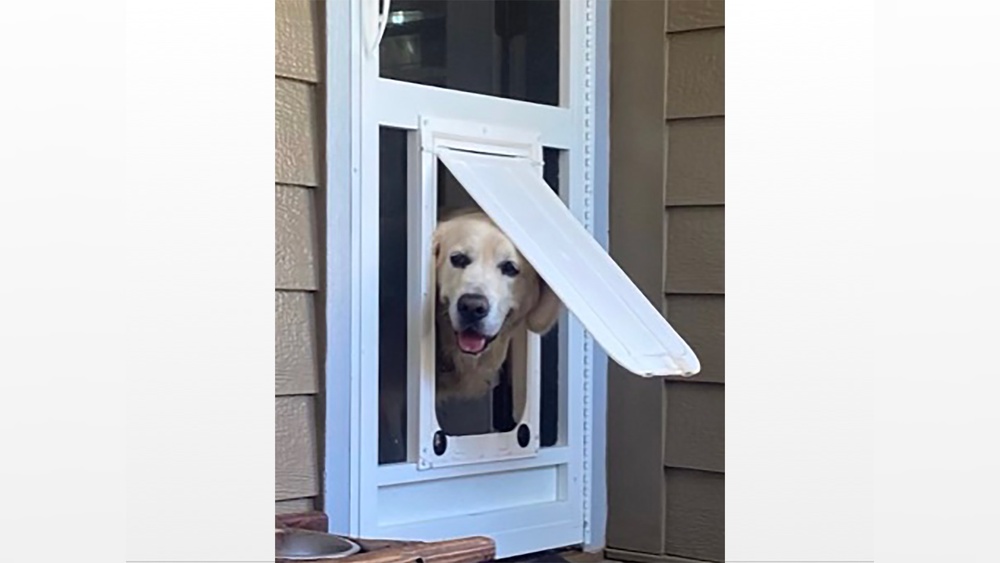
If you love your pet and want to make life easier for both of you, installing a pet door in your storm door is a smart move. Imagine the freedom your furry friend will have to come and go without you constantly opening the door.
But you might be wondering, “Is it difficult to install? Will it ruin my storm door? ” Don’t worry—this guide will walk you through every step, making the process simple and stress-free. By the end, you’ll have a convenient pet door ready to use, saving you time and keeping your pet happy.
Let’s get started!
Credit: www.esseg.eu
Choosing The Right Pet Door
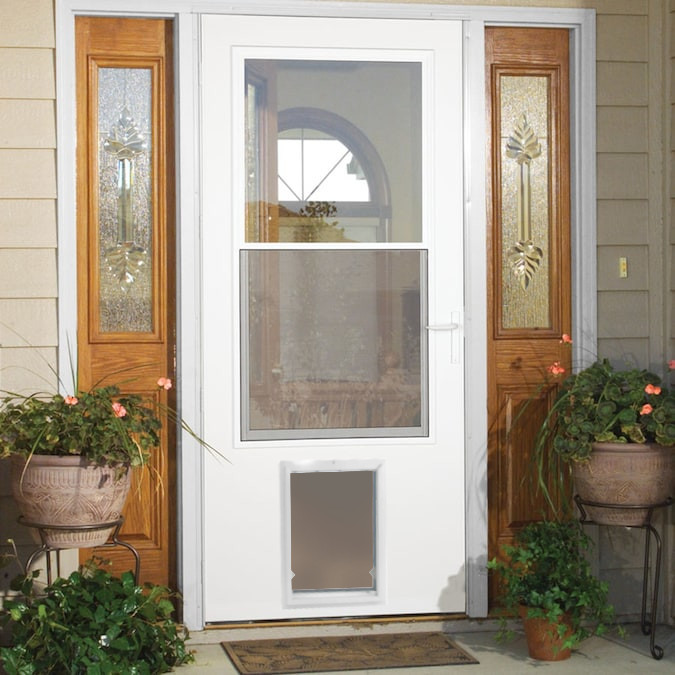
Choosing the right pet door is important for your pet’s comfort and safety. A well-fitted door lets your pet come and go easily. It also keeps your home secure and energy efficient. Consider your pet’s size, habits, and the door material before buying.
Measuring Your Pet
Measure your pet’s height from the ground to the shoulder. Add a few inches for comfort. Measure the width of your pet’s body at the widest part. These measurements help pick a door that fits well. A door too small can hurt your pet. A door too big wastes energy and lets drafts in.
Types Of Pet Doors
There are several pet door types. Manual doors open when your pet pushes them. Electronic doors open only for your pet’s collar sensor. This stops other animals from entering. Some doors have locking options for extra security. Choose one that suits your lifestyle and your pet’s needs.
Material Considerations
Pet doors come in plastic, metal, and wood. Plastic doors are lightweight and affordable. Metal doors are strong and last longer. Wood doors match home decor but need more care. Consider the door’s durability and weather resistance. Pick a material that suits your storm door and weather conditions.
Preparing Your Storm Door
Preparing your storm door is the first step in installing a pet door. This stage ensures the door is ready and safe for modification. Taking time here makes the installation smoother and more secure.
Selecting The Installation Spot
Choose a spot on the storm door that suits your pet’s size. Make sure it is low enough for your pet to enter easily. Avoid areas near door handles or hinges. Check if the door material is thick enough to hold the pet door securely.
Gathering Necessary Tools
Collect all tools before starting the installation. Common tools include a drill, screwdriver, measuring tape, and a pencil. A jigsaw or handsaw may be needed to cut the door. Keep sandpaper handy to smooth rough edges after cutting.
Safety Precautions
Wear safety goggles to protect your eyes from dust and debris. Use gloves to avoid cuts while handling tools and door parts. Ensure the door is stable and won’t move during cutting. Keep children and pets away from the work area for safety.
Marking And Cutting The Door
Marking and cutting the door is a key step in installing a pet door in a storm door. This part requires careful measuring and precise cutting. Doing this right ensures the pet door fits well and works properly. Take your time and follow each step closely.
Marking The Outline
Start by placing the pet door template on the storm door. Align it at the height your pet can easily reach. Use a pencil to trace the outline clearly. Double-check the lines for accuracy before moving on.
Drilling Pilot Holes
Next, drill small pilot holes at each corner of the marked outline. These holes make cutting easier and prevent the door from cracking. Use a drill bit that matches the size of your saw blade. Keep the drill steady for clean holes.
Cutting The Opening
Use a jigsaw to cut along the marked lines. Start at a pilot hole and carefully follow the outline. Move slowly to avoid splintering the door material. After cutting, smooth the edges with sandpaper for a clean finish.

Credit: www.youtube.com
Installing The Pet Door Frame
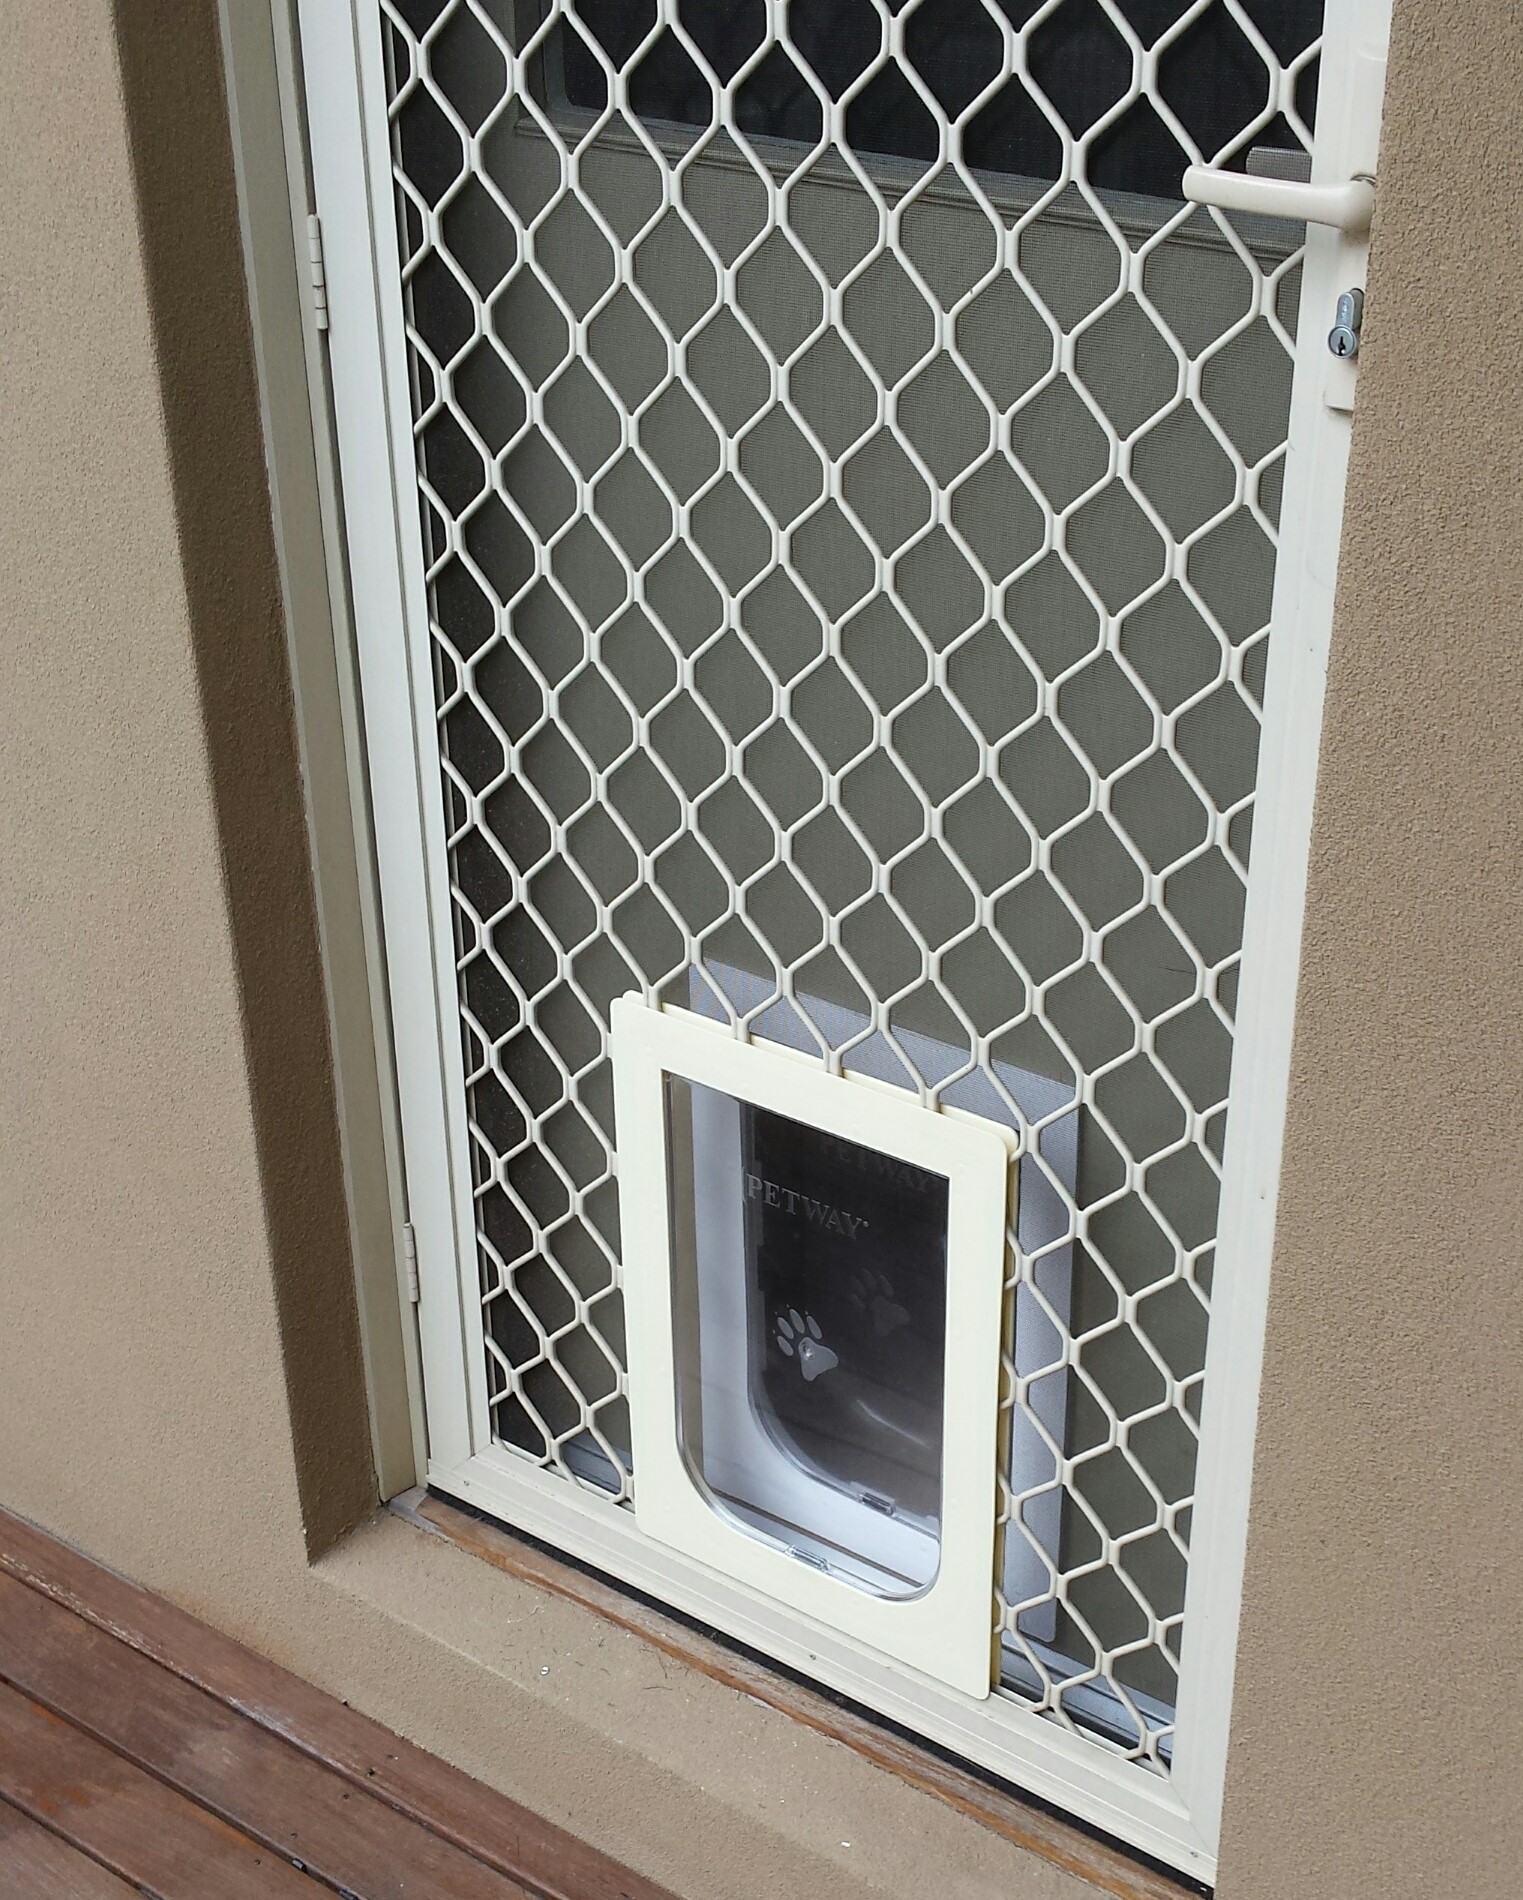
Installing the pet door frame is a crucial step in adding a pet door to your storm door. The frame holds the flap and ensures your pet can move in and out easily. Proper fitting and sealing keep the door sturdy and weatherproof.
Fitting The Frame
Start by placing the pet door frame in the cutout of your storm door. Check that it fits snugly without gaps. Align the frame so it sits evenly on all sides. Make small adjustments for a perfect fit. A tight fit prevents drafts and keeps the door secure.
Securing With Screws
Use the screws provided with the pet door kit. Drive each screw through the frame into the storm door. Tighten screws firmly but avoid over-tightening. Over-tightening can crack the frame or door. Screws hold the frame steady and support daily use.
Sealing The Edges
Apply weatherproof sealant around the edges of the frame. This stops air and water from entering. Smooth the sealant with a finger or tool for a clean finish. Sealing protects your home from drafts and moisture damage. Let the sealant dry fully before using the pet door.
Attaching The Flap And Testing
Attaching the flap and testing it is a key step in installing a pet door in a storm door. This part ensures your pet door works well and keeps your home protected. A properly attached flap allows easy entry and exit for your pet. Testing confirms the flap swings smoothly and fits tightly. Follow these steps carefully for the best results.
Installing The Flap
Start by aligning the flap with the frame of the pet door. Most flaps come with pre-drilled holes or slots. Use the screws provided to attach the flap securely. Tighten screws just enough to hold the flap firmly but allow movement. Avoid over-tightening, which can stop the flap from swinging freely.
Checking For Smooth Operation
Gently push the flap to test its movement. It should swing open easily both ways. Watch for any sticking or catching on the frame edges. The flap must return to a closed position on its own. If it sticks, loosen the screws slightly and try again. Smooth operation ensures your pet can enter without trouble.
Adjusting For Fit
Check the flap edges for gaps or tight spots. The flap should fit snugly to block drafts and insects. Use weather stripping if needed to improve the seal. Adjust screws to balance flap tension and fit. Your pet door is ready once the flap swings well and seals tightly.
Credit: kdfoundation.org
Maintaining Your Pet Door
Maintaining your pet door keeps it working well and lasts longer. Regular care stops dirt and weather damage. This section shares simple steps to keep your pet door clean, weatherproof, and problem-free.
Regular Cleaning Tips
Clean the flap and frame at least once a month. Use a soft cloth and mild soap. Avoid harsh chemicals that can damage the door material. Remove dirt, dust, and hair around the edges. Check for cracks or tears on the flap. Replace damaged parts quickly to keep pets safe.
Weatherproofing Tips
Check the weather seals regularly. Replace worn or broken seals to prevent drafts. Use weatherproof tape around the edges if needed. Make sure the flap closes tightly to stop rain and cold air. In winter, add extra insulation around the door frame. This keeps your home warm and your pet comfortable.
Troubleshooting Common Issues
Listen for unusual noises when the flap moves. Squeaks or stiffness may need lubrication. Use a silicone spray on hinges for smooth motion. If the flap sticks, check for debris or damage. Tighten loose screws to keep the door stable. Test the locking mechanism often to ensure security.
Frequently Asked Questions
How Do I Measure My Storm Door For A Pet Door?
Measure the width and height of your storm door’s panel. Ensure the pet door fits comfortably within these dimensions. Accurate measurements help avoid installation errors and ensure your pet door functions properly.
What Tools Are Needed To Install A Pet Door?
You need a drill, screwdriver, measuring tape, jigsaw, and safety goggles. These tools ensure a precise cut and secure installation. Having the right tools makes the process smoother and safer.
Can I Install A Pet Door Myself?
Yes, with basic DIY skills and proper tools, you can. Follow the manufacturer’s instructions carefully for best results. If unsure, consider professional help to avoid damage or injury.
Will A Pet Door Affect My Storm Door’s Insulation?
A properly installed pet door has minimal impact on insulation. Look for models with weatherproof seals and flaps. These features help maintain energy efficiency and keep out drafts.
Conclusion
Installing a pet door in your storm door is simple and practical. It lets your pet go outside easily. You save time and avoid opening the door all the time. Just follow the steps carefully and measure well. Use the right tools to avoid mistakes.
Your pet will enjoy more freedom and comfort. This small change makes a big difference at home. Take your time, and you will do fine. Enjoy the convenience and happy pets!