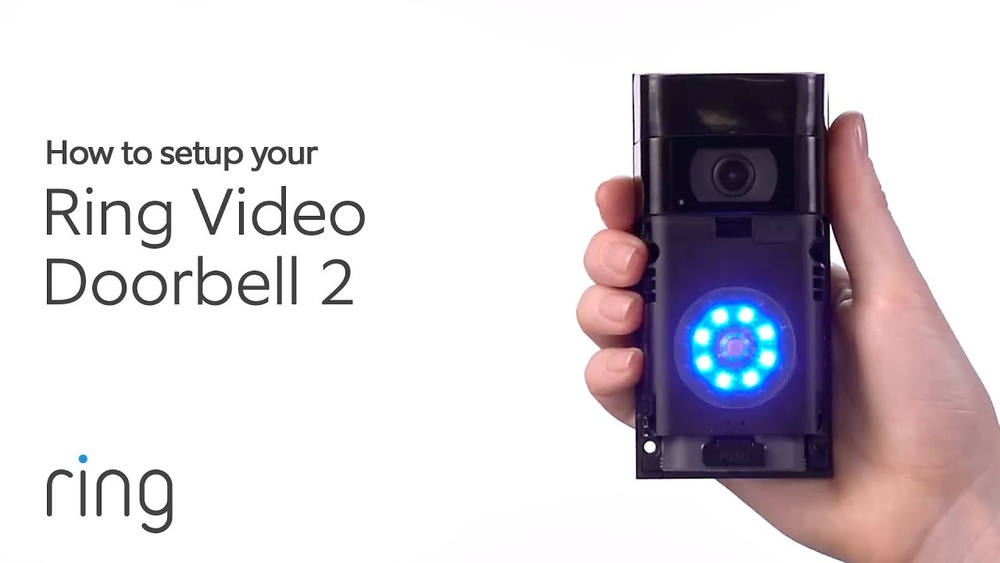
Setting up your Ring Video Doorbell 2 might seem tricky at first, but you’re closer to making your home smarter and safer than you think. Imagine being able to see who’s at your door from anywhere, at any time.
You’re about to learn simple, step-by-step instructions that anyone can follow—even if you’re not tech-savvy. By the end of this guide, you’ll have your Ring Video Doorbell 2 up and running smoothly, giving you peace of mind and control right at your fingertips.
Let’s get started!
Unboxing And Checking Contents
Unboxing your Ring Video Doorbell 2 is the first step to securing your home. It is important to check all the parts before starting the setup. This ensures you have everything needed for a smooth installation.
Take your time opening the box carefully. Inside, you will find the main device and several accessories. Knowing each item helps avoid delays during installation.
Opening The Package
Remove the outer box gently. Inside, you will see the Ring Video Doorbell 2 wrapped safely. Also, find a smaller box with tools and screws. Keep the packaging for future use.
Inspecting The Doorbell Unit
Look closely at the doorbell unit. Check for any damage or scratches. The camera lens should be clean and clear. The button should click smoothly when pressed.
Checking The Accessories
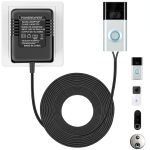
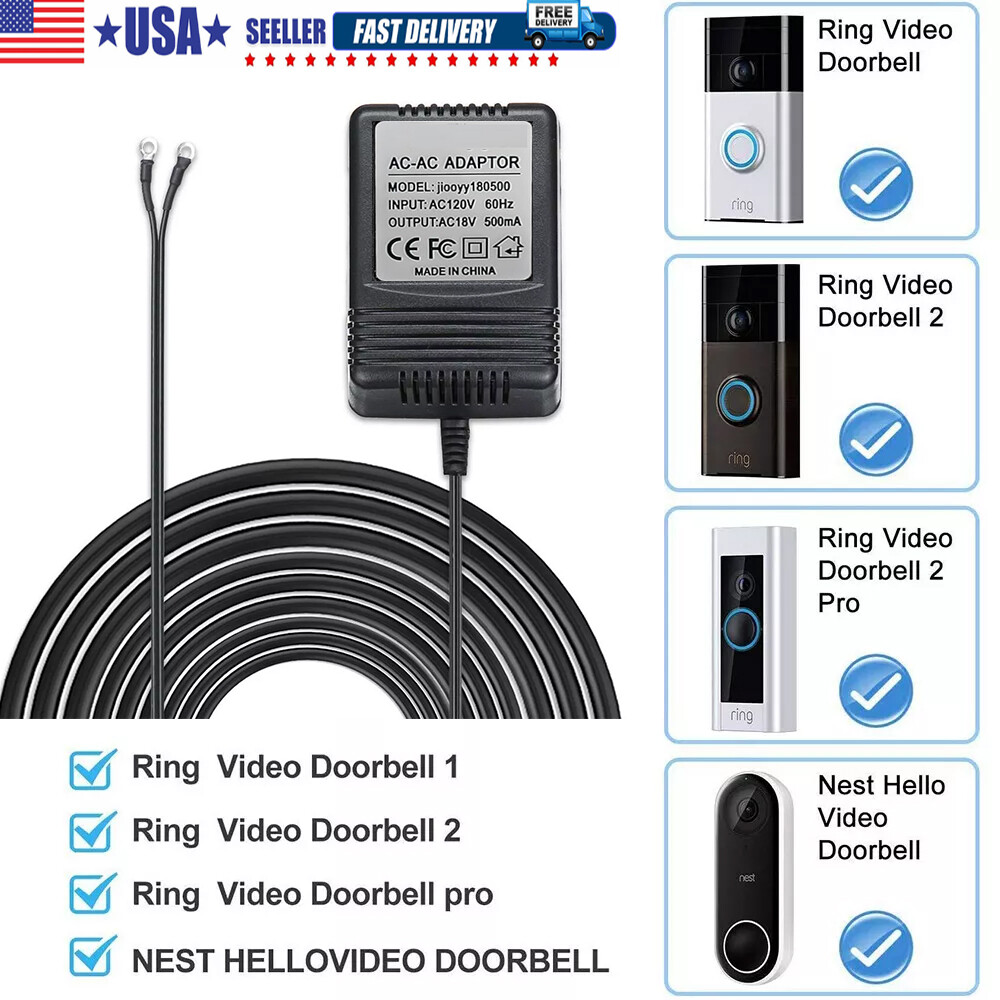
Verify the contents against the instruction sheet. You should have mounting brackets, screws, and anchors. A screwdriver and a charging cable are also included. These items are necessary for installation and charging.
Reading The Quick Start Guide
Find the Quick Start Guide in the box. It offers simple steps and helpful images. Reading this guide first saves time later. It explains how to charge and mount the doorbell correctly.
Charging The Doorbell Battery
Charging the battery is an important step before using the Ring Video Doorbell 2. The battery must have enough power to keep the doorbell working properly. This ensures you get clear video and smooth operation. The process is simple and takes only a few hours.
How To Remove The Battery For Charging
First, find the release tab on the side of the doorbell. Press the tab gently and pull the battery out. Handle the battery carefully to avoid damage. Keep the battery away from water and extreme heat during removal.
Using The Charging Cable
Plug the USB charging cable into a power source. Connect the other end to the battery’s charging port. The battery has a small light that shows charging status. A red light means charging, and green means fully charged.
Charging Time And Tips
Charging takes about five hours for a full battery. Avoid overcharging by disconnecting the battery once it is green. Charge the battery in a dry and cool place. Regular charging keeps the doorbell ready for use.
Downloading The Ring App
Downloading the Ring app is the first step to set up your Ring Video Doorbell 2. This app connects your doorbell to your smartphone. It lets you see who is at your door, get alerts, and control settings.
The app is free and easy to install. It works on both iOS and Android devices. Having the app ready makes the whole setup process smooth and fast.
Finding The Ring App In Your App Store
Open the App Store on your iPhone or the Google Play Store on your Android device. Type “Ring” in the search bar. Look for the app named “Ring – Always Home.” Check the app icon to be sure.
Installing The Ring App
Tap the “Install” or “Get” button. Wait a few moments while the app downloads. The app size is small, so it won’t take long. Make sure you have a good internet connection.
Creating Your Ring Account
Open the Ring app after installation. Tap “Create Account.” Enter your email address and make a password. Follow the instructions to complete your profile. This account keeps your device secure and personal.
Credit: www.ebay.com
Creating And Setting Up Your Ring Account
Creating and setting up your Ring account is the first step to using your Ring Video Doorbell 2. This account connects your device to your smartphone. It lets you see live video, get alerts, and control settings. The process is simple and quick.
Start by downloading the Ring app on your phone. The app is free and works on both Android and iPhone. After installation, open the app to begin creating your account. You will need a working email address and a password to register. This account keeps your home secure and your information safe.
Create Your Ring Account
Open the Ring app and tap on “Create Account.” Enter your email address. Choose a strong password you can remember. Confirm the password by typing it again. Accept the terms of service and privacy policy. Tap “Continue” to move to the next step.
Verify Your Email
Check your email inbox for a verification message from Ring. Open the email and click the verification link. This step confirms your email is valid. If you do not see the email, check your spam folder. Verification ensures you get important updates and alerts.
Set Up Your Profile
After email verification, return to the Ring app. Enter your name and phone number. This information helps with account recovery. It also improves your security settings. Save your profile details before continuing.
Connecting The Doorbell To Wi-fi
Connecting your Ring Video Doorbell 2 to Wi-Fi is a key step. It allows the doorbell to send alerts and stream video to your phone. A stable Wi-Fi connection ensures you never miss a visitor or delivery.
Follow clear steps to link the doorbell to your home network. This process is simple and quick. It only takes a few minutes with the Ring app.
Preparing Your Wi-fi Network
Check that your Wi-Fi signal is strong near the doorbell location. Move your router closer if needed. Disable any guest networks during setup. Ensure your network uses 2.4 GHz, not 5 GHz. The Ring Doorbell 2 does not support 5 GHz Wi-Fi.
Using The Ring App To Connect
Download and open the Ring app on your smartphone. Create an account or log in. Tap “Set Up a Device” and select “Doorbells.” Follow the on-screen instructions carefully. The app will guide you through connecting to your Wi-Fi.
Troubleshooting Connection Issues
If the doorbell fails to connect, restart your router and phone. Check if your Wi-Fi password is correct. Move closer to the router during setup. Make sure your phone and doorbell are near each other. Reset the doorbell if problems continue.
Choosing The Installation Location
Choosing the right spot for your Ring Video Doorbell 2 is key to its performance. The location affects the camera’s view and motion detection. Pick a place that shows your front door clearly. Avoid spots blocked by plants, walls, or decorations. A clear view helps catch visitors and deliveries easily.
Think about lighting at the chosen spot. Too much sunlight can cause glare. Too little light might make images dark. The best place has balanced light for clear video day and night.
Height And Angle For The Doorbell
Place the doorbell 48 inches from the ground. This height fits most doorbells and gives a good view of faces. Angle the camera slightly down. This setup captures visitors’ faces and packages on the ground. Avoid placing it too high or too low for clear images.
Wi-fi Signal Strength
Strong Wi-Fi is necessary for smooth video streaming. Test the signal at the chosen location. Use a phone or laptop to check Wi-Fi strength. If the signal is weak, move the doorbell closer to the router or add a Wi-Fi extender.
Protection From Weather
The doorbell should stay safe from rain and direct sun. Choose a spot under an overhang or porch if possible. This protects the device and keeps it working longer. Avoid places where water can drip directly on the doorbell.
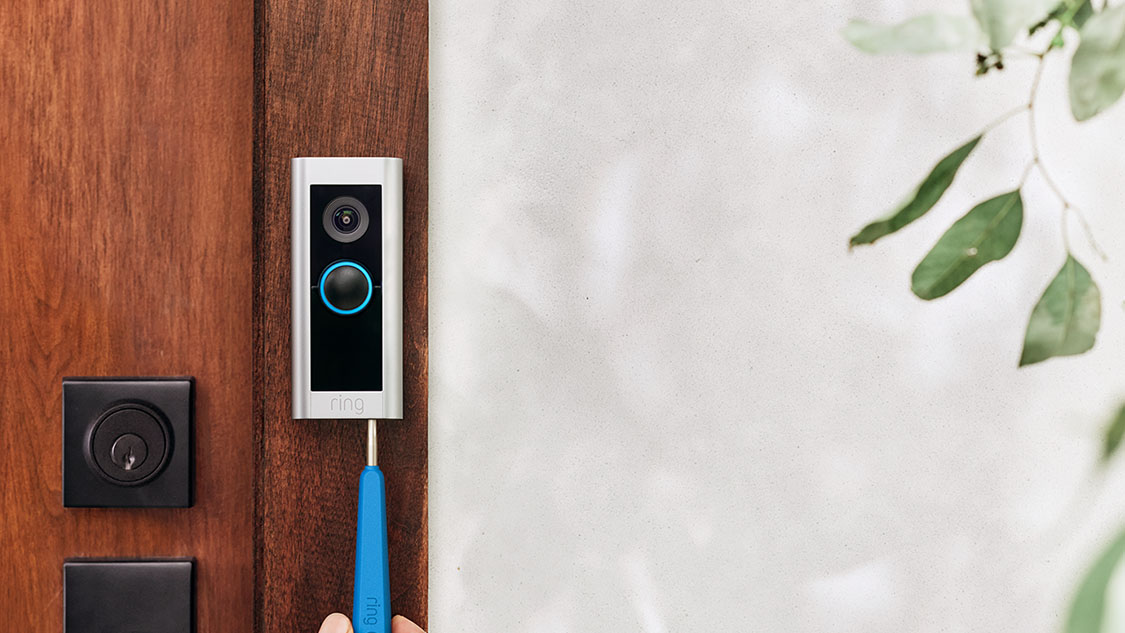
Mounting The Doorbell
Mounting the Ring Video Doorbell 2 is a key step for clear video and reliable operation. Proper placement ensures the camera covers your doorway well. The device must be steady and secure to avoid false alerts or damage. Follow these steps to mount your doorbell easily and correctly.
Using The Mounting Bracket
Start by attaching the mounting bracket to the chosen spot. Hold the bracket flat against the wall near your door. Use a pencil to mark the screw holes. The bracket gives a stable base for your doorbell. It also helps with angle adjustments later.
Securing With Screws
Drill holes where you marked. Insert wall anchors if you mount on drywall or brick. Screw the bracket tightly to the wall. Make sure it does not wiggle or move. A firm bracket keeps your doorbell safe and steady.
Adjusting The Doorbell Angle
Attach the Ring Video Doorbell 2 to the bracket. The device clicks into place securely. Tilt the doorbell up or down for the best view. Test the camera angle on your phone app. Adjust until you see the whole doorway clearly.
Configuring Device Settings
Configuring your Ring Video Doorbell 2 is an important step. It helps you control how the device detects motion and sends alerts. Adjusting these settings makes the device work better for your needs. Let’s explore two key areas: motion zones and notification preferences.
Setting Up Motion Zones
Motion zones let you choose specific areas to watch. This reduces false alerts from cars or passing animals. Use the Ring app to draw zones on the screen. Focus on your porch or driveway for the best results. Save your changes to activate the zones. This helps the doorbell alert you only when needed.
Adjusting Notification Preferences
Notifications keep you updated about activity at your door. You can choose how and when to get alerts. Turn on notifications for motion, doorbell rings, or both. Choose sound alerts or silent mode on your phone. Customize settings for each family member if needed. These options help you stay informed without distractions.
Testing Your Doorbell
Testing your Ring Video Doorbell 2 is a key step after installation. It ensures the device works correctly and keeps your home secure. This section explains how to test your doorbell in simple steps. Follow along to check the sound, video, and notifications.
Checking The Doorbell Sound
Press the doorbell button once. Listen for the chime inside your home. It should ring clearly and at a good volume. If you do not hear the sound, check the chime connection or settings. Adjust the volume through the Ring app if needed.
Verifying The Video Feed
Open the Ring app on your phone or tablet. View the live video from your doorbell. The picture should be clear and sharp. Test the night vision by turning off the lights. Make sure the camera adjusts to low light well.
Testing Motion Alerts
Walk in front of your doorbell to trigger motion detection. Your phone should receive a notification quickly. Check the alert tone and vibration on your device. Adjust motion sensitivity in the app if notifications are too many or too few.
Ensuring Two-way Talk Works
Use the Ring app to speak through the doorbell. Talk and listen to test the microphone and speaker. Clear sound is important for communicating with visitors. Fix any issues by checking your internet connection or app permissions.
Credit: ring.com
Troubleshooting Common Issues
Troubleshooting common issues with your Ring Video Doorbell 2 can save time and frustration. Many problems are simple to fix. Understanding basic solutions helps you keep your device working well.
This section covers easy steps for common issues. Follow each part to get your doorbell back online quickly.
Connectivity Problems
Check your Wi-Fi signal strength near the doorbell. Weak signals cause delays or no connection. Restart your router to refresh the network. Move the doorbell closer to your router if possible. Use the Ring app to run a Wi-Fi speed test. A stable connection needs at least 2 Mbps upload speed.
Power Issues
Ensure the battery is fully charged or the wires are connected properly. Remove the battery and charge it with a USB cable. If hardwired, check the voltage with a multimeter. Replace the battery if it does not hold a charge. Clean the contacts to improve power flow.
App Notifications Not Working
Open your phone settings and enable notifications for the Ring app. Check the app permissions to allow alerts and sounds. Make sure Do Not Disturb mode is off. Update the app to the latest version. Log out and log back in to refresh the connection.
Video Or Audio Quality Issues
Clean the camera lens and microphone openings gently. Poor quality often comes from dirt or debris. Check your internet speed; slow speed lowers video quality. Restart the Ring app and your phone. Adjust video settings in the app for better performance.

Credit: www.youtube.com
Frequently Asked Questions
How Do I Install The Ring Video Doorbell 2?
To install, charge the battery fully first. Attach the mounting bracket to your doorframe. Secure the doorbell to the bracket and follow the app instructions for setup.
How Can I Connect Ring Doorbell 2 To Wi-fi?
Open the Ring app, select your device, and choose Wi-Fi settings. Follow prompts to connect to your home network with your password.
What Is The Best Placement For Ring Doorbell 2?
Place it 48 inches above the ground for optimal motion detection. Ensure it faces your main entryway and has a clear field of view.
How Do I Charge The Ring Doorbell 2 Battery?
Remove the battery pack from the doorbell. Use the provided USB cable and plug it into a power source until fully charged.
Conclusion
Setting up your Ring Video Doorbell 2 is simple and quick. Follow each step carefully to avoid common mistakes. Test the device to ensure it works perfectly. Enjoy the added security and convenience at your doorstep. Stay connected with your home anytime, anywhere.
Your new doorbell helps keep your family safe and informed. Now, you are ready to use your Ring Video Doorbell 2 confidently.