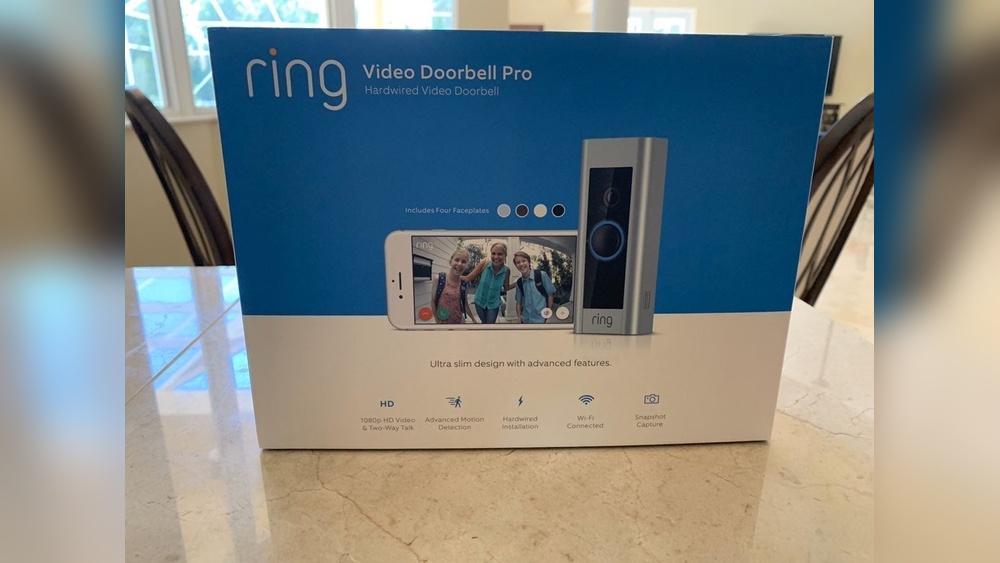
Are you ready to upgrade your home security with the Ring Video Doorbell Pro 250? Installing this smart device might seem tricky, but with the right steps, you can have it up and running quickly.
In this guide, you’ll discover simple, clear instructions that make the setup easy—even if you’re not tech-savvy. Imagine seeing who’s at your door from anywhere, anytime. Keep reading to find out exactly how to install your Ring Video Doorbell Pro 250 and start protecting your home like a pro.
Unbox And Check Components
Before installing your Ring Video Doorbell Pro 250, start by unboxing it carefully. This step helps you confirm all necessary parts are available. Checking components avoids problems during installation.
Take your time to open the box gently. Organize the items on a clean surface. This makes it easier to identify each piece and check for damage.
Inspect The Doorbell Unit
Look closely at the doorbell device. Make sure it has no scratches or cracks. The front camera lens should be clear and free of dirt.
Verify The Mounting Bracket
Find the mounting bracket inside the box. This piece holds the doorbell on your wall. Check for any bends or broken parts.
Check The Power Kit And Wires
The power kit is essential for proper wiring. Ensure it is included and undamaged. Look at the wires for any cuts or frays.
Confirm The Screws And Anchors
Locate the screws and wall anchors. You need these for secure installation. Count them to ensure you have enough pieces.
Review The Installation Tools
Some kits include a small screwdriver or other tools. Make sure these are present and in good condition. Tools help make installation smoother.
Read The Quick Start Guide
Find the instruction manual or quick start guide. This document helps you understand the setup steps. Keep it handy for reference during installation.
Gather Required Tools
Gathering the right tools is the first step to install the Ring Video Doorbell Pro 250. Having all tools ready saves time and avoids frustration. It also ensures a smooth and safe installation process. This section lists essential tools you need before starting the setup.
Power Drill
A power drill helps create holes for mounting the doorbell. It makes the job faster and easier. Choose a drill with adjustable speed for better control.
Screwdriver
A screwdriver is necessary to tighten screws securely. A Phillips head screwdriver fits most screws included with the doorbell. It helps keep the device firmly in place.
Level Tool
A level tool ensures the doorbell is straight. A crooked doorbell may affect its performance. Use a small level to check alignment during installation.
Wire Stripper
A wire stripper prepares the wires for connection. It removes insulation without damaging the wire inside. This tool is crucial if you need to connect the doorbell to existing wiring.
Ladder
A ladder helps reach the installation spot safely. Choose a sturdy ladder to avoid accidents. Always place it on a flat surface for stability.
Measuring Tape
Measuring tape ensures proper placement of the doorbell. It helps mark the right spots for drilling holes. Accurate measurements prevent mistakes during installation.
Turn Off Power Supply
Turning off the power supply is the first step in installing your Ring Video Doorbell Pro 250. This step keeps you safe during the installation. Electricity can cause serious injury if handled carelessly. So, always switch off the power before starting.
Without power, you can work on the wires safely. It also prevents damage to the doorbell device. Safety should be your top priority. Follow these simple steps to turn off the power supply correctly.
Locate Your Circuit Breaker
Find the main electrical panel in your home. It is usually in the basement, garage, or utility room. Open the panel door to see the switches inside. Each switch controls power to different parts of your home.
Identify The Correct Switch
Look for the breaker marked for your doorbell or front door area. If no label is present, turn off the main breaker to cut power to the entire house. This is the safest option when unsure.
Turn Off The Power
Flip the breaker switch to the OFF position. Confirm the power is off by testing nearby lights or outlets. Use a voltage tester if available. Never work on electrical wiring while the power is on.

Credit: www.ocupatucalle.com
Remove Existing Doorbell
Removing your existing doorbell is the first step to install the Ring Video Doorbell Pro 250. This step clears the space and prepares your home for the new device. It is important to do it carefully to avoid damage to your wiring and wall.
Turn off the power to your doorbell at the breaker box. This prevents electric shock during removal. Safety first.
Locate The Doorbell Button
Find your current doorbell button outside your front door. It is usually mounted on the wall near the entrance. Check if it is secured with screws or clips.
Remove The Doorbell Button
Use a screwdriver to remove the screws holding the doorbell button. Gently pull the button away from the wall. Be careful not to pull too hard to avoid damaging the wires behind it.
Disconnect The Wires
Look at the wires connected to the back of the doorbell button. Loosen the screws holding the wires. Carefully disconnect the wires from the button. Keep the wires safe and avoid letting them touch each other.
Remove The Doorbell Chime Cover
Inside your home, find the doorbell chime unit. Remove its cover by unscrewing or unclipping it. This step is needed to access the wires connected to the chime.
Disconnect The Chime Wires
Note where each wire is connected on the chime. Loosen the screws and disconnect the wires. This allows you to connect the Ring doorbell later.
Check The Wall For Damage
Inspect the wall where the old doorbell was mounted. Clean the area and fix any holes or cracks. A smooth surface helps the new doorbell fit properly.
Attach Mounting Bracket
Attaching the mounting bracket is a key step to install your Ring Video Doorbell Pro 250. This bracket holds the doorbell firmly on your wall. Follow these simple steps to fix the bracket properly. A secure bracket ensures your doorbell works well and stays safe.
Mark Screw Holes
Hold the mounting bracket against the wall. Use a pencil to mark the holes for screws. Make sure the bracket is level. Double-check the marks before drilling.
Drill Pilot Holes
Choose a drill bit that matches the screw size. Drill small pilot holes on the marked spots. These holes make screwing easier. Avoid drilling too deep or wide.
Secure Bracket
Place the bracket back on the wall. Align the holes with the pilot holes. Insert screws and tighten them with a screwdriver. Check the bracket for stability and adjust if needed.
Connect Doorbell Wires
Connecting the doorbell wires is a key step in installing the Ring Video Doorbell Pro 250. This step ensures your device gets power and can send alerts to your phone. You need to handle the wires carefully to avoid damage.
Follow these instructions to connect the wires properly. Take your time and double-check each connection for safety and performance.
Identify Wires
First, look at the existing doorbell wires. Usually, two wires come out of the wall. They may be copper or covered with plastic coating. These wires carry power from your home’s transformer to the doorbell.
Use a voltage tester to check if the wires have power. The Ring Video Doorbell Pro 250 works with low voltage, typically 16 to 24 volts. Label the wires if needed, so you know which one is which.
Attach Wires To Terminals
Next, connect the doorbell wires to the Ring device terminals. Loosen the screws on the back of the doorbell. Wrap each wire around the correct terminal screw.
Secure the wires by tightening the screws. Make sure the wires do not touch each other. Loose or crossed wires can cause short circuits or failure.
Once attached, gently push the wires back into the wall box. The doorbell should sit flush without strain on the wires.
Mount The Doorbell Pro 250
Mounting the Ring Video Doorbell Pro 250 is a key step in your installation. Proper placement ensures clear video and easy access to the doorbell. Follow these simple steps to mount your device securely and correctly.
Choose The Best Location For Mounting
Select a spot near your front door, about 48 inches high. This height captures faces clearly and works well with the device’s motion sensor. Avoid areas with direct sunlight or glare. Ensure the location has a strong Wi-Fi signal for smooth video streaming.
Mark The Screw Holes
Hold the mounting bracket against the wall. Use a pencil to mark where the screws will go. Double-check the level to keep the doorbell straight. Accurate marking makes the next step easier and faster.
Drill The Holes
Use a drill bit that matches your wall type. For brick or concrete, use the included anchors. Drill carefully to avoid damage. Insert anchors if needed before attaching the bracket.
Attach The Mounting Bracket
Align the bracket with the drilled holes. Secure it tightly with screws. The bracket must be firm to hold the doorbell safely. Check that it does not move or wiggle.
Secure The Doorbell Pro 250
Slide the doorbell onto the bracket. Press firmly until it clicks into place. Use the provided security screws to lock it. This step protects your doorbell from theft.

Credit: www.youtube.com
Restore Power And Test
After installing the Ring Video Doorbell Pro 250, restoring power is essential. This step ensures the device works correctly and is ready for use. Testing the doorbell confirms proper installation and functionality.
Turn On Power
Locate your home’s breaker panel. Find the switch for your doorbell circuit. Flip the switch to the “on” position. This action restores electricity to the doorbell. Wait a few seconds for the system to power up.
Check if the doorbell lights up or makes a sound. This indicates the device receives power. If nothing happens, double-check the breaker or wiring.
Check Doorbell Functionality
Press the doorbell button gently. Listen for the chime inside your home. Watch the Ring app on your phone for notifications. The app should show the doorbell as online.
Test the camera view in the app. Ensure the video feed is clear and responsive. Speak through the two-way audio to check sound quality. Confirm motion alerts trigger correctly in the app.
These tests guarantee your Ring Video Doorbell Pro 250 works properly. Fix any issues before finalizing the installation.
Set Up In Ring App
Setting up your Ring Video Doorbell Pro 250 in the Ring app is simple and fast. The app guides you step-by-step. It helps connect your doorbell to your phone and home network. This setup lets you receive alerts and see who is at your door.
Follow these clear steps to get your doorbell working with the app. Each part is important for full functionality and security.
Download And Install App
Search for the “Ring” app in the Apple App Store or Google Play Store. Download and install it on your smartphone. The app is free and easy to install. Make sure your phone meets the app’s system requirements.
Create Or Log In To Account
Open the Ring app. Choose to create a new account if you are a new user. Fill in your name, email, and password. If you already have an account, just log in with your details. This account keeps your devices and settings safe.
Connect Doorbell To Wi-fi
Once logged in, select “Set up a Device” in the app. Choose “Doorbells” and follow the prompts. The app will ask to connect the doorbell to your Wi-Fi network. Pick your home Wi-Fi and enter the password. Ensure the signal is strong for the best performance.

Credit: www.przewozcm.eu
Adjust Settings And Preferences
After installing your Ring Video Doorbell Pro 250, adjusting its settings is key. Proper settings help you get the most from your device. You can control how and when your doorbell alerts you. This section shows how to tailor the settings to fit your needs.
Customize Motion Zones
Customize motion zones to focus on important areas. This reduces false alerts from cars or passing pets. Open the Ring app and select your doorbell. Tap “Motion Settings” and then “Motion Zones.” Draw zones on the screen where you want to detect movement. Save these zones to improve alert accuracy. This saves time and makes alerts more useful.
Set Notification Preferences
Set notification preferences to control alerts on your phone. Open the Ring app and go to “Device Settings.” Select “Notification Settings” and choose when to receive alerts. You can turn on notifications for motion, doorbell presses, or both. Choose sounds or vibrations to make alerts noticeable. Adjust these settings to avoid too many alerts or missing important ones.
Troubleshooting Tips
Troubleshooting helps solve problems during the Ring Video Doorbell Pro 250 installation. It saves time and ensures your device works correctly. This section covers common issues and connectivity problems you might face.
Common Installation Issues
Sometimes, the doorbell does not turn on after installation. Check the wiring to ensure all connections are secure. Loose wires cause power problems. Use the voltage tester to confirm power at the doorbell.
Another issue is incorrect placement. The doorbell should be at eye level for the best view. Avoid placing it near strong lights that cause glare. This improves video quality.
Mounting errors can also cause problems. The doorbell must be flush against the wall. Gaps can affect motion detection. Use the mounting bracket included for a tight fit.
Connectivity Problems
Weak Wi-Fi signals cause video lag or disconnections. Place your router closer to the doorbell for a stronger signal. Avoid thick walls or metal objects between devices.
Restart your router and the doorbell to refresh the connection. This often fixes minor network glitches. Make sure your Wi-Fi password is correct in the app.
Check for software updates in the Ring app. Outdated firmware can cause connection issues. Updating keeps your doorbell running smoothly.
Frequently Asked Questions
How Do I Prepare For Ring Video Doorbell Pro 250 Installation?
Start by turning off your doorbell power at the breaker. Gather tools like a drill, screwdriver, and voltage tester. Read the installation guide and ensure your existing doorbell is compatible with the Ring Pro 250 for a smooth setup.
What Tools Are Needed For Ring Video Doorbell Pro 250?
You’ll need a drill with bits, a screwdriver, a level, and a voltage tester. These tools help mount the device securely and check electrical connections. Having all tools ready speeds up the installation process efficiently.
How Do I Connect Ring Video Doorbell Pro 250 To Wi-fi?
Use the Ring app to connect your doorbell to Wi-Fi. Follow in-app instructions to select your network and enter the password. Ensure your Wi-Fi signal is strong near the doorbell for stable performance.
Can I Install Ring Video Doorbell Pro 250 Myself?
Yes, you can install it yourself with basic DIY skills. Follow the step-by-step guide carefully, especially when handling wiring. If unsure, consult a professional to avoid damage or safety issues.
Conclusion
Installing the Ring Video Doorbell Pro 250 is simple and quick. Follow each step carefully for the best results. You will enjoy better home security and easy access to visitors. The device works well with most door setups. Regular checks keep it running smoothly.
Trust your new doorbell to keep your home safe. Feel confident knowing you did the installation right. Now, you can watch your doorstep anytime, anywhere.