Are you struggling to open your molded LED string lights without damaging them? You’re not alone.
These lights look simple, but getting them apart can be tricky if you don’t know the right steps. Imagine saving time and avoiding frustration while making your decorations shine perfectly. In this guide, you’ll discover easy, clear tips that anyone can follow.
Keep reading, and you’ll master the best way to open your molded LED string lights safely and quickly.
Credit: www.amazon.com
Tools Needed
Opening molded LED string lights requires the right tools. Having proper equipment makes the task easier and safer. Prepare all tools before starting your work. This saves time and avoids frustration.
Essential Equipment
You need a small flathead screwdriver to pry open the casing. A pair of needle-nose pliers helps to handle small parts carefully. Wire cutters are useful for trimming wires if needed. A multimeter checks the electrical connections safely. Keep a small container nearby to hold screws and tiny parts.
Safety Gear
Wear safety glasses to protect your eyes from debris. Use insulated gloves to avoid electric shocks. Work in a well-lit area to see clearly. Avoid loose clothing that might catch on parts. Keep a fire extinguisher nearby, just in case.
Preparation Steps
Preparation is key before opening molded LED string lights. It helps avoid damage and keeps you safe. Follow simple steps to get ready and make the process smooth.
Choose A Workspace
Pick a clean, flat surface with good lighting. A table or desk works well. Keep the area free of clutter to avoid losing small parts. Use a soft cloth or mat to protect the lights and your workspace.
Inspect The Lights
Look closely at the LED string lights for any visible damage. Check the wires for cuts or frays. Examine the bulbs to see if any are cracked or broken. Noticing problems early helps prevent further damage during opening.
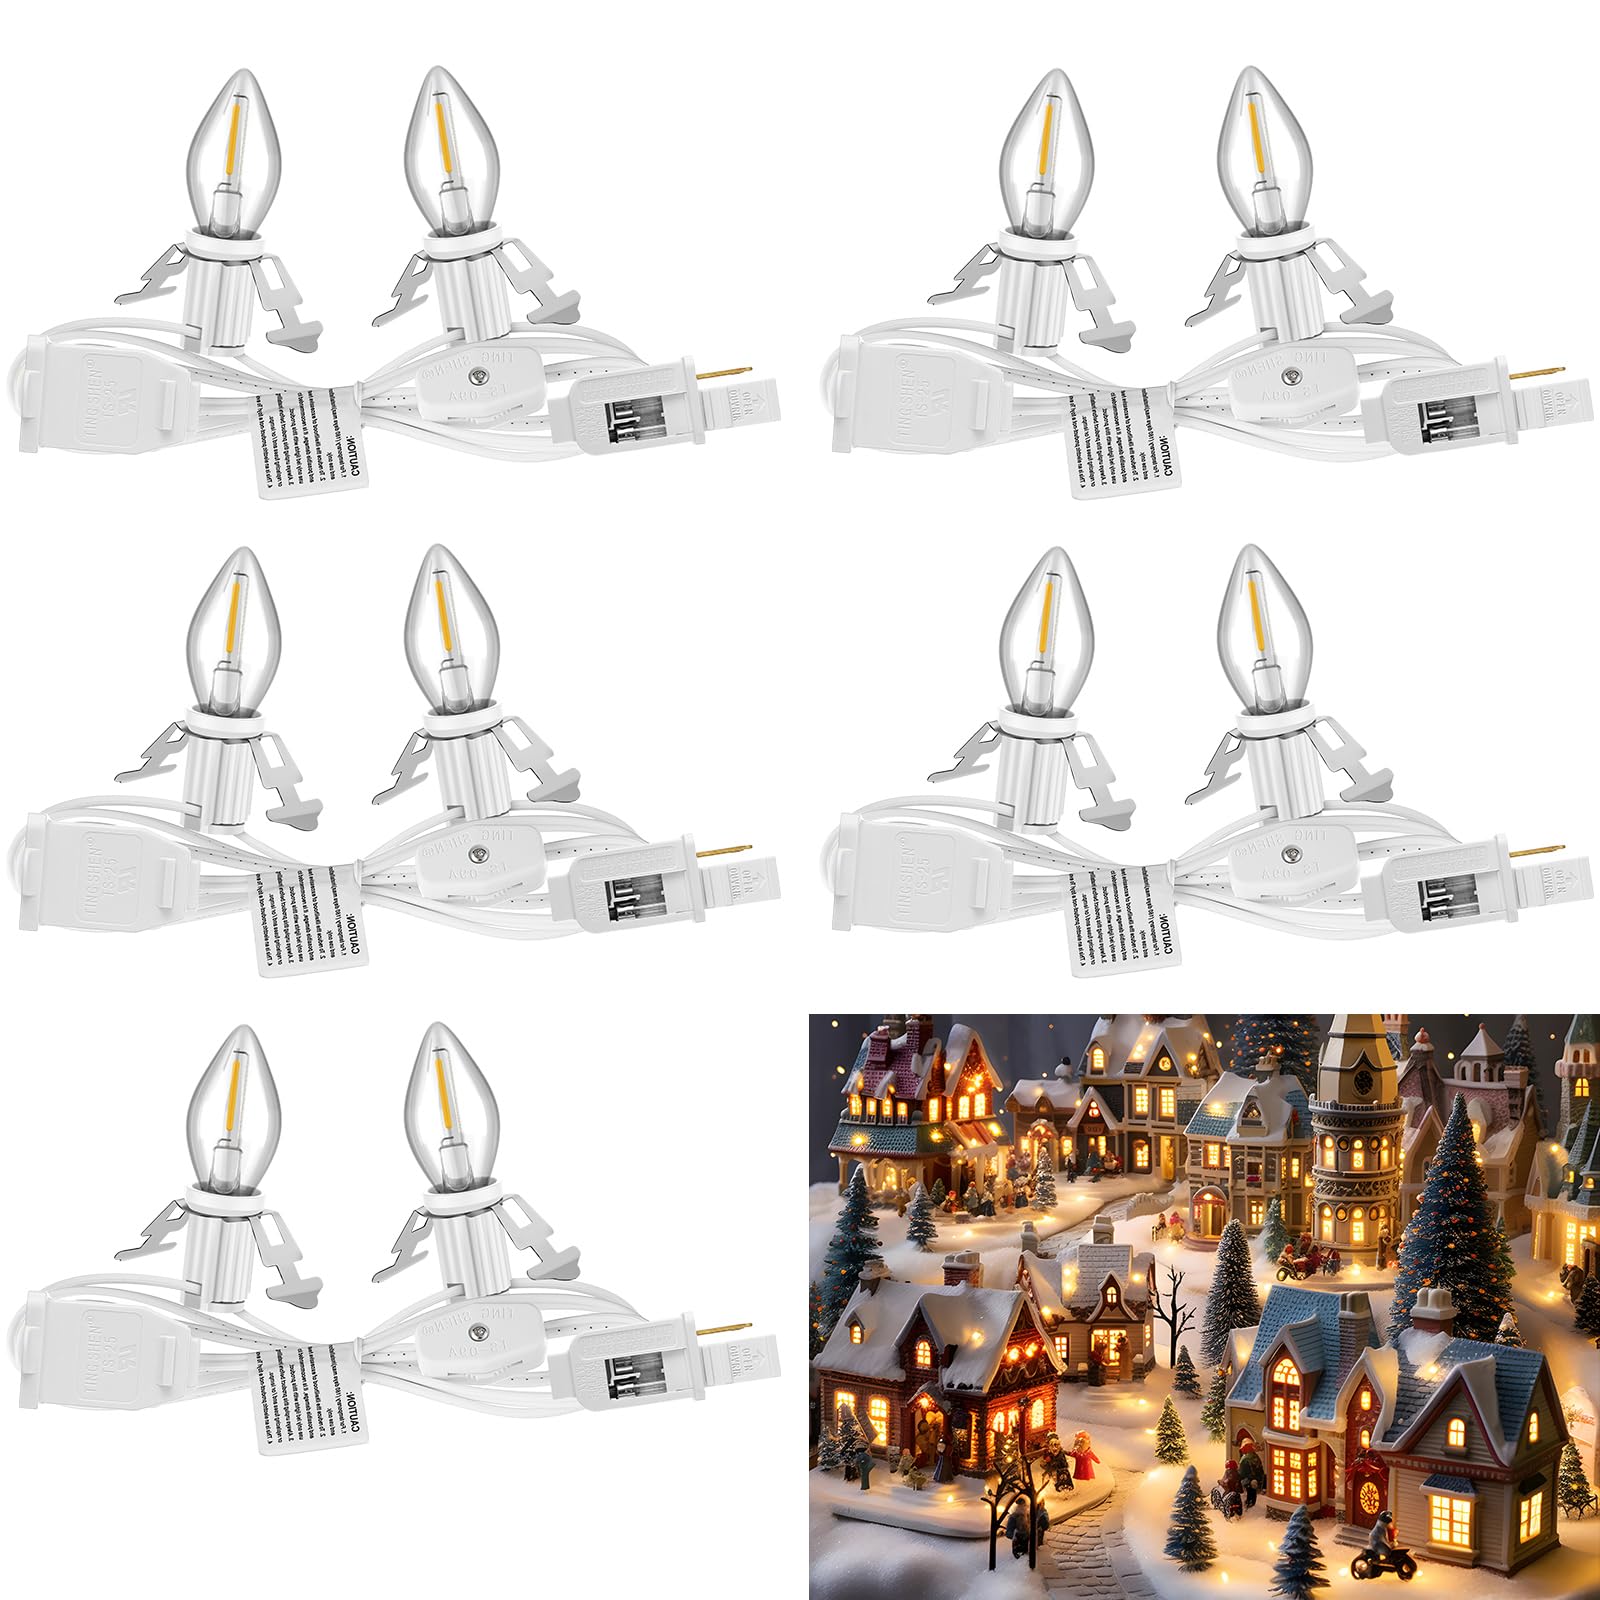
Opening The Molded Lights
Opening molded LED string lights requires care and patience. These lights have a plastic covering that protects the bulbs and wiring. To access the inside, you need to open this molded shell without breaking it. Doing this allows you to repair or replace parts inside the lights.
Locate The Seams
Start by finding the seams on the molded lights. These seams are thin lines where the two halves of the plastic meet. They are usually faint but visible under good light. Use your fingers or a small tool to gently feel along the surface. The seam is the best place to start opening the light.
Use Proper Techniques
Use a small flat tool like a flathead screwdriver or a plastic pry tool. Insert it carefully into the seam. Apply gentle pressure to avoid cracking the plastic. Slowly work the tool along the seam to separate the two halves. Take breaks to avoid forcing the plastic. Patience helps prevent damage and keeps the lights reusable.

Credit: www.youtube.com
Handling The Internal Components
Handling the internal components of molded LED string lights requires care and attention. These parts are delicate and can break easily if not handled properly. Taking time to understand the structure helps avoid damage. This section guides you through key steps to protect the internal parts during opening and repair.
Identify Fragile Parts
The first step is to spot the fragile parts inside the lights. Tiny wires connect each LED bulb. These wires are thin and can snap with too much force. The LED bulbs themselves are small and sensitive to pressure. The plastic casing holds everything in place. It can crack if bent too much. Knowing these weak spots helps you work more carefully and safely.
Avoid Common Mistakes
Do not pull on wires to open the light string. This can cause breaks or disconnections. Avoid using sharp tools that might cut or scratch internal components. Applying too much pressure on the plastic casing can cause cracks. Work slowly and gently to separate parts. Keep track of screws or clips to avoid losing them. Taking these precautions prevents damage and keeps the lights working well.
Reassembling The Lights
Reassembling molded LED string lights needs care and patience. Putting the parts back correctly ensures the lights work well and stay safe. Follow these steps to reassemble your lights properly.
Secure The Molded Housing
Place the LED bulbs and wiring back into the molded housing. Make sure each bulb fits snugly in its slot. Align the housing halves carefully before closing them.
Use screws or clips to fasten the housing. Tighten gently but firmly to avoid cracking the plastic. Check for any gaps where moisture could enter.
Test The Lights
Plug in the string lights to check if all bulbs light up. Watch for any flickering or dim bulbs. If some bulbs do not work, turn off the power before opening the housing again.
Fix any loose wires or misplaced bulbs. Test the lights again after adjustments. Only use the lights once they work without issues.

Credit: www.amazon.com
Maintenance Tips
Proper care extends the life of molded LED string lights. Regular maintenance keeps them bright and safe. Small efforts prevent damage and electrical issues.
Follow simple steps to clean and store your lights correctly. This saves money and time on replacements.
Cleaning Methods
Unplug the lights before cleaning to avoid electric shock. Use a soft cloth dampened with water to wipe the bulbs gently. Avoid harsh chemicals that can damage the plastic mold. For stubborn dirt, use a mild soap solution. Dry the lights fully before plugging them back in. Do not soak the string or bulbs in water. Check for broken bulbs or wires during cleaning. Replace any damaged parts to keep the lights safe.
Storage Suggestions
Turn off and unplug the lights before storing. Coil them loosely to prevent tangles and breakage. Use a spool or a cardboard piece to wrap the string. Store in a cool, dry place away from direct sunlight. Avoid humid areas which can cause corrosion. Keep the lights in a plastic container or sealed bag. Label the storage box for easy identification next season. Regularly inspect stored lights for damage or dust.
Frequently Asked Questions
How Do You Safely Open Molded Led String Lights?
To open molded LED string lights safely, use gentle pressure to avoid damage. Avoid sharp tools that can puncture wiring. Inspect the lights for clips or seams where they naturally separate. Work slowly and carefully to maintain the integrity of the lights and prevent electrical hazards.
Can I Repair Molded Led String Lights If Damaged?
Yes, you can repair molded LED string lights by identifying the damaged section. Use electrical tape or heat shrink tubing to cover exposed wires. Replace faulty LEDs with compatible parts. Always unplug the lights before repair to avoid electric shock or further damage.
What Tools Are Needed To Open Molded Led String Lights?
Basic tools include a plastic pry tool, small flathead screwdriver, and tweezers. Avoid metal tools that may damage wiring. Use a soft cloth to protect the lights’ surface while opening. Proper tools help prevent cracks and maintain light functionality.
Why Are Molded Led String Lights Difficult To Open?
Molded LED string lights are sealed to protect internal components from moisture and damage. The plastic casing is tightly fused, making separation challenging without damage. This design enhances durability but requires careful handling when opening or repairing.
Conclusion
Opening molded LED string lights can be simple and safe. Use the right tools and handle wires gently. Always unplug the lights before starting any work. Take your time to avoid damaging the bulbs or wires. Small steps lead to good results.
With care, you can fix or customize your lights easily. Enjoy bright, beautiful decorations without stress or risk. Keep safety first and your lights will last longer.