Are you ready to add a splash of color and smart lighting to your space? Imagine string lights that not only glow with vibrant RGB colors but also turn on automatically when they sense your movement.
Creating your own motion sensor LED RGB string lights is easier than you think—and it can transform your room, patio, or party setup instantly. In this guide, you’ll discover simple steps to build these eye-catching lights yourself. Keep reading, and you’ll soon have a dazzling, energy-saving lighting solution that reacts just when you need it.
Let’s get started!

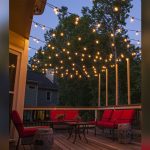
Credit: www.ledsupply.com
Materials Needed
Gather basic items like LED RGB string lights, a motion sensor, wires, and a power source. Also, include a soldering kit and a small circuit board for connections. These materials help create motion-activated colorful lighting easily.
Led Rgb String Lights
Start with LED RGB string lights. These lights can change colors and create fun effects. Choose a set that fits your space and has enough length. Make sure the LEDs are bright and energy-efficient. Look for waterproof options if you plan to use them outdoors.
Motion Sensor Module
The motion sensor module detects movement and turns the lights on. Pick a sensor compatible with your LED lights. It should have a good detection range for your area. A sensor with adjustable sensitivity helps customize when the lights activate. Check the sensor’s power requirements before buying.
Power Supply
You need a power supply to run the lights and sensor. Use a power source that matches the voltage and current needs. A stable power supply prevents flickering and damage. Battery packs or plug-in adapters work well. Ensure the power source is safe and reliable for your setup.
Connecting Wires And Tools
Gather connecting wires to link the lights, sensor, and power supply. Use wires with proper insulation and length. Basic tools like wire cutters, soldering iron, and electrical tape are essential. A multimeter helps check connections and voltage. Organize your workspace to keep everything neat and safe.

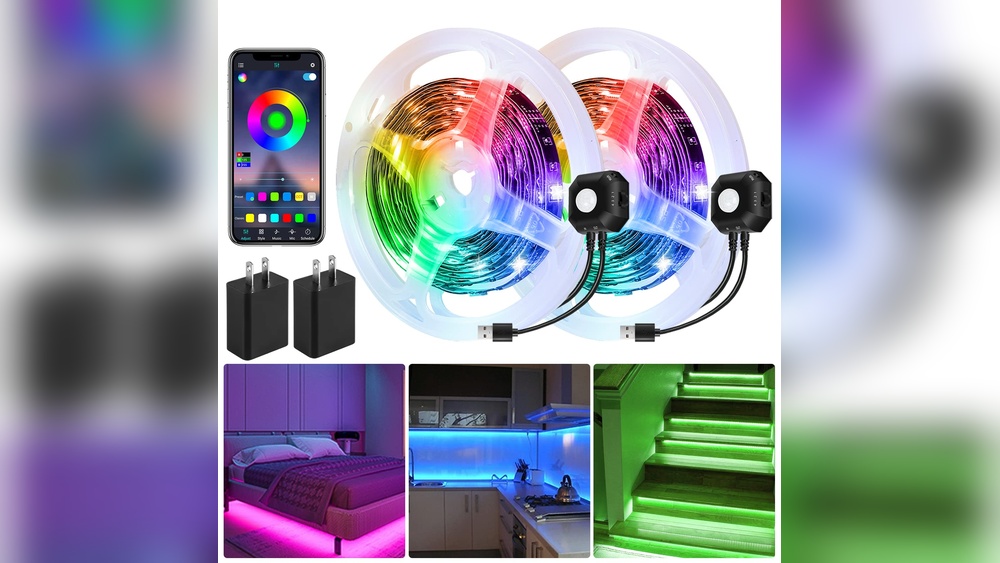
Credit: www.amazon.com
Preparing The Components
Preparing the components is the first step to create motion sensor LED RGB string lights. This step ensures all parts work well and fit together. It saves time and avoids problems during assembly. Proper preparation helps achieve bright and responsive lights that change color with motion.
Testing Led Lights
Check each LED light before use. Connect the string lights to a power source briefly. Look for any lights that do not turn on or flicker. Replace faulty LEDs to prevent issues later. Testing saves effort by fixing problems early. This step ensures all LEDs shine bright and clear.
Checking Motion Sensor Functionality
Test the motion sensor with batteries or power. Wave your hand near the sensor to see if it reacts. The sensor should trigger the lights to turn on. If it does not respond, check connections or replace the sensor. A working sensor is crucial for motion-activated lighting.
Gathering Tools
Collect all tools before starting the project. You will need wire cutters, soldering iron, electrical tape, and a screwdriver. Having tools ready makes the process faster. Keep tools organized to avoid losing small parts. Proper tools help create a neat and safe final product.
Wiring The Circuit
Wiring the circuit is a key step in making motion sensor LED RGB string lights. It connects all parts and allows the lights to work properly. Careful wiring ensures the sensor triggers the lights correctly. This section explains how to wire the circuit safely and clearly.
Connecting Led Lights To Sensor
Start by identifying the sensor’s output wires. Connect these wires to the LED string’s control input. Make sure the sensor’s positive and negative terminals match the LED’s power lines. Use the correct pins to avoid damage. Double-check the connections before powering the circuit. This step links the sensor to control the LED lights.
Power Supply Integration
Choose a power supply that matches your LED string voltage. Connect the positive terminal of the power supply to the LED’s positive wire. The negative terminal goes to the sensor and LED’s negative wire. Keep the power supply stable to prevent flickering. Ensure the power source can handle the total current of the LED string. Proper power integration keeps the lights running smoothly.
Ensuring Secure Connections
Use solder or reliable connectors for all wire joints. Loose wires cause flickering or failure. Wrap connections with electrical tape or heat shrink tubing. Avoid exposing any bare wires. Secure wires with clips or ties to stop movement. Safe and tight connections extend the life of your lights. Check all links before final assembly.
Programming The Sensor
Programming the sensor is a key step to making motion sensor LED RGB string lights work well. It controls how the lights react to movement and changes color. Proper programming helps save energy and create the perfect lighting effect.
This section explains how to set the detection range, adjust the light response, and customize color patterns for your LED string lights.
Setting Detection Range
The detection range tells the sensor how far to sense movement. Set it based on your space size. A small room needs a short range. A large area needs a longer range.
Use the sensor’s dial or buttons to adjust the range. Test it by moving in and out of the sensor’s reach. Fine-tune until it detects motion at the right distance.
Adjusting Light Response
Light response controls how the LED lights react after sensing motion. You can set how long the lights stay on. Some sensors let you adjust brightness too.
Choose a light duration that fits your needs. A longer time keeps the area lit after movement stops. A shorter time saves more power. Adjust brightness for comfort and visibility.
Customizing Color Patterns
RGB string lights can show many colors. Programming lets you choose color patterns for different moods. Pick solid colors, flashing, or smooth color changes.
Use the remote or app to select patterns. Save your favorite settings for quick use. This makes your lights fun and unique.
Testing The Setup
Testing the setup is a crucial step after wiring your motion sensor LED RGB string lights. It ensures the system works correctly and reacts as expected. This step helps catch any mistakes before final installation. Following clear checks will make your lights reliable and fun to use.
Verifying Motion Detection
Stand within the sensor’s range and move slowly. Watch for the sensor’s indicator light or signal. It should respond quickly to your movement. If it doesn’t, check the sensor’s angle and distance. Adjust the sensor position until it detects motion smoothly.
Checking Light Activation
Once the sensor detects motion, the LED string lights should turn on immediately. Observe if the colors change as programmed. Test different distances to confirm the lights respond consistently. If lights do not activate, verify the wiring and power supply.
Troubleshooting Common Issues
Lights not turning on? Confirm power connection and battery charge. Sensor not detecting motion? Clean the sensor lens and remove obstacles. Lights flickering? Check for loose wires or poor connections. Reset the system if needed and repeat tests for confirmation.
Installation Tips
Installing motion sensor LED RGB string lights requires careful planning. Proper setup ensures the lights work well and last long. Follow these tips to install your lights smoothly and enjoy their full effect.
Choosing Optimal Locations
Pick places where the sensor can detect motion easily. Avoid spots blocked by furniture or walls. Outdoor lights should face open areas like walkways or driveways. Ensure the sensor covers the space where you want light to activate.
Also, avoid direct sunlight on the sensor. Bright light can cause false triggers or stop the sensor from working. Choose shaded spots or areas with indirect light for best results.
Mounting The Sensor And Lights
Secure the sensor at a height of 6 to 10 feet. This height works well for most motion sensors. Use screws, hooks, or adhesive strips depending on your wall type. Make sure the sensor points towards the area to monitor.
String lights should hang evenly and not sag. Use clips or hooks designed for string lights. Avoid placing lights too close to heat sources or water. Keep the wires neat to prevent damage and tripping hazards.
Power Management
Check the power source before installation. Use a stable outlet or a suitable battery pack. For outdoor use, ensure power connections are weatherproof and safe. Consider solar-powered options for energy savings.
Keep cords away from walkways and sharp edges. Use cable organizers to avoid tangles. Regularly check batteries and replace them to keep lights bright. Proper power management extends light life and prevents failures.
Safety Precautions
Safety is important when making motion sensor LED RGB string lights. These lights use electrical parts that need careful handling. Small mistakes can cause shocks or fires. Follow safety steps to keep yourself and your home safe.
Handling Electrical Components
Always turn off power before working on any part. Use tools with insulated handles to avoid shocks. Check wires for cuts or damage before use. Connect wires tightly to prevent loose contacts. Avoid touching metal parts while power is on.
Avoiding Water Damage
Keep all electrical parts dry at all times. Do not place lights where water can reach them. Use waterproof covers if lights are outside. Wet parts can cause short circuits and fires. Test the lights indoors before placing them outside.
Proper Insulation
Cover all exposed wires with electrical tape or heat shrink tubes. Insulation prevents electric shocks and short circuits. Check insulation regularly for cracks or wear. Replace damaged insulation immediately. Proper insulation keeps your project safe and lasting longer.
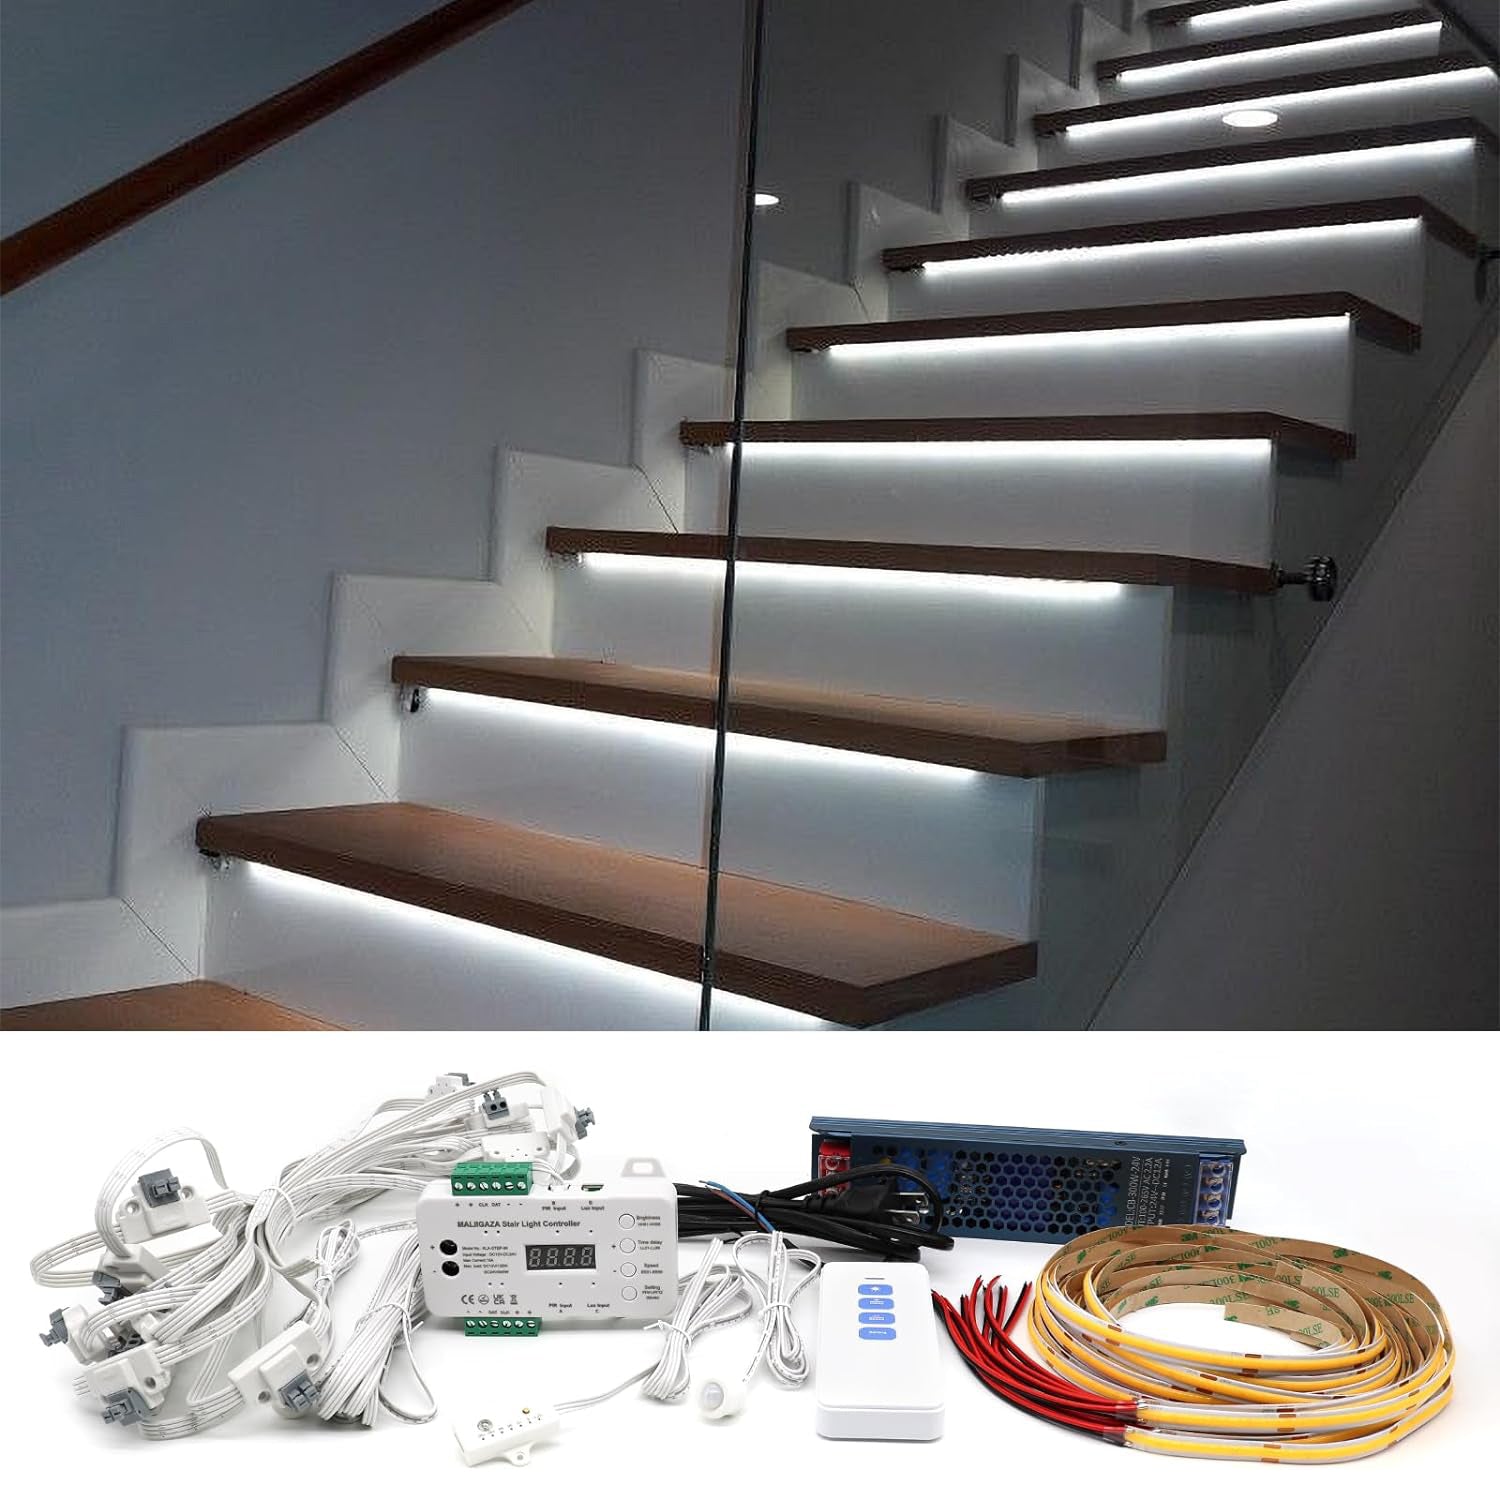
Credit: kingsoutdoorlighting.com
Frequently Asked Questions
How Do Motion Sensors Work With Led Rgb String Lights?
Motion sensors detect movement using infrared technology and trigger the LED RGB string lights to turn on automatically. This saves energy and adds convenience by lighting up spaces only when motion is detected nearby.
What Materials Are Needed To Make Motion Sensor Led Rgb String Lights?
You need LED RGB string lights, a compatible motion sensor module, a power source, connecting wires, and basic tools like a soldering iron and electrical tape. These components help you build a responsive and colorful lighting setup.
Can I Customize Color Modes In Motion Sensor Led Rgb Lights?
Yes, most LED RGB string lights allow you to change color modes using a remote or controller. Integrating a motion sensor doesn’t limit this functionality, letting you enjoy dynamic lighting effects on motion trigger.
How Do I Install Motion Sensor Led Rgb String Lights Safely?
Mount the motion sensor at an optimal height and angle for best detection. Use insulated wires and secure all connections. Follow manufacturer instructions carefully to avoid electrical hazards and ensure reliable operation.
Conclusion
Making motion sensor LED RGB string lights is simple and fun. You only need a few basic parts and tools. Follow the steps carefully to connect everything correctly. These lights save energy by turning on when you move. They add color and life to any space easily.
Try customizing colors and patterns for your style. Enjoy bright, smart lighting that reacts to you. Now, your space can shine with motion-activated glow. Ready to light up your home with creativity?