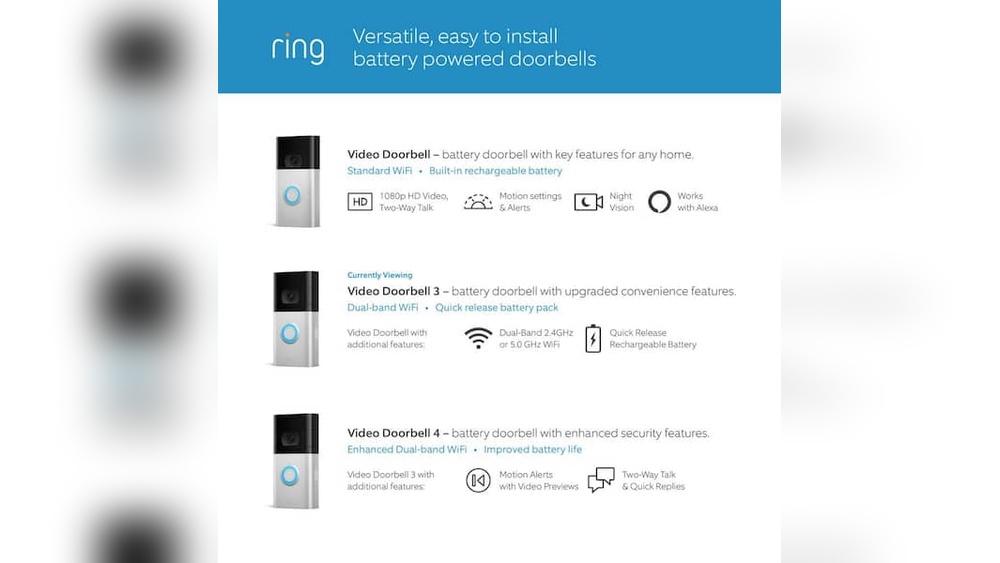
Installing your Ring Video Doorbell 3 Wireless might seem tricky at first, but it doesn’t have to be. Imagine knowing exactly who’s at your door, even when you’re not home.
That peace of mind is just a few simple steps away. In this guide, you’ll find easy-to-follow instructions that make setting up your new doorbell quick and stress-free. Stick with me, and by the end, you’ll have a smarter, safer home ready to welcome you.
Let’s get started!
Preparing For Installation
Preparing for installation is the first step to set up your Ring Video Doorbell 3 Wireless. This phase ensures a smooth and quick process. Taking time to get ready helps avoid problems during installation. Follow these simple steps to prepare effectively.
Gathering Necessary Tools
Start by collecting all needed tools. You will need a drill for mounting screws. A screwdriver is essential for tightening screws. Make sure to have the mounting bracket and screws from the box. A level tool helps place the doorbell straight. Keep a ladder nearby if your doorbell mounts high.
Checking Wi-fi Requirements
Ring Video Doorbell 3 Wireless needs a strong Wi-Fi signal. Test your Wi-Fi near your front door. Use a phone or tablet to check signal strength. The doorbell works best with at least 2 Mbps speed. If the signal is weak, consider a Wi-Fi extender to improve coverage.
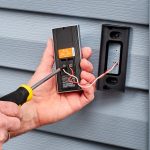
Charging The Doorbell Battery
Your doorbell comes with a rechargeable battery. Charge it fully before installation for best results. Use the provided USB charging cable. Plug the cable into a power source and connect it to the battery. Charging usually takes about 5 hours. A full battery ensures uninterrupted setup and use.

Credit: www.amazon.com
Setting Up The Ring App
Setting up the Ring app is a key step to start using your Ring Video Doorbell 3 Wireless. The app helps you control the doorbell from your phone. You can see visitors, get alerts, and adjust settings. This section covers how to download the app, create or log into your account, and connect to your Wi-Fi network.
Downloading The App
First, download the Ring app on your smartphone. It is available on both the Apple App Store and Google Play Store. Search for “Ring” and select the official app. Tap the download or install button. Wait for the app to install before opening it.
Creating Or Logging Into Your Account
Open the Ring app after installation. If you have a Ring account, enter your email and password to log in. New users need to create an account. Tap on “Create Account” and provide your name, email, and a secure password. Follow the prompts to finish setup.
Connecting To Your Wi-fi Network
Once logged in, the app will guide you to connect your doorbell to Wi-Fi. Choose your home Wi-Fi network from the list. Enter the Wi-Fi password carefully. The app will confirm when the doorbell connects successfully. A strong Wi-Fi signal ensures smooth video and alert delivery.
Mounting The Doorbell
Mounting the Ring Video Doorbell 3 Wireless is a key step for clear video and easy use. A proper mount ensures the doorbell works well and stays safe. Follow simple steps to place the doorbell in the right spot and fix it firmly.
Choosing The Best Location
Pick a spot near your main door. It should show the face of visitors clearly. Avoid places with too much sun or rain exposure. The doorbell needs good Wi-Fi signal for smooth operation. Check the signal strength before finalizing the spot.
Using The Mounting Bracket
The mounting bracket holds the doorbell firmly on the wall. Use a pencil to mark holes for screws on the chosen spot. Drill small holes for anchors if mounting on brick or concrete. Align the bracket with the marks and screw it tightly.
Securing The Doorbell
Attach the doorbell to the bracket by snapping it in place. Check that it clicks and feels secure. Use the included security screws to lock the doorbell to the bracket. This stops theft and keeps the doorbell steady. Test by gently pulling the doorbell to ensure firm hold.

Credit: www.youtube.com
Completing The Installation
Completing the installation of your Ring Video Doorbell 3 Wireless is the final step to secure your home. This stage ensures your device works properly and meets your needs. Follow simple steps to finish setup, test features, and adjust settings for best results.
Finalizing Setup In The App
Open the Ring app on your smartphone. Follow the on-screen instructions to connect your doorbell to Wi-Fi. Name your device to identify it easily. Update the firmware if prompted. This keeps your doorbell running smoothly and securely.
Testing Video And Audio
Check the video feed in the app to see clear images. Speak through the doorbell’s speaker and listen for sound quality. Test both day and night views. Make sure the camera angle captures your doorstep properly.
Adjusting Motion Settings
Open motion settings in the app. Set motion zones to focus on key areas like walkways. Adjust sensitivity to reduce false alerts from cars or trees. Save your settings and test by walking near your doorbell.
Troubleshooting Tips
Troubleshooting your Ring Video Doorbell 3 Wireless can help keep it working well. Problems may come up with connection, video clarity, or battery life. Fixing these issues quickly ensures your doorbell stays reliable and useful.
Fixing Connectivity Issues
Check your Wi-Fi signal near the doorbell. Weak signals cause delays or no connection. Move your router closer or add a Wi-Fi extender for better range. Restart your router and doorbell to refresh the connection. Make sure the doorbell’s firmware is up to date. Avoid placing the doorbell near metal objects or thick walls that block signals.
Improving Video Quality
Clean the doorbell camera lens with a soft cloth. Dirt or smudges blur the video. Adjust the doorbell angle to avoid bright sunlight or shadows. Use the Ring app to change video settings like brightness and motion zones. Check your internet speed; slow internet lowers video quality. Connect to a 2.4 GHz Wi-Fi band for a stable video stream.
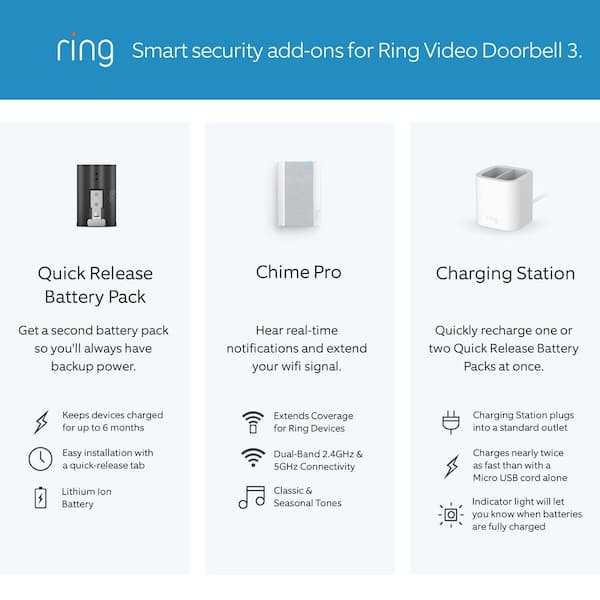
Battery Maintenance Advice
Charge the battery fully before first use. Remove the battery and charge it with the Ring charger. Avoid extreme temperatures, as heat or cold reduce battery life. Take the battery out if you do not use the doorbell for a long time. Check battery status often in the Ring app and charge when low. Replace the battery after about one year for best performance.
Credit: www.homedepot.com
Frequently Asked Questions
How Do I Install Ring Video Doorbell 3 Wirelessly?
To install wirelessly, charge the Ring Doorbell fully first. Download the Ring app, create an account, and follow on-screen setup instructions. Connect the device to Wi-Fi and mount it using the included screws and bracket.
What Tools Are Needed For Ring Doorbell 3 Installation?
You only need a drill or screwdriver for mounting. The Ring Doorbell 3 kit includes screws and mounting brackets. A smartphone with the Ring app is essential for setup and configuration.
Can I Install Ring Doorbell 3 Without Existing Doorbell Wires?
Yes, the Ring Video Doorbell 3 supports wireless installation. It operates on a rechargeable battery, eliminating the need for existing doorbell wiring. Simply mount it and connect to Wi-Fi for full functionality.
How Do I Connect Ring Doorbell 3 To Wi-fi?
Open the Ring app, select your device, and enter setup mode. Choose your Wi-Fi network and enter the password. The app confirms a successful connection before finalizing installation.
Conclusion
Installing the Ring Video Doorbell 3 Wireless is simple and quick. Follow each step carefully to avoid mistakes. Make sure your Wi-Fi connection is strong for best results. Test the doorbell after installation to check its features. Enjoy better home security with clear video and easy alerts.
This device helps you see visitors anytime, anywhere. Stay safe and connected with just a few easy steps.