Are you tired of constantly opening the door for your furry friend? Installing a pet screen door can give your pet the freedom to come and go as they please, while keeping bugs and dirt out of your home.
It’s easier than you might think, and once it’s done, you’ll wonder how you ever lived without it. In this guide, you’ll discover simple, step-by-step instructions to install a pet screen door quickly and securely. Keep reading to make your life—and your pet’s life—so much better.

Credit: www.youtube.com
Choosing The Right Pet Screen Door
Choosing the right pet screen door makes installation easier and ensures your pet’s safety. The perfect door fits well, lasts long, and suits your pet’s behavior. Consider your pet’s size, activity level, and your door type before buying.
Types Of Pet Screen Doors
Pet screen doors come in several styles. Sliding doors fit sliding door frames. Hinged doors open like regular doors. Magnetic flaps let pets go out and close automatically. Choose a style that fits your home and pet’s habits.
Measuring Your Door Frame
Measure the width and height of your door frame carefully. Use a tape measure and write down numbers. Measure at the top, middle, and bottom for accuracy. Choose a door that fits these measurements well to avoid gaps.
Material Options
Pet screen doors come in different materials. Aluminum frames are strong and resist rust. Vinyl frames are lightweight and easy to clean. The screen can be mesh or heavy-duty fabric. Pick a material that suits your climate and pet’s strength.
Tools And Materials Needed
Installing a pet screen door requires a few tools and materials. Having everything ready makes the process smooth and fast. This section lists the essential tools and extra supplies you need for the job.
Essential Tools
- Measuring tape to get accurate door frame size
- Power drill for making holes and fixing screws
- Screwdriver to tighten screws securely
- Level tool to keep the door straight
- Pencil to mark measurements and drill points
- Scissors or utility knife to cut screen material if needed
Additional Supplies
- Pet screen door kit with frame and mesh
- Screws or mounting hardware included in the kit
- Weatherstripping to seal gaps around the door
- Double-sided tape for extra hold if needed
- Sandpaper to smooth rough edges on the door frame
- Masking tape to hold parts temporarily during installation
Preparing The Door Frame
Preparing the door frame is an important step before installing a pet screen door. It helps the door fit well and last longer. Taking time to prepare the frame makes the installation smoother. It also prevents problems later.
Cleaning And Clearing
Start by removing dirt, dust, and old paint from the door frame. Use a brush or cloth to clean all corners. Clear away any nails or screws left from previous doors. A clean frame helps the screen door attach firmly.
Make sure the frame is dry before you begin installation. Moisture can cause the screen door to warp or not stick properly. Cleaning also helps you see any damage clearly.
Checking For Damage
Look closely at the door frame for cracks, holes, or rotting wood. Small damage can cause the screen door to break or fall off. Repair any damage using wood filler or replace parts if needed.
Check that the frame is square and level. An uneven frame will make the door hard to open and close. Use a level tool to confirm the shape of the frame.
Installing The Pet Screen Door
Installing a pet screen door makes life easier for both you and your pet. It lets your pet go outside and come back in without your help. This section guides you through the simple steps to install the door correctly. Follow each step carefully to ensure a perfect fit and smooth operation.
Positioning The Door
Start by measuring the door frame where you will place the pet screen door. Check the height and width to match the screen door size. Hold the screen door in place to see if it fits well. Make sure the flap swings freely without hitting the floor or frame. Adjust the position for easy pet access and smooth closing.
Securing The Frame
Use screws or brackets to attach the frame to the door opening. Begin with the top corners to keep it stable. Then fix the sides and bottom securely. Ensure the frame is level and tight against the door frame. A loose frame can cause the screen to sag or fall. Double-check the frame’s alignment before proceeding.
Attaching The Screen
Unroll the screen material and cut it to fit the frame size. Place it evenly over the frame, making sure no wrinkles appear. Use a staple gun or screen clips to fasten the screen firmly. Start from one side and work your way around. Trim any excess screen with scissors for a clean look. Test the flap to confirm it moves easily.
Adjusting And Testing
After installing your pet screen door, adjusting and testing it is essential. This step ensures the door fits well and works smoothly. Proper adjustments help keep bugs out and your pet safe.
Ensuring A Tight Fit
Check the frame of the pet screen door for any gaps. Make sure the door sits flush against the wall or door frame. Tighten screws or fasteners to secure the door firmly. A tight fit stops drafts and prevents insects from entering. Use weatherstripping if needed for a better seal.
Testing The Door Swing
Open and close the door several times to test its swing. The door should move easily without sticking or dragging. Adjust the hinges if the door swings too fast or too slow. Make sure the door closes completely on its own. This prevents your pet from pushing it open too far.
Training Your Pet
Introduce your pet to the new door slowly. Show them how to push the door with their nose or paw. Reward your pet with treats when they use the door correctly. Practice a few times a day to build comfort. Training helps your pet use the door safely and confidently.
Credit: www.liftingitalia.com
Maintenance Tips
Maintaining your pet screen door helps it last longer and work better. Regular care keeps the screen clean and free from damage. Small checks stop big problems from forming. This section covers easy tips for maintenance.
Cleaning The Screen
Use a soft brush or cloth to remove dirt and dust. Clean both sides gently to avoid tears. Mild soap and water work best for stubborn spots. Rinse with clean water and dry with a towel. Keep the screen clear to help air flow well.
Checking For Wear
Look for holes or loose areas on the screen often. Check the frame for cracks or bends. Make sure the door swings smoothly without catching. Early spotting of damage saves repair time. Fix small issues before they get worse.
Replacing Parts
Replace torn screens with new mesh to keep bugs out. Swap out worn-out hinges or magnets for smooth closing. Use parts that fit your pet door model. Follow the manual or guide for correct installation. Proper parts keep the door safe and strong.

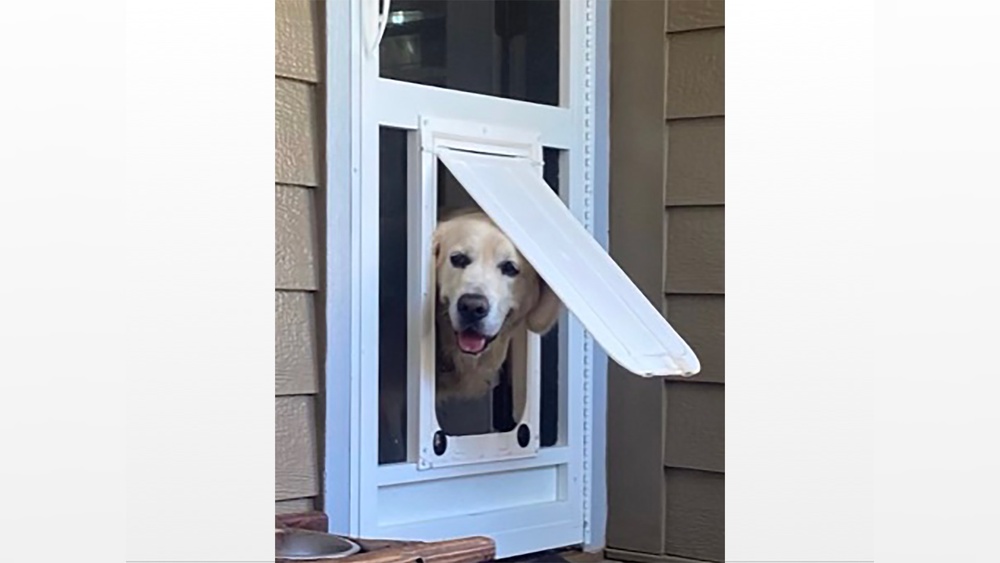
Credit: support.lalunapetcare.com.au
Frequently Asked Questions
What Tools Are Needed To Install A Pet Screen Door?
You need a measuring tape, screwdriver, drill, screws, and the pet screen door kit. These tools ensure a secure and proper installation.
How Do I Measure For A Pet Screen Door?
Measure the width and height of your existing door frame. Accurate measurements ensure the pet door fits perfectly without gaps.
Can I Install A Pet Screen Door Myself?
Yes, most pet screen doors are designed for DIY installation. Follow instructions carefully for a hassle-free setup.
How To Maintain A Pet Screen Door?
Clean the screen regularly and check for damage. Lubricate hinges and tighten screws to keep it functional and durable.
Conclusion
Installing a pet screen door can make your home more pet-friendly. It lets your pet come and go easily. The process is simple if you follow the steps carefully. Measure well, choose the right door, and use proper tools. A good fit ensures safety and comfort for your pet.
Enjoy the fresh air without worrying about bugs or pets escaping. Regular checks keep the door in good shape. Your pet will thank you for this small change. Try it today and see the difference.