Imagine having a mirror that not only shows your reflection but also gives you the weather, news updates, and your daily schedule—all with a simple touch. Building your own touch screen smart mirror might sound complicated, but it’s easier than you think.
In this guide, you’ll discover step-by-step how to create a smart mirror tailored to your needs. Whether you want to impress guests or boost your morning routine, this project will transform your space and your daily habits. Ready to make your mirror smarter and your life simpler?
Let’s dive in.
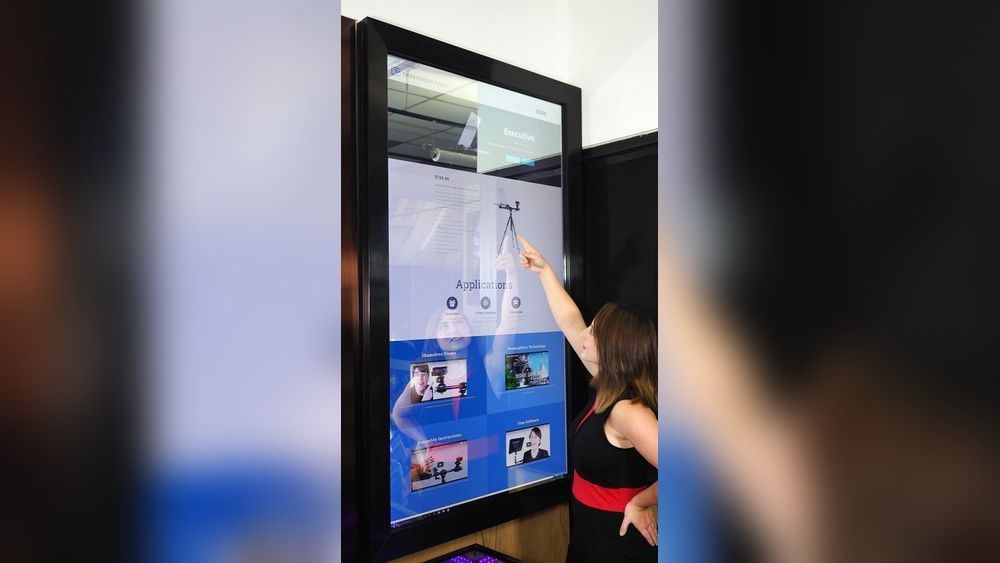
Credit: www.youtube.com
Choosing The Right Components
Choosing the right components is the first step to build a smart mirror that works well. Each part must fit together perfectly. Good choices make the mirror responsive and clear. Poor choices can cause delays and low image quality. Understanding what each component does helps you decide better.
Selecting The Display
The display shows the image behind the mirror. Pick a screen with good resolution for clear text and images. A size between 15 to 24 inches works well for most mirrors. Use an LCD or LED panel for bright and sharp visuals. Choose a display with a slim profile to keep the mirror sleek.
Picking The Touchscreen Panel
The touchscreen lets you interact with the mirror easily. Capacitive touchscreens are common and respond to light touches. Make sure the touchscreen fits the display size exactly. Check for good touch sensitivity and multi-touch support. A high-quality touchscreen prevents lag and false touches.
Choosing A Suitable Frame
The frame holds the display and touchscreen together. Pick a frame that fits your chosen screen size. Materials like wood, metal, or plastic work well. The frame should be sturdy but not heavy. A thin frame keeps the mirror modern and stylish.
Essential Electronics And Sensors
Electronics control the smart features of the mirror. A small computer like a Raspberry Pi runs the software. Sensors like light and motion sensors improve usability. Light sensors adjust screen brightness automatically. Motion sensors turn the display on or off to save power.
Preparing The Mirror Surface
Preparing the mirror surface is a key step in building a touch screen smart mirror. The mirror must allow light and touch signals to pass through. This helps the screen behind the mirror to show clearly. A good surface also protects the electronics inside.
Types Of Two-way Mirrors
Two-way mirrors let light pass from one side while reflecting from the other. There are glass and acrylic types. Glass mirrors are heavier but clearer. Acrylic mirrors are lighter and easier to cut. Choose based on your project size and budget.
Cutting And Sizing The Mirror
Measure the screen size carefully before cutting the mirror. Use a glass cutter for glass mirrors. Score the surface and snap gently along the line. For acrylic mirrors, use a fine saw or laser cutter. Wear safety gear to protect your eyes and hands.
Applying The Mirror Film
Mirror film improves the two-way effect on clear surfaces. Clean the mirror fully before applying the film. Peel the backing slowly and stick the film from one edge. Use a squeegee to remove air bubbles. Let it dry to ensure a smooth finish.
Setting Up The Hardware
Setting up the hardware is the first step in building a touch screen smart mirror. This part involves preparing all physical components so they work together smoothly. Proper setup ensures the mirror looks good and functions well.
Focus on placing the display behind the mirror. Next, add the touchscreen layer. Then, install the computer or Raspberry Pi that runs the system. Finally, connect all parts with proper wiring and power.
Mounting The Display Behind The Mirror
Choose a two-way glass or acrylic mirror for clear display visibility. Attach the monitor or screen firmly behind the mirror. Use brackets or a frame to hold the display steady. Make sure the screen is centered for the best view. Avoid gaps to prevent light leaks.
Integrating The Touchscreen
Select a touchscreen that fits your display size. Place the touchscreen panel directly on the mirror surface or just behind it. Secure it with adhesive or a frame so it stays in place. Test the touch response before final assembly. Ensure the touchscreen does not block the display’s brightness.
Installing The Computer Or Raspberry Pi
Pick a compact computer like Raspberry Pi for easy installation. Mount the device near the mirror, where it is hidden but accessible. Use a case to protect the computer from dust and damage. Connect it to the display and touchscreen using proper cables. Keep the setup neat to avoid overheating.
Wiring And Power Management
Use clean and short cables to connect all components. Route wires behind the mirror or inside the frame. Secure cables with clips or ties to prevent tangling. Choose a power supply that matches your devices’ needs. Add a power switch for easy on and off control. Check all connections before powering up the mirror.
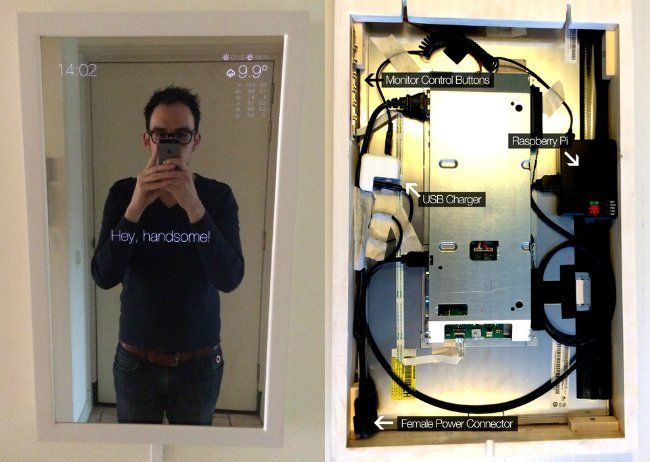
Credit: www.postscapes.com
Installing The Software
Installing the software is a key step in creating your touch screen smart mirror. It brings your mirror to life by adding the right programs and tools. This step sets up the system to respond to your touch and display useful information.
Choosing The Operating System
Pick an operating system that supports touch input well. Popular choices include Linux-based systems like Raspberry Pi OS or Ubuntu. These systems are free, stable, and have good community support. Windows also works but needs more resources. Choose one that fits your hardware and skills.
Smart Mirror Interface Options
Select an interface designed for smart mirrors. MagicMirror² is a popular open-source platform. It offers many modules for weather, news, and calendar. Other options include Dakboard or custom-built interfaces. Choose one with features you want and easy setup.
Configuring Touchscreen Drivers
Install drivers so your system recognizes touch input. Most touchscreens need specific drivers to work smoothly. Check the manufacturer’s website for the correct driver. After installation, test touch responses by tapping on the screen. Adjust settings if touch feels off or laggy.
Customizing Widgets And Features
Add widgets that show useful information on your mirror. Common widgets include time, weather, news headlines, and calendar events. Customize layout and colors to match your style. Remove widgets you don’t need to keep the interface clean. Keep it simple and user-friendly.
Enhancing Functionality
Enhancing the functionality of your touch screen smart mirror makes it more useful and fun. You can add features that make the mirror respond to your voice, sense your presence, and connect with other smart devices. These upgrades turn a simple mirror into a helpful assistant in your daily life.
Small changes can make a big difference. Let’s explore how to add voice control, sensors, and smart home connections.
Voice Control Integration
Voice control lets you talk to your smart mirror without touching it. Use a microphone and voice recognition software to add this feature. It allows you to ask for weather updates, news, or play music. Voice commands make using the mirror hands-free and easy.
Adding Sensors For Automation
Sensors help the mirror know when you are nearby. Motion sensors can turn the display on or off automatically. Light sensors adjust the screen brightness to match the room. These sensors save energy and make the mirror smarter.
Connecting Smart Home Devices
Link your smart mirror with other smart home devices. Connect it to lights, thermostats, or security cameras. Control these devices directly from the mirror’s screen. This connection helps you manage your home from one place.
Troubleshooting Common Issues
Troubleshooting common issues is key to building a reliable touch screen smart mirror. Problems can stop your mirror from working well. Fixing these issues quickly saves time and frustration.
This section covers simple solutions for common problems. You will learn how to fix touchscreen calibration, improve display visibility, and solve connectivity problems.
Touchscreen Calibration Problems
Touchscreens may not respond correctly if not calibrated. Check if the touch points match the screen areas. Use calibration software to realign the touch sensor. Repeat the process until touches register accurately. Clean the screen surface to avoid false touches. Dirt or moisture can cause calibration errors.
Display Visibility Challenges
Low brightness or glare can make the display hard to see. Adjust the screen brightness in your device settings. Place the mirror in a spot with less direct light. Use anti-glare film to reduce reflections on the glass. Check the display cables for loose or damaged connections. Replace damaged parts to restore clear visibility.
Connectivity And Performance Fixes
Smart mirrors rely on stable connections for smooth operation. Restart your device to clear temporary glitches. Verify Wi-Fi or Bluetooth settings to ensure the mirror connects properly. Update the software to fix bugs and improve speed. Limit background apps to boost performance. Check all cables and ports for secure connections.
Maintenance And Upgrades
Maintaining your touch screen smart mirror is key to its long life and smooth operation. Regular care keeps the mirror clear and the touch features working well. Upgrades add new functions and improve performance over time.
Cleaning The Mirror Surface
Use a soft, lint-free cloth to clean the mirror. Avoid harsh chemicals that can damage the surface. Lightly dampen the cloth with water or a mild glass cleaner. Wipe gently in a circular motion. Clean the mirror regularly to prevent dust and smudges.
Software Updates
Keep the smart mirror’s software up to date. Updates fix bugs and add new features. Check for updates in the settings menu often. Download and install updates using a stable internet connection. Updated software improves security and user experience.
Hardware Expansion Ideas
Think about adding new hardware to your smart mirror. Add a camera for video calls or face recognition. Install better speakers for clearer sound. Attach extra sensors to track temperature or humidity. Expanding hardware can make your mirror more useful every day.
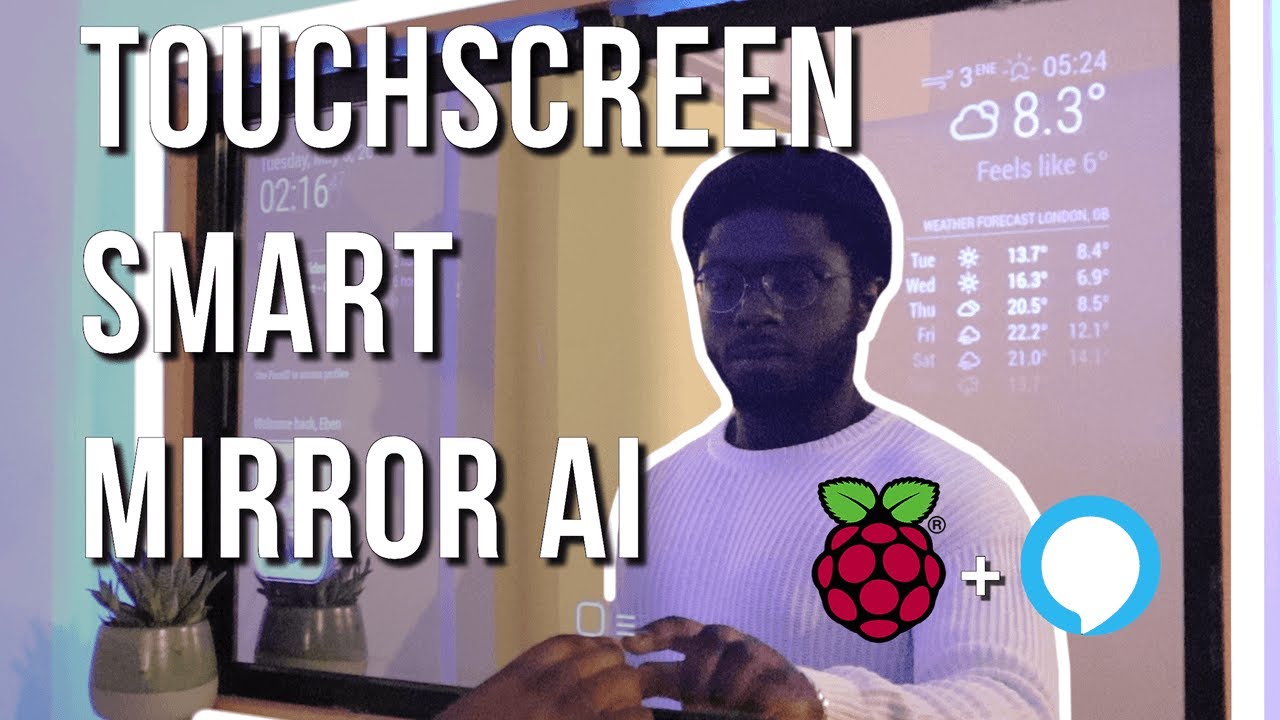
Credit: www.youtube.com
Frequently Asked Questions
What Materials Are Needed For A Smart Mirror?
You need a two-way mirror, a display screen, a touchscreen overlay, a microcontroller, and frame materials. Optional sensors enhance functionality.
How Do I Integrate Touchscreen Functionality?
Attach a compatible touchscreen overlay to the display. Connect it to the microcontroller for responsive touch input and control.
Can I Customize The Smart Mirror Display?
Yes, use customizable software to show weather, time, news, and personal notifications. Open-source platforms are popular choices.
What Power Source Is Required For A Smart Mirror?
A standard power adapter or USB power supply powers the display and microcontroller. Ensure consistent and safe voltage supply.
Conclusion
Building a touch screen smart mirror can be fun and useful. You get a mirror that shows you weather, news, and more. The steps are clear and easy to follow. Use simple tools and parts to create your own. It saves money compared to buying one.
Plus, you learn new tech skills while building it. Try it yourself and enjoy a smart mirror at home. Small effort, big results. Give it a try today!