Are you tired of constantly opening the door for your furry friend? Installing a pet door in your wood door can give your pet the freedom they deserve and make your life easier.
Imagine never having to stop what you’re doing to let your dog or cat outside again. It’s simpler than you think, and you don’t need to be a handyman to do it. In this guide, you’ll discover step-by-step instructions that make the process clear and manageable.
Keep reading, and soon your pet will be enjoying their new independence while you enjoy the convenience.
Credit: www.arloren.com
Choosing The Right Pet Door
Choosing the right pet door is key for a smooth installation and happy pets. The perfect door fits your pet’s size and suits your wood door’s style. It also keeps your home safe and comfortable. Consider several factors before buying to avoid problems later.
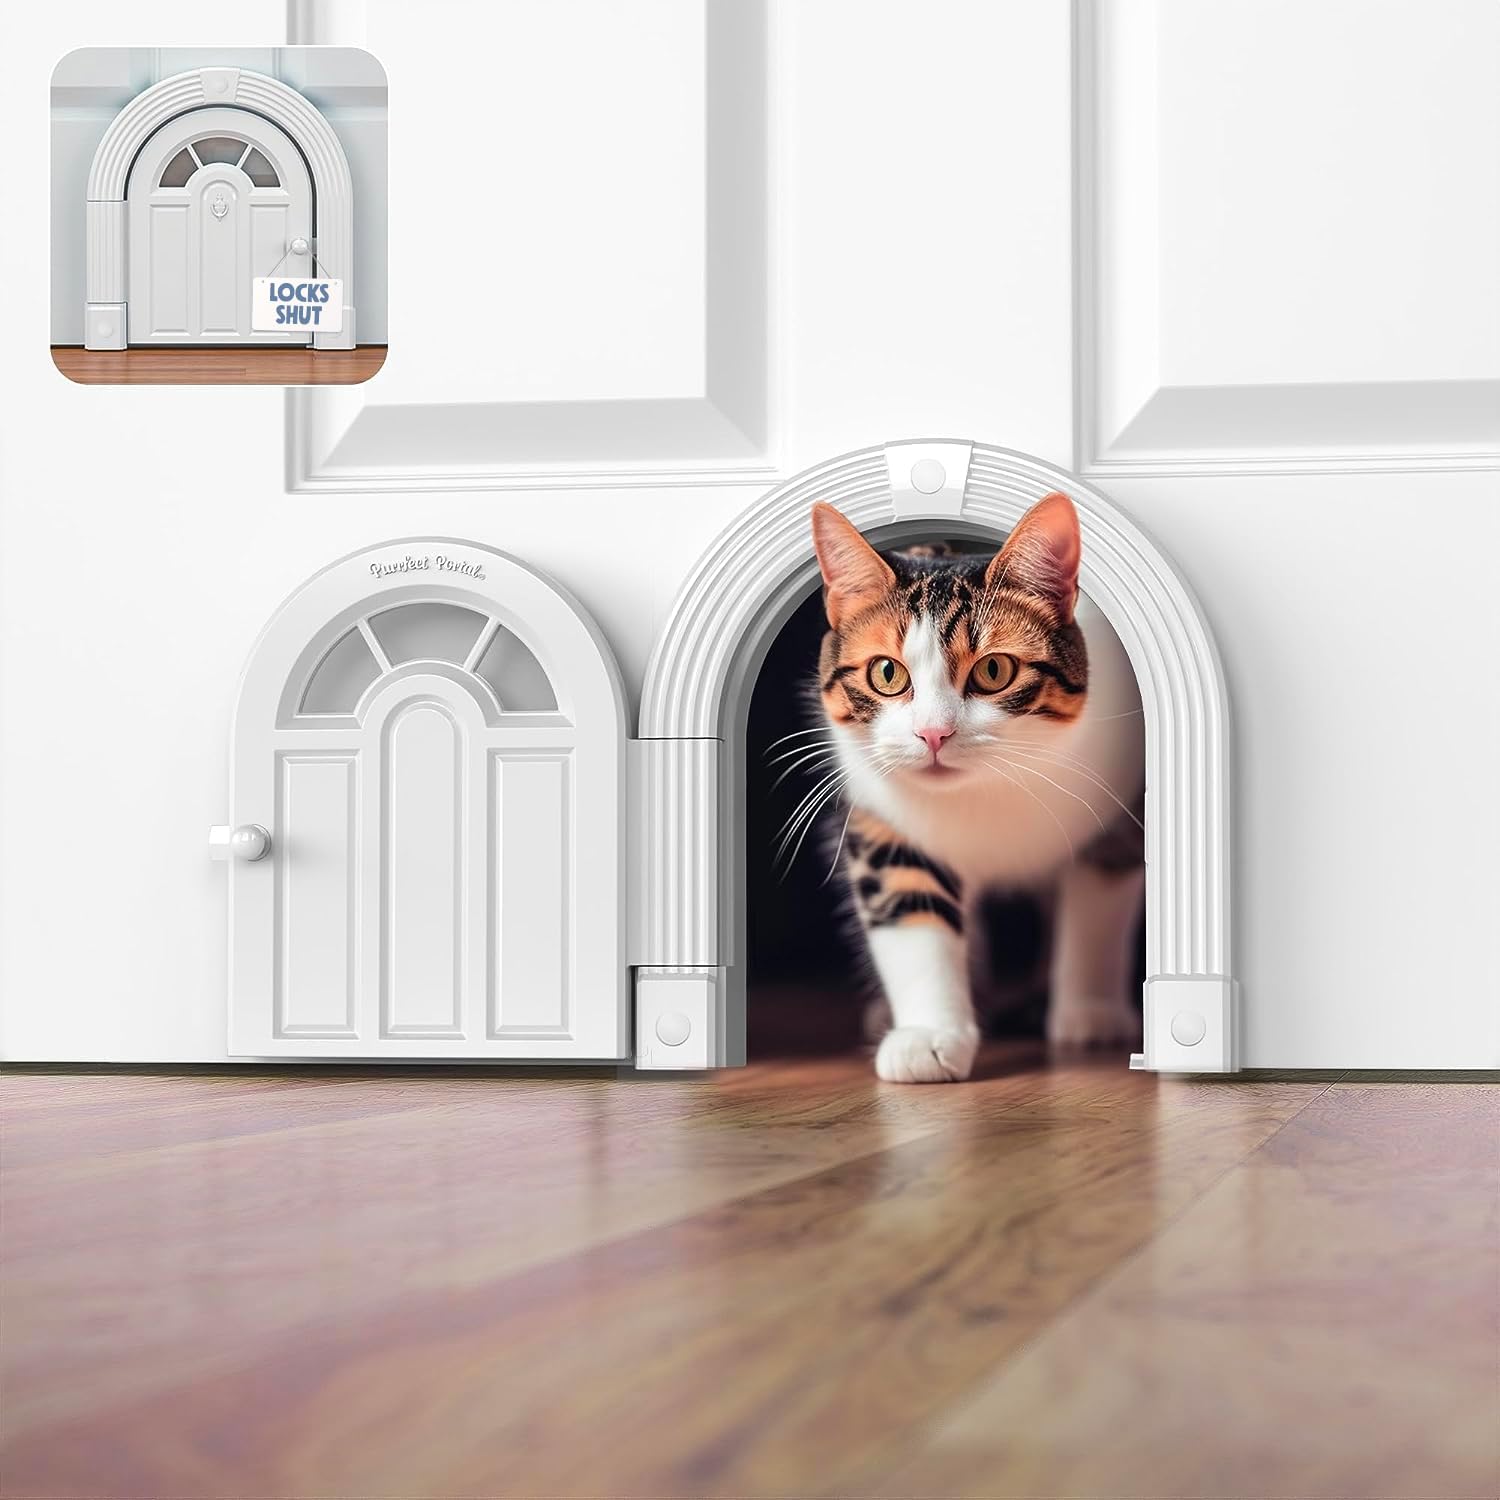
Types Of Pet Doors
Pet doors come in many styles. Simple flap doors are common and easy to use. Electronic doors open only for your pet’s collar key. Sliding glass pet doors fit well in glass panels. Each type has pros and cons. Pick one that fits your door and pet’s habits.
Measuring Your Pet
Measure your pet’s height and width before choosing a door. Your pet should pass through easily without bending or squeezing. Add some extra space for comfort. Measure from the floor to your pet’s shoulder for height. Width should fit the widest part of your pet.
Material Considerations
Wood doors need a pet door made from durable materials. Look for frames that resist weather and wear. Plastic flaps are common but check they are strong enough. Metal frames last longer but may cost more. Match the pet door material to your wood door’s finish for a neat look.

Credit: www.esseg.eu
Tools And Materials Needed
Installing a pet door in a wood door requires the right tools and materials. Preparing these items first saves time and effort. This guide lists everything needed for a smooth installation.
Essential Tools
You need a drill to make holes for screws and the door frame. A jigsaw helps cut the wood precisely. A screwdriver is necessary to tighten screws securely. A tape measure ensures correct placement. A pencil marks cutting lines. Sandpaper smooths rough edges after cutting.
Required Materials
A pet door kit is the main item. Choose one that fits your pet’s size. Use wood screws that match the door thickness. Weatherstripping keeps the door insulated. Wood filler repairs any small gaps or imperfections after cutting.
Safety Gear
Wear safety glasses to protect your eyes from wood chips. Use ear protection to reduce noise from power tools. Gloves prevent splinters and improve grip. A dust mask keeps you from breathing sawdust while cutting.
Preparing The Door
Preparing the door is a key step before installing a pet door in a wood door. It ensures a clean and secure fit. Taking time now saves effort later. Follow these simple steps to get your door ready.
Selecting The Location
Choose a spot on the door at your pet’s height. Measure your pet’s shoulder to find the right level. Avoid placing the door too close to the edge. Pick a flat, sturdy part of the door for the best fit.
Marking The Cutout
Use the pet door template to mark the cutout area. Hold the template firmly against the door. Trace around it carefully with a pencil. Double-check the marks to ensure accuracy. This step guides your saw and keeps the cut precise.
Protecting The Door Surface
Cover the door surface around the cutout with painter’s tape. This protects the wood from scratches during cutting. Keep the tape smooth and wrinkle-free. It also helps the pencil marks stay visible. Protecting the door surface keeps it looking good after installation.
Cutting The Door
Cutting the door is a key step in installing a pet door in a wood door. It needs care and the right tools. This part makes sure the pet door fits perfectly and works well.
Drilling Starter Holes
Start by marking the outline of the pet door on the wood. Use a drill to make starter holes at each corner of the marked area. These holes create space for the jigsaw blade. Make sure the holes are big enough for the blade to fit. Drill straight to avoid damaging the door.
Using A Jigsaw Safely
Insert the jigsaw blade into a starter hole. Cut slowly along the marked line. Keep the jigsaw steady and follow the shape carefully. Wear safety glasses to protect your eyes from wood chips. Take breaks if needed to keep control. This helps avoid mistakes or rough cuts.
Smoothing The Edges
After cutting, the edges may be rough or splintered. Use sandpaper or a sanding block to smooth all edges. Sand lightly to prevent damage to the wood. Smooth edges make the pet door look neat and help fit the frame tightly. Check for splinters to keep your pet safe.
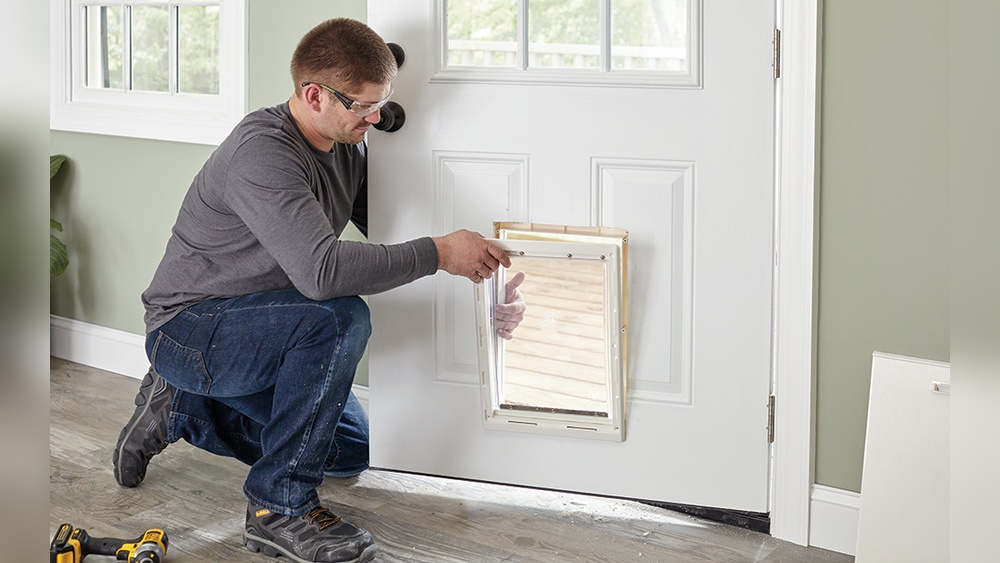
Installing The Pet Door
Installing a pet door in a wood door is a straightforward task. It lets your pet move freely between rooms or outside. Follow clear steps to ensure a secure and neat fit. This section guides you through fitting the frame, securing it with screws, and adding weatherproofing.
Fitting The Frame
Start by placing the pet door frame into the cut-out space. Check the frame aligns well with the edges of the cut door. Make sure it sits flat and does not wobble. Adjust the frame until it fits snugly. A tight fit prevents drafts and keeps the door stable.
Securing With Screws
Use screws to fasten the frame to the wood door. Choose screws that match the frame’s holes and length. Drill pilot holes to avoid splitting the wood. Screw in firmly but do not overtighten. Even pressure holds the frame firmly without damage.
Adding Weatherproofing
Apply weatherproofing strips around the pet door edges. This blocks air and water from entering. Use adhesive foam or rubber seals for best results. Press the strips firmly to stick well. Weatherproofing keeps your home warm and dry.
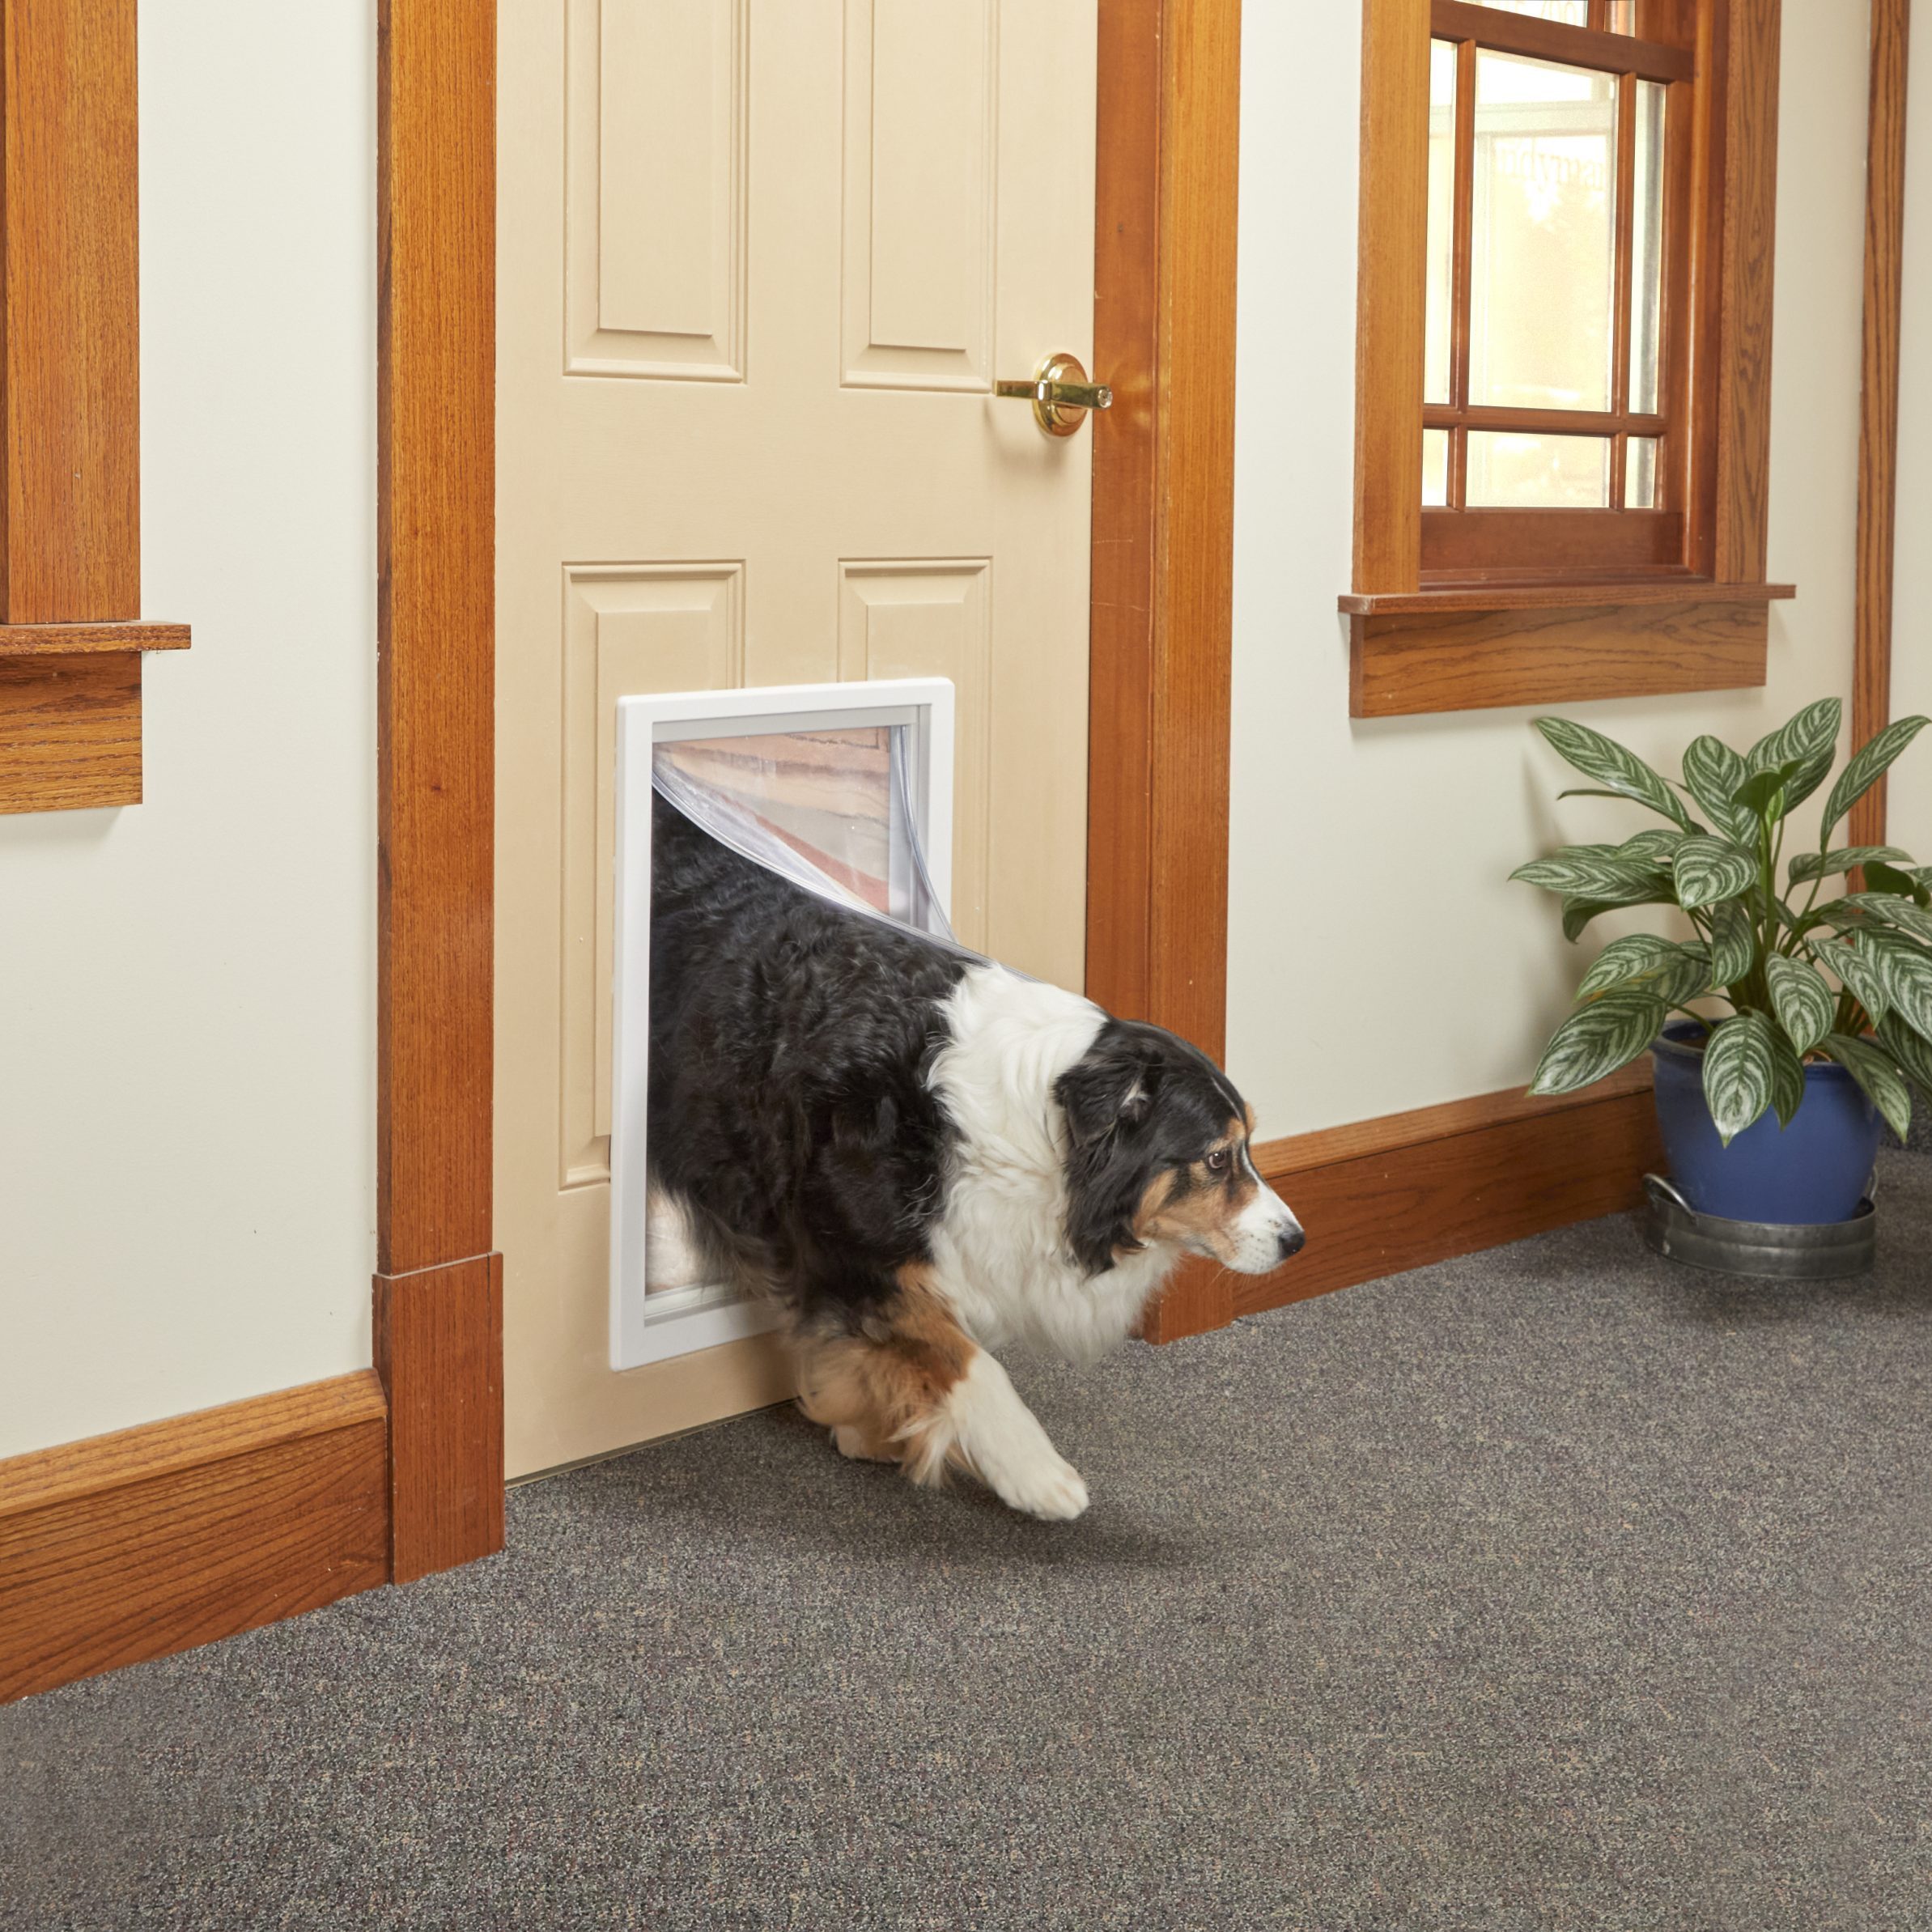
Testing And Adjustments
After installing the pet door in your wood door, testing and adjustments are essential. This step ensures the door works smoothly and your pet uses it easily. Small tweaks can improve functionality and comfort for your pet. Take time to check how the door swings and seals. Watch your pet try the new door to spot any issues.
Ensuring Proper Function
Open and close the pet door several times. Make sure it swings freely without sticking. Check the seal around the edges to stop drafts or rain. The flap should close firmly but not be too hard to push. Adjust the hinges or latch if needed. A well-functioning pet door saves energy and keeps your home safe.
Training Your Pet
Introduce your pet to the new door slowly. Show them how to push the flap using treats or toys. Encourage your pet to go through the door several times. Praise and reward your pet for using the door correctly. Practice in both directions until your pet feels confident and comfortable.
Troubleshooting Common Issues
If the door sticks or does not close fully, check the hinges and frame. Tighten loose screws or adjust the flap alignment. If your pet is afraid, try using positive reinforcement and patience. Make sure the door size fits your pet well. Replace any worn parts to keep the door working properly.
Maintenance Tips
Proper care extends the life of your pet door in a wood door. Regular upkeep keeps it working smoothly and looking good. Follow these simple maintenance tips to avoid problems and keep your pet happy.
Cleaning The Door
Clean the pet door regularly to remove dirt and dust. Use a soft cloth with mild soap and water. Avoid harsh chemicals that can damage the wood or plastic parts. Wipe dry to prevent moisture buildup. Clean both sides, especially the flap area, to keep it flexible.
Inspecting For Damage
Check the pet door for cracks, loose screws, or worn parts. Look closely at the flap and frame for any damage. Tighten screws if needed to keep the door secure. Replace parts that show heavy wear. Early repairs prevent bigger issues later.
Seasonal Care
Adjust your pet door care with the seasons. In cold months, check for drafts around the door. Add weather stripping if needed to keep warmth inside. In wet seasons, ensure the door stays dry to avoid wood swelling. Regular checks protect your door year-round.
Credit: episas.at
Frequently Asked Questions
How Do I Measure My Wood Door For A Pet Door?
Measure the door’s width and height where you want the pet door. Use a level to mark a straight, even outline. Accurate measurements ensure a perfect pet door fit and smooth installation in your wood door.
What Tools Are Needed To Install A Pet Door?
You’ll need a drill, jigsaw, screwdriver, tape measure, pencil, and level. These tools help you cut and fit the pet door precisely into the wood door. Proper tools make the installation easier and more secure.
Can I Install A Pet Door In A Solid Wood Door?
Yes, solid wood doors are ideal for pet door installation. They provide stability and support for the pet door frame. Just ensure you carefully cut the door and follow the manufacturer’s instructions.
How Do I Secure The Pet Door In A Wood Door?
Use the screws provided with the pet door kit to fasten the frame securely. Pre-drill holes to prevent wood splitting. Tighten all screws evenly to avoid gaps and ensure the door is stable.
Conclusion
Installing a pet door in a wood door is easier than it seems. With the right tools and steps, you can do it yourself. Measure carefully, cut precisely, and secure the door firmly. This helps your pet enjoy freedom and comfort at home.
Remember to check the door’s fit and seal well. A well-installed pet door lasts long and works smoothly. Give your pet a safe way to go outside anytime. Try it today and see how simple the process can be.