When it comes to transforming your concrete floors from plain to stunning, texture plays a key role. You might wonder how to add character, grip, and style to a surface that usually feels cold and dull.
That’s where concrete floor texture comes in—giving your floors a unique look and practical benefits all at once. Whether you want a smooth, polished finish or a rustic, non-slip surface, understanding the options and techniques available will help you achieve the exact effect you’re after.
Ready to discover how you can elevate your concrete floors with texture? Keep reading to explore simple methods, creative ideas, and expert tips tailored just for you.
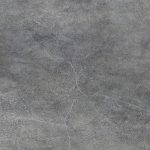
Credit: materialsoftheworld.com
Concrete Floor Texture Types
Concrete floor textures add both beauty and safety to plain surfaces. Different texture types suit various styles and uses. Choosing the right texture enhances durability and visual appeal. These textures can be applied in homes, commercial buildings, and outdoor areas.
Trowel And Spray Overlays
Trowel and spray overlays create smooth or rough textures on concrete. A cement-based mix is spread or sprayed over the floor. After applying, a trowel shapes the surface to the desired finish. This method can mimic stone or other natural textures. It also repairs old floors by adding a fresh layer.
Stamped Patterns
Stamped patterns press designs into wet concrete. This technique copies the look of brick, tile, or wood. Stamps come in many shapes and sizes for creative designs. It gives floors a rich, decorative appearance without extra materials. Stamped floors are popular for patios and driveways.
Broom Finish
The broom finish creates a rough surface using a simple broom. After pouring concrete, the broom is dragged across the wet surface. This makes fine grooves that improve slip resistance. It is common for outdoor walkways and garage floors. The broom finish is affordable and easy to apply.
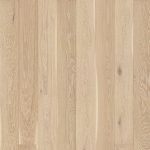
Credit: stock.adobe.com
Preparing Concrete Floors
Preparing concrete floors is a vital step for achieving a durable and attractive texture. Proper preparation ensures the texture adheres well and lasts long. It also prevents common issues like peeling or uneven surfaces.
This process involves thorough cleaning and surface preparation. Sometimes, applying a primer helps improve adhesion. These steps create the perfect base for any concrete floor texture.
Cleaning And Surface Prep
Start by removing dirt, dust, and debris from the floor. Use a broom or vacuum to clear loose particles. Stains and grease spots require scrubbing with a mild detergent.
Rinse the floor well with clean water and let it dry completely. Any loose concrete or old paint must be scraped off. Smooth out rough areas with a grinder or sander for an even surface.
Proper cleaning and prepping prevent texture failures and improve final results.
Applying Primer
Choose a primer designed for concrete surfaces. This primer helps the texture stick better and last longer. Use a roller or brush to spread the primer evenly across the floor.
Allow the primer to dry fully before applying any texture material. Follow manufacturer instructions for drying times. Skipping this step can cause poor adhesion and peeling.
Primer creates a strong bond between the concrete and texture layer. It also seals the surface, reducing dust and improving durability.
Applying Overlays And Finishes
Applying overlays and finishes transforms plain concrete floors into stylish surfaces. This process enhances durability and adds unique textures. Overlays act as a thin layer applied over existing concrete, allowing customization of appearance and feel. Finishes protect the surface and improve slip resistance. Understanding the right methods ensures a lasting and attractive floor.
Mixing And Consistency
Proper mixing is key for a smooth overlay. Use clean water and follow the manufacturer’s instructions. The mix should be thick but spreadable. Avoid lumps to prevent weak spots. Consistency affects texture and adhesion. Test the mix on a small area before full application. Adjust water or powder to reach the right balance.
Spray Texture Techniques
Spray texture adds an even, decorative finish. Use a hopper gun or spray machine for best results. Hold the nozzle steady and keep a consistent distance. Spray in overlapping passes for full coverage. Practice on a scrap piece to control pattern and thickness. Let the texture set slightly before finishing touches.
Knockdown Finish Steps
Start by spraying the texture evenly over the concrete. Wait for the surface to firm up but remain soft. Use a wide trowel or drywall knife to gently flatten high points. Move in smooth, sweeping motions to create a unique, mottled look. Allow the finish to cure fully before sealing or walking on it.
Creating Stamped Concrete
Creating stamped concrete adds beauty and texture to plain concrete floors. This technique uses molds to imprint patterns onto wet concrete. It gives floors the look of stone, brick, or wood without the high cost. Stamped concrete works well for patios, driveways, and indoor floors. The process requires careful timing and the right tools for a neat finish.
Choosing Patterns
Select patterns that match your style and space. Common designs include cobblestone, slate, and wood grain. Consider the area’s size and purpose before picking a pattern. Large patterns suit big outdoor spaces. Smaller patterns fit indoor floors better. Color choices also enhance the final look. Use natural tones for a classic feel or bold colors for a modern style.
Using Stamps And Mats
Stamps and mats create the textured designs on concrete. Stamps are large molds pressed into wet concrete. Mats cover bigger areas quickly and have repeating patterns. Both come in rubber or polyurethane materials. Press them firmly to leave clear impressions. Use a release agent on stamps to prevent sticking. Work in sections to keep edges aligned and consistent.
Walking On Wet Concrete
Avoid stepping on wet concrete after stamping. It can ruin the pattern and leave footprints. Only walk on concrete when it is firm but not fully dry. Use soft-soled shoes if you must walk on it. Plan the stamping in stages to reduce foot traffic. Protect finished areas with boards or barriers. Proper care ensures a smooth, clean texture without damage.
Broom Finish For Slip Resistance
The broom finish is a popular concrete floor texture known for its excellent slip resistance. It adds safety to outdoor walkways, driveways, and other surfaces prone to wet conditions. This texture is created by dragging a broom across fresh concrete, leaving fine grooves. These grooves increase traction by providing a rough surface that reduces slipping risks.
Besides safety, the broom finish also gives concrete a clean, natural look. It is affordable and easy to apply, making it a preferred choice for many construction projects. Understanding the right steps for application helps achieve the best slip-resistant surface.
Timing The Application
Timing is crucial for a successful broom finish. The concrete should be firm enough to hold broom marks but still soft enough to allow texture. Usually, this means waiting until the concrete has set but not dried completely. Applying the broom too early can cause uneven grooves and weaken the surface. Applying too late makes it hard to create clear texture.
Check the surface by pressing your finger lightly. If it leaves a slight imprint without sticking, the timing is right. Work quickly and steadily to ensure uniform texture across the entire floor.
Creating Grooves
Use a broom with stiff bristles for the best grooves. Pull the broom evenly across the concrete surface in straight lines. Keep consistent pressure to avoid deep or shallow marks. The grooves should run parallel and be close enough to create good traction.
Start at one end and move methodically to cover the whole area. Avoid going back and forth over the same spot. This process enhances slip resistance and improves the concrete’s overall durability.
Sealing And Protecting Textured Floors
Sealing and protecting textured concrete floors enhances durability and appearance. Textured floors face wear from foot traffic, spills, and weather. A proper seal creates a barrier against stains and damage. It also helps maintain the floor’s color and texture over time.
Sealing requires attention to detail and the right products. Understanding the curing process and selecting suitable sealers are crucial steps. These ensure the textured surface stays strong and attractive for years.
Curing Process
The curing process strengthens the concrete before sealing. It allows moisture to evaporate slowly, preventing cracks and weakening. Curing usually takes 7 to 28 days, depending on conditions.
Proper curing ensures the sealer bonds well with the surface. Applying sealers too soon can trap moisture and cause peeling. Wait until the concrete is dry and fully cured for best results.
Types Of Sealers
Choosing the right sealer depends on the floor’s use and texture. Penetrating sealers soak into the concrete, offering protection without changing the look. They guard against water and stains while keeping the texture visible.
Film-forming sealers create a protective layer on top. These include acrylic, epoxy, and polyurethane sealers. They enhance color and shine but may alter the floor’s natural texture.
Each type has pros and cons. Penetrating sealers last longer but offer less gloss. Film-forming sealers provide a glossy finish but need reapplication more often.
Design Ideas For Concrete Textures
Designing with concrete textures opens many creative possibilities. Concrete floors no longer have to look plain or dull. Different textures can add style and personality to any space. These design ideas show how concrete textures transform floors, blending beauty with durability. Choose textures that suit your style and space purpose.
Stone And Brick Looks
Concrete can mimic natural stone or brick surfaces. Stamping patterns into wet concrete creates realistic stone or brick textures. This adds rustic charm without the high cost of real materials. Stone and brick looks give floors a warm, classic feel. Use earth tones to enhance the natural effect. These textures work well in patios, kitchens, and entryways.
Modern Industrial Styles
Concrete textures fit perfectly in modern industrial designs. Smooth, polished concrete floors offer a sleek and clean look. Exposed aggregate textures add roughness and depth. These styles emphasize raw, unfinished beauty. They suit lofts, offices, and urban homes. Combining matte and glossy finishes can highlight different areas. Concrete floors in this style are easy to maintain and long-lasting.
Mixing Textures For Impact
Combining multiple concrete textures creates visual interest and dimension. Pair smooth surfaces with textured areas for contrast. For example, polished floors with rough edges or stamped borders look striking. Mixing textures can define spaces without walls. Use different colors and finishes to enhance the effect. This approach adds uniqueness and style to any room or outdoor area.
Maintenance Tips For Textured Concrete
Textured concrete floors add style and grip to any space. Proper care keeps them looking fresh and durable. Simple maintenance prevents damage and extends the floor’s life.
Follow easy steps to clean and repair textured concrete. Regular attention preserves texture and color. Avoid harsh chemicals that can wear down the surface.
Cleaning Techniques
Start with sweeping or vacuuming to remove loose dirt. Use a mild detergent mixed with water for washing. Apply the solution with a soft-bristle brush to clean deep grooves. Rinse well with clean water to avoid residue. For tough stains, use a concrete cleaner made for textured surfaces. Avoid acidic cleaners that can damage the finish. Dry the floor with a clean mop or let air dry naturally.
Repairing Surface Damage
Inspect the floor regularly for cracks or chips. Small cracks can be filled with concrete patching compound. Clean the area before applying the repair material. Smooth the surface with a trowel for an even finish. For larger damage, consider professional repair to maintain texture. Seal repaired areas to protect from moisture and wear. Regular sealing keeps the concrete strong and vibrant.
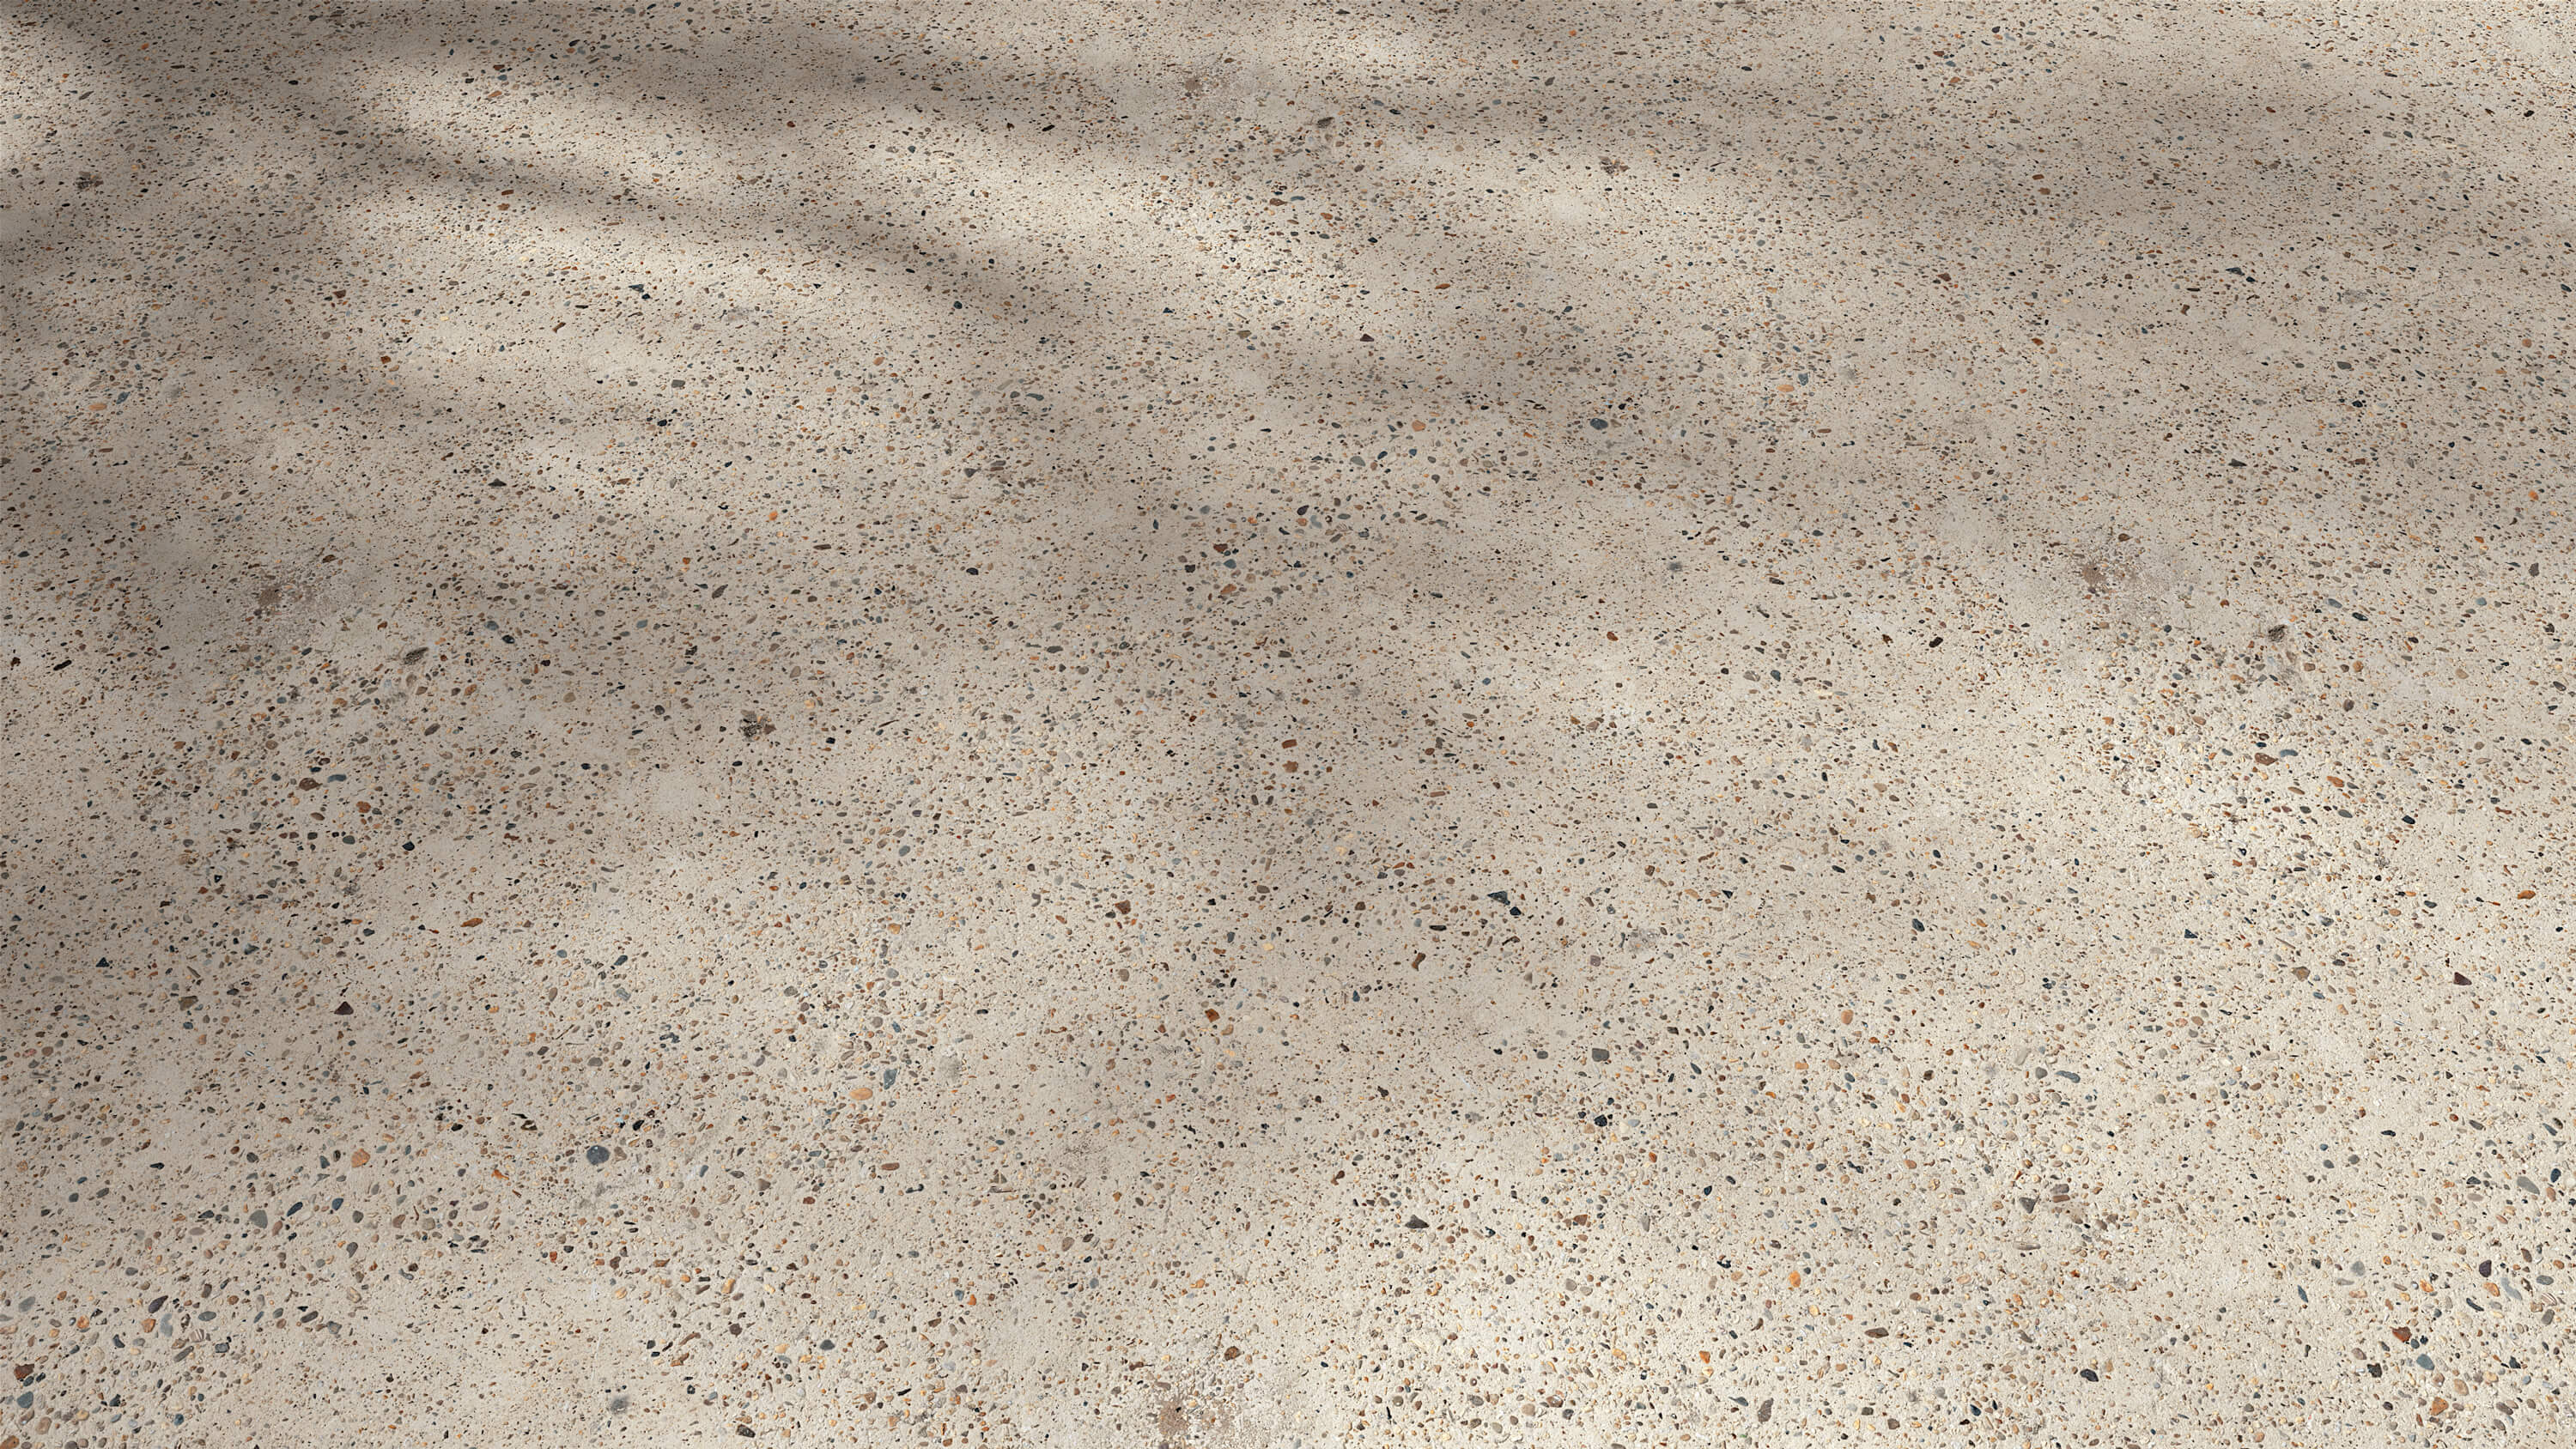
Credit: www.vecteezy.com
Frequently Asked Questions
How To Add Texture To Concrete Floor?
Add texture to a concrete floor by applying overlays with a trowel or spray, stamping patterns on wet concrete, or using a broom finish. Clean the floor, apply primer if needed, then use tools to create the desired texture. Seal after curing for durability.
What Is Poor Man’s Concrete?
Poor man’s concrete is a low-cost mix using cement, sand, and gravel as a substitute for traditional concrete.
What Is Textured Concrete Called?
Textured concrete is often called stamped or decorative concrete. It features patterns or finishes like broom, knockdown, or spray textures.
How Can I Make My Concrete Floor Look Good Cheaply?
Clean the floor thoroughly, then apply a primer. Use a cement overlay, broom finish, or stamp patterns for texture. Seal for protection.
Conclusion
Concrete floor texture adds style and grip to any space. It improves safety by reducing slipperiness. Various methods create unique, lasting designs. Regular cleaning and sealing protect the texture well. Choose the right technique to fit your needs. Textured floors blend function with simple beauty.
They suit homes, offices, and outdoor areas. A textured concrete floor is practical and attractive.