Are you tired of cluttered towels and messy bathrooms? Installing a single piece towel rack can be the simple fix you need to keep your space neat and organized.
You might think it’s a tricky job, but with the right steps, you can do it yourself quickly and easily. In this guide, you’ll discover how to install a towel rack that fits perfectly and holds your towels securely. Keep reading, and by the end, you’ll have the confidence to transform your bathroom with this small but powerful upgrade.
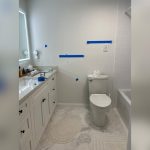
Credit: www.etsy.com
Tools And Materials Needed
Installing a single piece towel rack is a simple task. Having the right tools and materials makes the job easier and faster. This section covers what you need to get started. Prepare these items before you begin to avoid interruptions.
Essential Tools
A drill is necessary to make holes in the wall for screws. Use a screwdriver to tighten screws securely. A level helps place the towel rack straight on the wall. Measuring tape ensures the rack fits your chosen spot perfectly. A pencil is useful for marking drill points. Wall anchors provide extra support, especially on drywall. Safety goggles protect your eyes from dust and debris.
Choosing The Right Towel Rack
Select a towel rack that suits your bathroom style and space. Single piece racks are simple and easy to install. Consider the rack’s size to match your towels and wall space. Metal racks are durable and look modern. Plastic racks are lightweight and affordable. Check if the rack comes with mounting hardware to save time. Pick a finish that matches your bathroom fixtures for a neat look.
Selecting The Installation Spot
Choosing the right spot to install your single piece towel rack is important. A good spot makes the towel rack easy to use and keeps your bathroom tidy. Think about where towels are most needed and where the rack fits best.
Ideal Height Placement
Place the towel rack at a height that is easy to reach. Usually, 48 inches from the floor is a good spot. This height works well for most people, including kids. Make sure it is not too high or too low to avoid stretching or bending.
Wall Surface Considerations
Check the wall surface before installation. Drywall is common but needs anchors for strong support. Tiles look nice but require careful drilling to avoid cracks. Solid wood walls hold screws well without extra tools. Choose a surface that can hold the towel rack firmly for safety.
Marking And Preparing The Wall
Marking and preparing the wall is the first step in installing a single piece towel rack. This step ensures the towel rack stays secure and looks straight. Taking time to measure and mark the wall accurately makes the installation easier and prevents mistakes.
Measuring And Marking
Use a tape measure to find the right height for your towel rack. Usually, 48 inches from the floor works well. Use a pencil to mark the spot lightly on the wall. Check the level with a spirit level to keep marks straight. Mark both ends where the screws will go. Double-check measurements before drilling.
Drilling Pilot Holes
Choose a drill bit smaller than the screws you will use. Drill pilot holes on the marks to avoid wall damage. Pilot holes help screws go in smoothly and hold better. Drill slowly and carefully to keep holes neat. Clean dust from holes before fixing the rack.

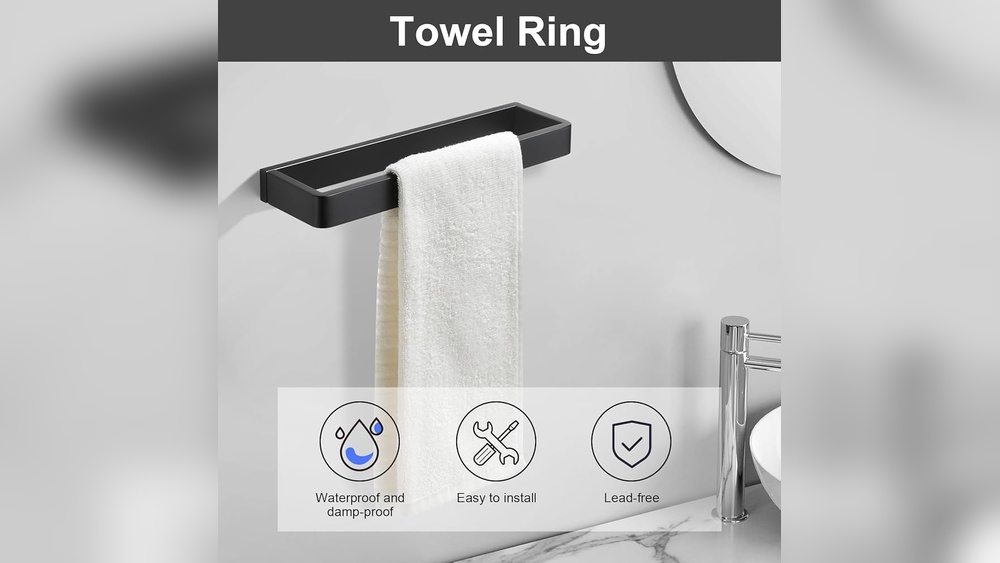
Credit: www.technipro.ma
Mounting The Towel Rack
Mounting the towel rack is a key step to secure it properly. It holds the towel rack steady and makes it usable every day. Taking care during this step avoids damage to walls and ensures the rack lasts long. Follow these simple steps to mount your single piece towel rack with ease.
Aligning The Rack
Start by holding the towel rack against the wall. Use a level tool to check if it is straight. Mark the spots for screws on the wall through the rack’s holes. Double-check the marks to confirm they are even and at the right height. Proper alignment prevents the rack from tilting or falling.
Securing With Screws
Drill small pilot holes at the marked spots. Insert wall anchors if the wall is drywall or hollow. Place the towel rack back and align with the holes. Use a screwdriver to fasten the screws tightly. Avoid overtightening to prevent cracking the rack or wall. The rack should feel firm and stable after securing.
Final Adjustments And Tips
After installing the single piece towel rack, some final steps help ensure it works well. These adjustments improve safety and keep the rack looking good. Follow these tips to finish the job right and enjoy your new towel rack for a long time.
Checking Stability
Test the towel rack by gently pulling it. Make sure it does not wobble or feel loose. Tighten screws if needed. Check that the rack stays firmly on the wall. A stable rack holds towels safely and prevents accidents.
Maintenance Advice
Clean the towel rack regularly with a soft cloth. Avoid harsh chemicals that may damage the finish. Dry the rack if water splashes on it. This stops rust and keeps the rack shiny. Check screws every few months to keep it secure.

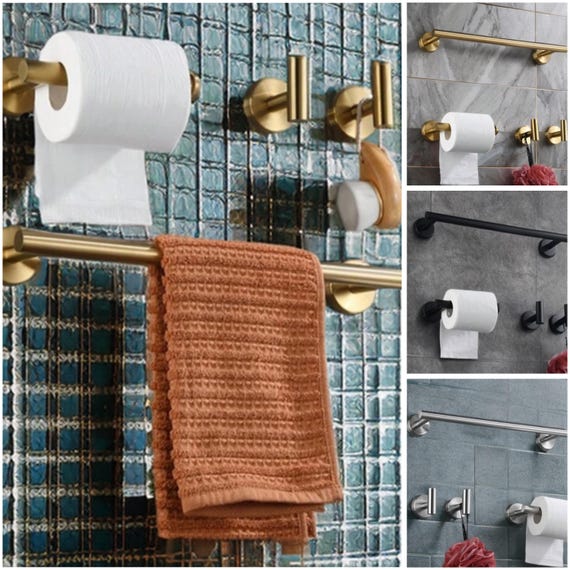
Credit: www.amazon.com
Frequently Asked Questions
How Do I Install A Single Piece Towel Rack?
First, mark the mounting holes on the wall. Drill holes, insert anchors, and then secure the rack with screws. Use a level to ensure it is straight.
What Tools Are Needed For Towel Rack Installation?
You will need a drill, screwdriver, level, measuring tape, pencil, and wall anchors for proper installation.
Can I Install A Towel Rack On Tile Walls?
Yes, use a masonry drill bit for tiles and wall anchors designed for tile surfaces to avoid damage.
How High Should I Mount A Towel Rack?
Mount the towel rack about 48 inches from the floor for easy reach and optimal usability.
Conclusion
Installing a single piece towel rack is simple and quick. Follow the steps carefully and use the right tools. Measure and mark the spot before drilling holes. Secure the rack tightly to avoid it falling off. A well-installed towel rack keeps towels organized and your bathroom tidy.
Enjoy the new look and easy access to towels every day. Small projects like this make your home more functional. Give it a try and see the difference yourself.