Imagine looking into your mirror and seeing more than just your reflection—weather updates, news headlines, or even your daily calendar right at your fingertips. Building a smart mirror touch screen can turn this vision into reality, and you don’t need to be a tech expert to do it.
In this guide, you’ll discover simple steps to create your own interactive mirror that blends style with smart technology. Ready to transform your space and impress everyone who sees it? Keep reading, and let’s make your mirror smarter together.
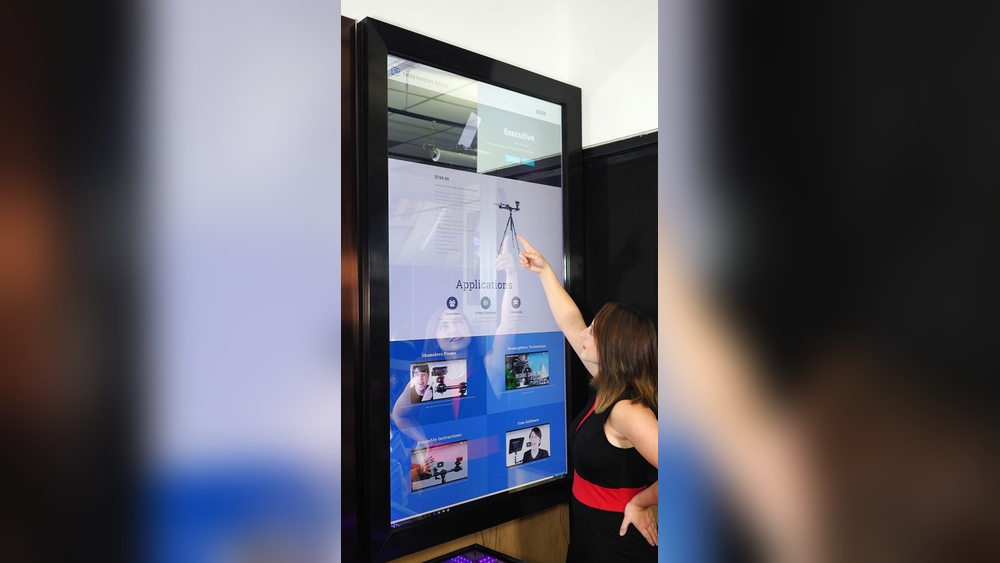
Credit: www.youtube.com
Choosing The Right Materials
Choosing the right materials is key to building a smart mirror touch screen. The materials affect how well the mirror works and how long it lasts. Picking good components ensures clear images and smooth touch controls. This section covers the main materials you need for your project.
Selecting The Mirror
Use a two-way glass or acrylic mirror. This type lets light pass through from behind. It shows the display clearly while still looking like a normal mirror. Choose a size that fits your space and screen. Thicker glass is stronger but heavier. Acrylic is lighter but can scratch easily.
Picking A Touchscreen Display
Choose a display with good resolution and brightness. A small LCD or LED screen works best for most mirrors. The screen should fit behind the mirror without blocking light. Capacitive touchscreens are responsive and support multi-touch gestures. Resistive screens cost less but feel less smooth.
Essential Tools And Components
Gather tools like a screwdriver, drill, and measuring tape. You need cables to connect the screen and power supply. Use a controller board to run the display. A frame or casing holds the mirror and screen together. Also, consider a computer or Raspberry Pi to manage the interface.
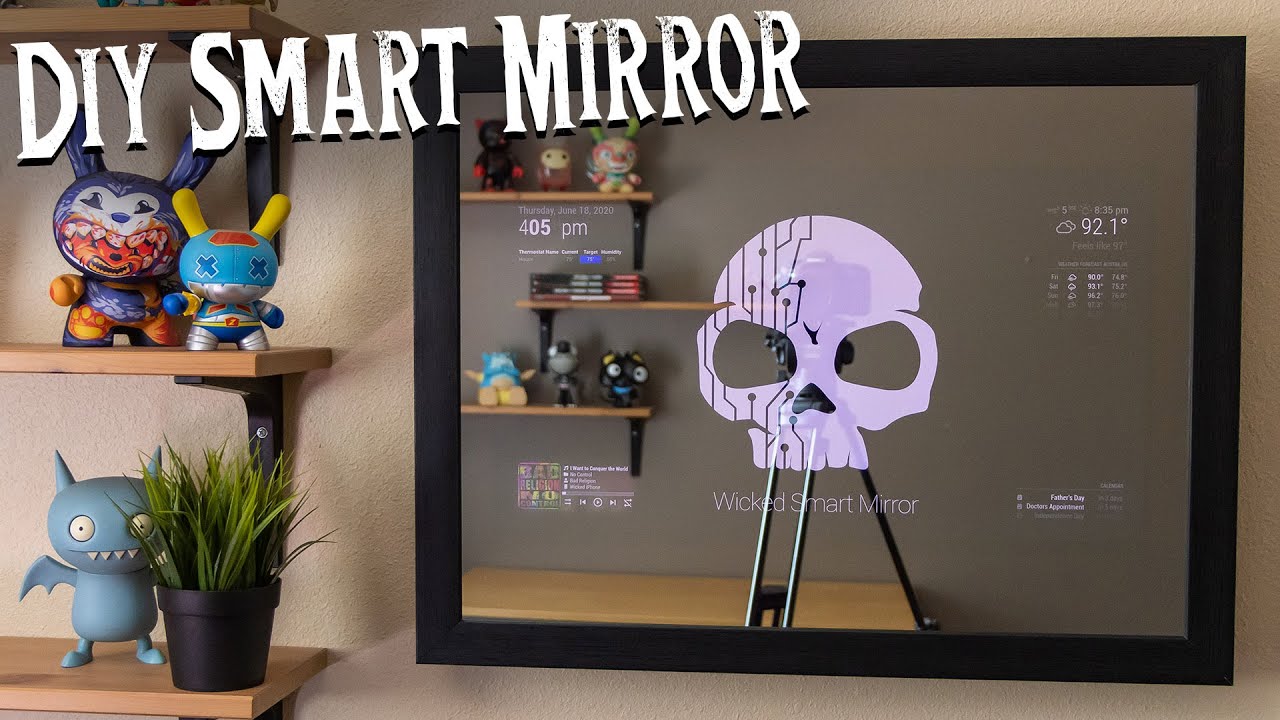
Credit: www.youtube.com
Preparing The Mirror Frame
Preparing the mirror frame is a key step in building a smart mirror touch screen. A well-prepared frame holds the display and mirror securely. It also protects the device and makes it look neat. Careful preparation helps the smart mirror last longer and work better. Follow these steps to prepare your mirror frame properly.
Measuring And Cutting
Start by measuring the size of your display. Use a tape measure or ruler for accuracy. Mark the frame where you need to cut or adjust. Use a saw or cutter suitable for the frame material. Cut slowly and carefully to avoid mistakes. Double-check your measurements before cutting. The frame must fit the display perfectly without gaps.
Mounting The Display
Place the display inside the frame gently. Use mounting brackets or strong tape to hold it in place. Make sure the display is centered and stable. Avoid pressing too hard on the screen. Check that all cables have room to connect. Secure everything to prevent movement or damage during use.
Ensuring Durability
Choose a frame material that resists wear and tear. Wood and metal are strong and durable options. Apply a protective finish to wooden frames. Seal any gaps to keep dust out. Use screws or strong glue for extra strength. A sturdy frame protects your smart mirror for years.
Setting Up The Touchscreen
Setting up the touchscreen is a key step in building a smart mirror. It lets you control your mirror with simple taps and swipes. This part involves connecting the display, adjusting touch sensitivity, and testing the touch functions. Proper setup ensures smooth and accurate touch control.
Connecting The Display To The Controller
Start by linking the touchscreen display to the controller board. Use the correct cables for your screen type, usually HDMI or USB. Secure the connections firmly to avoid loose contacts. Power on the controller and display to check if the screen lights up. This confirms the connection is successful.
Calibrating Touch Sensitivity
Touch sensitivity must match your needs for easy use. Access the controller’s calibration tool or software. Follow on-screen instructions to tap specific points on the screen. This process aligns touch input with display output. Repeat calibration if the touch feels off or slow.
Testing Touch Functions
Test all touch gestures like tap, swipe, and pinch. Open apps or menus to check responsiveness. Notice any delays or missed touches. Adjust settings if the touchscreen reacts too quickly or too slowly. Proper testing ensures your smart mirror feels natural to use.
Installing The Software
Installing the software is a key step in building a smart mirror touch screen. This process turns your mirror into a useful device. It allows you to see information like weather, news, and calendar events. The software controls the display and touch functions. Follow clear steps to ensure smooth installation and setup.
Choosing An Operating System
Pick an operating system (OS) that fits your smart mirror needs. Popular choices include Raspberry Pi OS and Linux-based systems. These OS options are lightweight and support many apps. Raspberry Pi OS is easy to use for beginners. Make sure the OS supports touch screen drivers. Check for good community support for troubleshooting help.
Installing Smart Mirror Apps
Select apps that provide the features you want. Common smart mirror apps include MagicMirror² and Dakboard. These apps display time, weather, and news feeds. Download the app from official sources to avoid malware. Follow instructions to install the app on your OS. Test the app to confirm it runs correctly.
Configuring User Interface
Customize the user interface (UI) for better usability. Adjust widget positions to fit your mirror’s screen. Choose fonts and colors that are easy to read. Set touch screen sensitivity for smooth interaction. Remove unnecessary elements to keep the display clean. Save your settings and restart the app to apply changes.
Integrating Voice And Sensors
Integrating voice and sensors makes your smart mirror more interactive and user-friendly. These features allow hands-free control and automatic responses. They improve the overall experience and add convenience.
Voice and sensor integration requires some basic hardware and software setup. It involves connecting microphones, motion detectors, and programming simple commands. This section explains how to add voice control and motion sensors to your smart mirror.
Adding Voice Control
Start by choosing a voice assistant platform like Google Assistant or Amazon Alexa. Connect a microphone to your smart mirror’s computer or controller. Use software libraries to process voice commands. Program simple commands for weather, news, or reminders. Test voice recognition to ensure accuracy. Voice control lets users interact without touching the screen.
Incorporating Motion Sensors
Install a motion sensor above or below the mirror. Common sensors include PIR or ultrasonic types. Connect the sensor to your mirror’s controller or Raspberry Pi. Program it to detect presence and wake the mirror display. Motion sensors save energy by turning the screen off when no one is near. This feature also triggers notifications or changes display based on user presence.
Enhancing User Interaction
Combine voice and motion sensors for a seamless experience. Use motion to activate the mirror and voice to control content. Add feedback sounds or lights for user confirmation. Create simple menus navigated by voice commands. This design keeps interaction natural and easy. Smart mirrors become more helpful and engaging with these features.
Power And Connectivity Setup
Setting up power and connectivity is a key step in building a smart mirror touch screen. It ensures your mirror works smoothly and stays connected. This section covers wiring, power supply, Wi-Fi connection, and cable management. Clear steps help avoid common mistakes and keep your build safe and tidy.
Wiring And Power Supply
Choose a reliable power source for your smart mirror. Use a power adapter that matches your screen and controller voltage. Connect wires carefully. Use insulated cables to avoid shorts. Check all connections twice before turning on power. Secure wires to prevent accidental pulls or damage.
Connecting To Wi-fi
Wi-Fi lets your smart mirror access online features. Open your mirror’s settings menu. Select your home network from the list. Enter the Wi-Fi password correctly. Test the connection by opening a web app on the mirror. A strong Wi-Fi signal improves performance and responsiveness.
Managing Cables
Organize cables to keep your smart mirror neat. Use cable clips or ties to bundle wires. Avoid loose cables that can tangle or get damaged. Label cables for easy identification. Keep power and data cables separate to reduce interference. Good cable management extends your mirror’s life and looks professional.
Final Assembly And Testing
The final assembly and testing phase is crucial to complete your smart mirror touch screen project. This step ensures all parts work well together. It also helps catch errors before daily use.
Take time to secure every component properly. Loose parts can cause damage or poor performance. Careful testing can save time and effort later.
Securing All Components
Start by placing the screen inside the mirror frame. Make sure the touch sensor aligns perfectly with the display. Use screws or brackets to hold parts firmly. Avoid over-tightening to prevent cracks.
Connect all wires carefully. Keep cables tidy to avoid tangling. Use tape or clips to fix cables in place. Check that power and data cables are secure and not loose.
Running Performance Checks
Power on the smart mirror. Watch the screen for any display issues. Test the touch function by tapping different areas. Make sure the mirror responds quickly and accurately.
Open the installed apps or widgets. Check if they load without lag. Test the internet connection if your mirror uses online features. Verify brightness and sound controls work correctly.
Troubleshooting Common Issues
If the screen does not turn on, check power connections first. Loose cables are a common cause. If touch does not respond, clean the surface gently and retest.
Flickering or dead pixels mean the screen might be damaged or loose. Re-seat the display cables or replace the screen if needed. For software crashes, restart the system or update the software.
Customization And Upgrades
Building a smart mirror touch screen offers many ways to make it your own. Customization and upgrades let you add new functions and improve your mirror’s look and feel. You can change how it works and looks at any time. This keeps your smart mirror useful and interesting for a long time.
Adding Widgets And Features
Widgets bring extra tools and information to your smart mirror. You can add weather updates, news, calendars, and more. Choose simple widgets that suit your daily needs. Some smart mirror software lets you download many widgets easily. Adding voice control or gesture recognition can make your mirror more interactive. These features create a better user experience.
Improving Display Quality
Clear and bright display makes your smart mirror easy to use. Upgrade your screen to a higher resolution for sharper images. Use a screen with better brightness and contrast for clear visibility in different lighting. Anti-glare coatings reduce reflections on the glass. Regularly clean the screen to keep it crisp and clear. Better display quality improves both style and function.
Future-proofing Your Smart Mirror
Plan your smart mirror to support new tech later. Use modular parts that are easy to swap or upgrade. Choose software that updates regularly and supports new features. Keep extra ports or wireless options for adding devices. This saves money and effort over time. A future-proof smart mirror adapts to your changing needs.

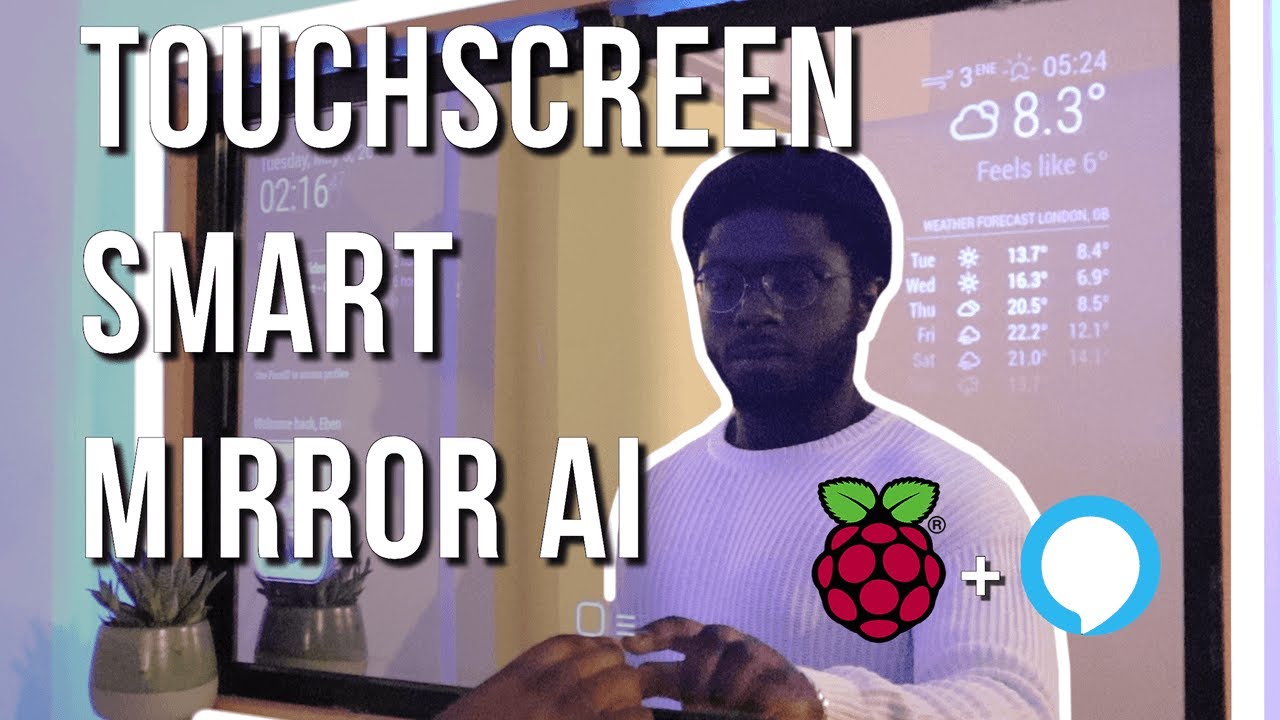
Credit: community.home-assistant.io
Frequently Asked Questions
What Materials Are Needed To Build A Smart Mirror Touch Screen?
To build a smart mirror touch screen, you need a two-way mirror, a touch screen monitor, a Raspberry Pi or similar computer, and frame materials. Additionally, you’ll require software like MagicMirror² to manage the display and touch interactions effectively.
How Do I Install The Touch Screen Functionality On A Smart Mirror?
Install the touch screen by connecting the monitor’s touch interface to the computer, usually via USB. Calibrate the touch screen using the software settings to ensure accurate response and smooth user interaction with the smart mirror’s display.
Can I Customize The Smart Mirror Display Content?
Yes, you can customize the smart mirror display by modifying the software modules. Use platforms like MagicMirror² to add weather, calendar, news, and personal notifications, making the mirror tailored to your daily needs and preferences.
How Much Does It Cost To Build A Smart Mirror Touch Screen?
The cost varies but typically ranges from $150 to $400. Factors include the quality of the monitor, computer hardware, and frame materials. DIY projects can reduce costs compared to buying pre-made smart mirrors.
Conclusion
Building a smart mirror touch screen is easier than it seems. Step-by-step, you can create a useful and fun device. Choose the right materials and follow clear instructions. Test your mirror often to fix small issues. Enjoy personalizing your smart mirror to fit your needs.
This project combines tech and creativity simply. Give it a try and learn as you go. A smart mirror adds style and function to any room. Keep experimenting and improving for best results.