Installing your Aiwit Video Doorbell might seem tricky at first, but it’s easier than you think. Imagine being able to see who’s at your door anytime, from anywhere, right on your phone.
That peace of mind is just a few simple steps away. In this guide, you’ll learn exactly how to set up your Aiwit Video Doorbell quickly and correctly, so you can start enjoying smarter home security right now. Keep reading, and you’ll have your doorbell working like a pro in no time.
Preparing For Installation
Preparing for installation is the first step to set up your Aiwit Video Doorbell. This stage ensures a smooth process and avoids surprises. Taking time now saves effort later. Follow these simple tips to get ready.
Tools And Materials Needed
Gather all necessary tools before starting. You will need a drill, screwdriver, screws, and anchors. A level helps to mount the doorbell straight. Also, have the Aiwit Video Doorbell kit ready with its parts. Keep your smartphone nearby for setup and testing.
Checking Compatibility
Check if your doorbell system matches the Aiwit Video Doorbell. Make sure your Wi-Fi signal is strong near the door. Verify your home’s power supply supports the device. Confirm the doorbell works with your smartphone’s operating system. Compatibility prevents installation problems.
Choosing The Installation Spot
Select a spot near your main entrance. The doorbell camera needs a clear view of visitors. Avoid placing it where direct sunlight or rain hits. The height should be about 4 to 5 feet from the ground. This height captures faces clearly and makes pressing easy.

Credit: device.report
Setting Up The Doorbell
Setting up the Aiwit Video Doorbell is the first step to improving your home security. This section guides you through the key tasks to get your doorbell ready for use. Follow these clear steps for a smooth setup.
Charging The Battery
Start by removing the battery from the doorbell. Use the provided USB cable to charge it. Plug the cable into a power source. Charging takes about 4 to 6 hours. Wait until the battery is fully charged. A full battery ensures the doorbell works without interruption.
Connecting To Wi-fi
Turn on the doorbell after charging. Press the setup button to enter Wi-Fi mode. Open your phone’s Wi-Fi settings. Find the doorbell’s network and connect to it. Then, open the Aiwit app to complete the connection. Choose your home Wi-Fi and enter the password. Ensure the Wi-Fi signal is strong for best performance.
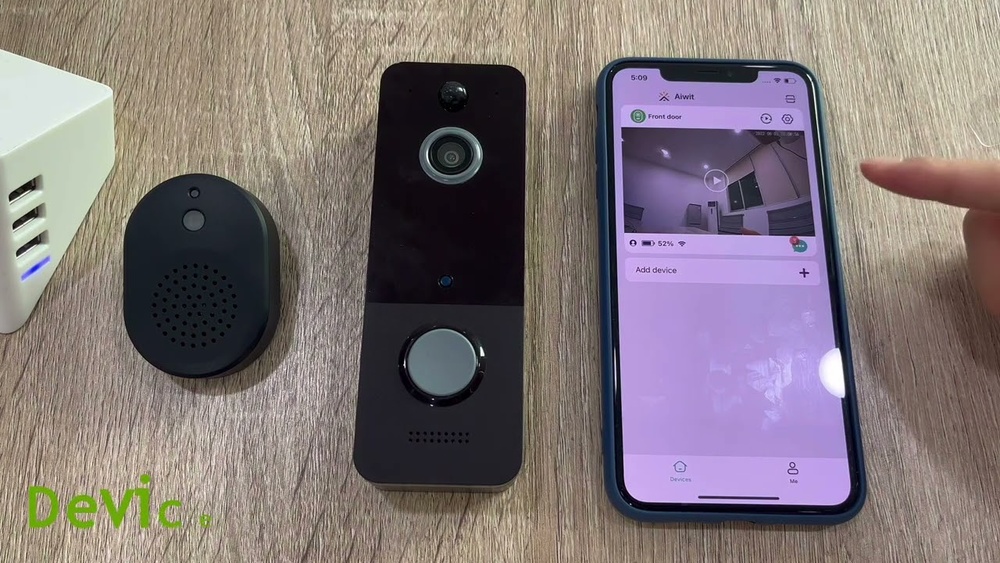
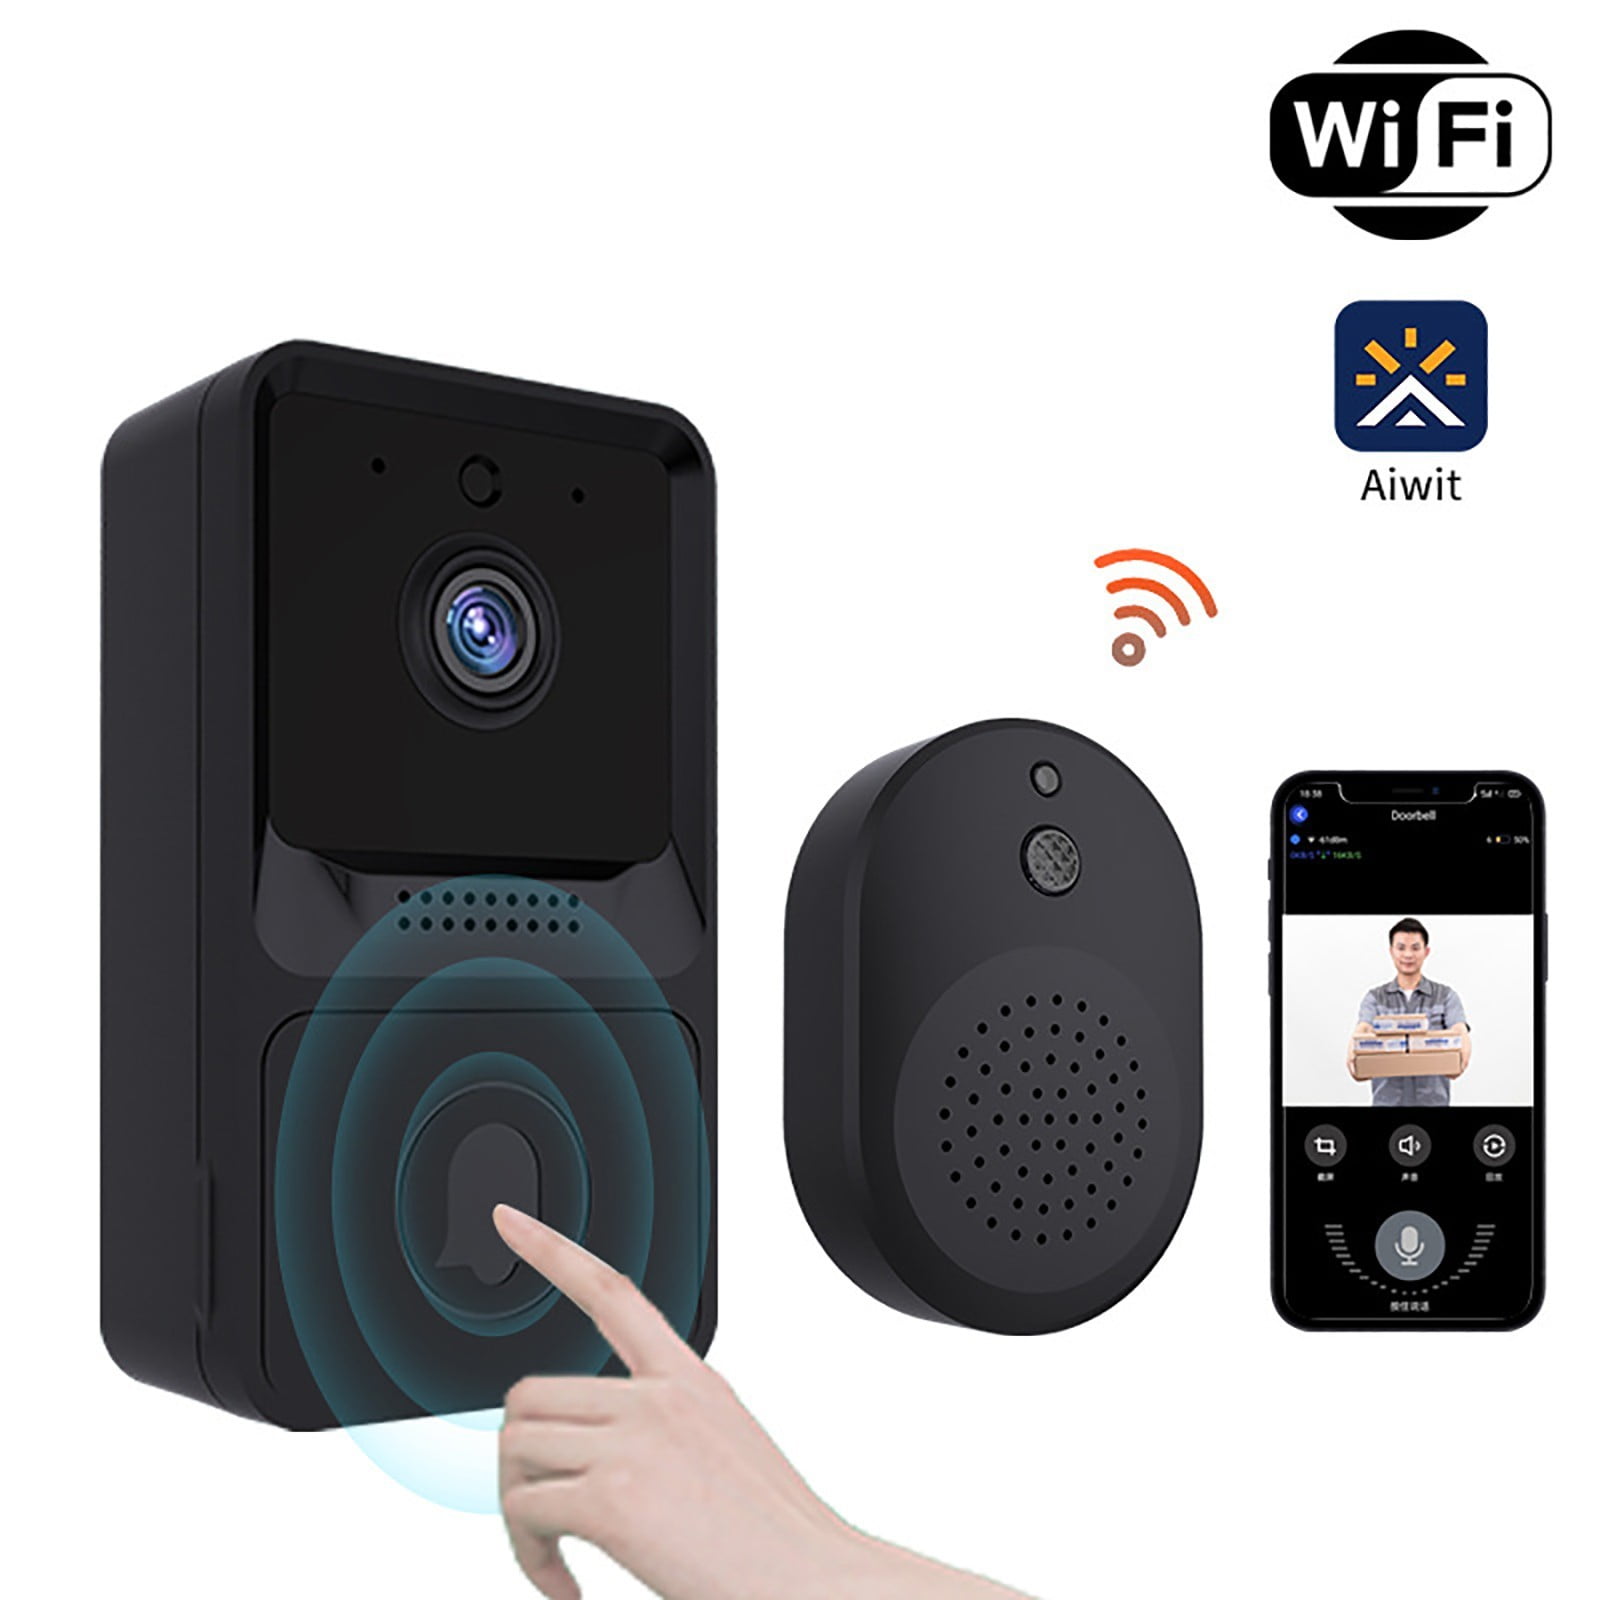
Installing The Aiwit App
Download the Aiwit app from the App Store or Google Play. Create a new account or log in if you have one. Follow the in-app instructions to add your doorbell. The app lets you see live video and receive alerts. Keep the app updated for new features and security.
Mounting The Doorbell
Mounting the Aiwit Video Doorbell is an important step. It ensures the device works well and stays secure. This section explains how to mount the doorbell correctly. Follow each step carefully to get the best results.
Marking The Mounting Location
First, choose a spot near your door. Pick a place where the camera can see visitors clearly. Hold the mounting bracket against the wall. Use a pencil to mark the holes for screws. Make sure the marks are level and spaced right.
Drilling And Fixing The Mount
Use a drill to make holes on the marked spots. Pick a drill bit that fits the wall anchors. Insert anchors if needed to keep the mount strong. Screw the mounting bracket tightly to the wall. Check that it does not move or wobble.
Attaching The Doorbell
Align the doorbell with the mounting bracket. Slide or snap it into place based on the model. Press gently until it clicks or feels secure. Test the doorbell to confirm it is fixed well. The device should not shift or fall.

Credit: www.youtube.com
Configuring Device Settings
Configuring device settings is an important step after installing your Aiwit Video Doorbell. It helps the device work exactly as you want. Proper settings improve security and save battery life. Let’s explore how to adjust key features.
Adjusting Motion Detection
Open the Aiwit app and go to device settings. Find the motion detection option. Set the sensitivity level to low, medium, or high. High sensitivity detects small movements but may cause false alerts. Low sensitivity ignores minor movements but misses some events. Choose the best balance for your needs. You can also set detection zones. These zones focus only on important areas. This reduces unwanted alerts from irrelevant spots.
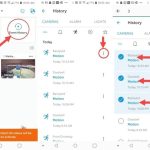
Setting Up Notifications
Notifications keep you informed about visitors and events. In the app, turn on push notifications. Select the types of alerts you want, such as motion alerts or doorbell rings. Enable sound or vibration alerts on your phone. This helps you respond quickly. Adjust notification schedules to avoid disturbances at night. Clear notification settings prevent missing important alerts.
Testing Video And Audio
Testing video and audio ensures clear communication. Use live view in the app to check video quality. Adjust brightness or contrast if needed. Press the doorbell button to test audio. Speak through the app to test two-way talk. Check for echoes or delays. Clear sound improves visitor interaction. Repeat tests at different times for best results.
Troubleshooting Tips
Troubleshooting helps solve common problems during Aiwit Video Doorbell setup. This section covers simple fixes to keep your doorbell working well. Follow these tips to avoid delays and enjoy smooth installation.
Common Installation Issues
Sometimes, the doorbell does not power on. Check the wiring carefully. Make sure you connect wires to the correct terminals. Loose wires cause failure in function. Also, confirm that your doorbell’s battery is charged or the power source is active. Avoid installing in extreme weather to prevent damage.
Wi-fi Connection Problems
Weak Wi-Fi signals cause interruptions in video and alerts. Place your router closer to the doorbell. Remove obstacles like walls or metal objects. Use the correct Wi-Fi band, usually 2.4 GHz, for better range. Restart the router if connection fails. Enter the Wi-Fi password carefully during setup.
Resetting The Doorbell
Resetting fixes many technical issues. Press and hold the reset button for 10 seconds. The doorbell will reboot automatically. This clears temporary errors and restores factory settings. Reconnect to the app after reset. Use this step only when other fixes do not work.
Credit: www.walmart.com
Frequently Asked Questions
How Do I Install The Aiwit Video Doorbell?
To install the Aiwit video doorbell, first turn off power. Mount the bracket, connect wires, and attach the doorbell. Finally, restore power and follow app setup instructions for a complete installation.
What Tools Are Needed For Installation?
You will need a screwdriver, drill, anchors, screws, and wire stripper. Having a smartphone for app setup is also essential for configuring the doorbell.
Can I Install Aiwit Doorbell Without Existing Wiring?
Yes, the Aiwit doorbell supports battery power. This allows installation without existing doorbell wires, making it ideal for homes without wiring.
How Do I Connect The Doorbell To Wi-fi?
Use the Aiwit app to connect the doorbell to Wi-Fi. Follow on-screen instructions to select your network and enter the password securely.
Conclusion
Installing the Aiwit Video Doorbell is simple and quick. Follow each step carefully for best results. Test the device to ensure it works properly. Enjoy the added security and convenience it brings. Keep the instructions handy for future reference. This small effort improves your home safety significantly.
Feel confident with your new video doorbell in place.