Are you tired of struggling with loose towel racks that just won’t stay put? Fixing your towel rack doesn’t have to be a frustrating or complicated task.
With the right glue and a few simple steps, you can secure your towel rack firmly and keep your bathroom neat and organized. In this guide, you’ll discover easy-to-follow tips that save you time and effort, so you won’t have to worry about it falling off again.
Ready to make your towel rack stick like new? Let’s dive in!

Credit: lantzmuseum.org
Choosing The Right Adhesive
Choosing the right adhesive is key to a strong towel rack installation. The glue must hold the rack firmly on the wall. It should resist moisture from bathroom use. Selecting the correct glue ensures the rack stays safe and stable for a long time.
Types Of Glue For Towel Racks
Several glue types work well for towel racks. Epoxy adhesives offer strong bonds and water resistance. Construction adhesive is thick and designed for heavy objects. Silicone sealant is flexible and waterproof, ideal for tiles. Double-sided mounting tape can work for lightweight racks but may fail with heavier ones.
Factors Affecting Adhesive Strength
The surface type affects glue strength. Smooth surfaces like tiles need special glue for better grip. Porous surfaces like drywall absorb glue, weakening the bond. Temperature and humidity impact drying time and adhesion. Make sure the area is clean and dry before applying glue.
Safety Tips When Using Glue
Use glue in a well-ventilated space to avoid fumes. Wear gloves to protect your skin from irritation. Keep glue away from children and pets. Follow the manufacturer’s instructions carefully. Dispose of empty containers and excess glue properly.

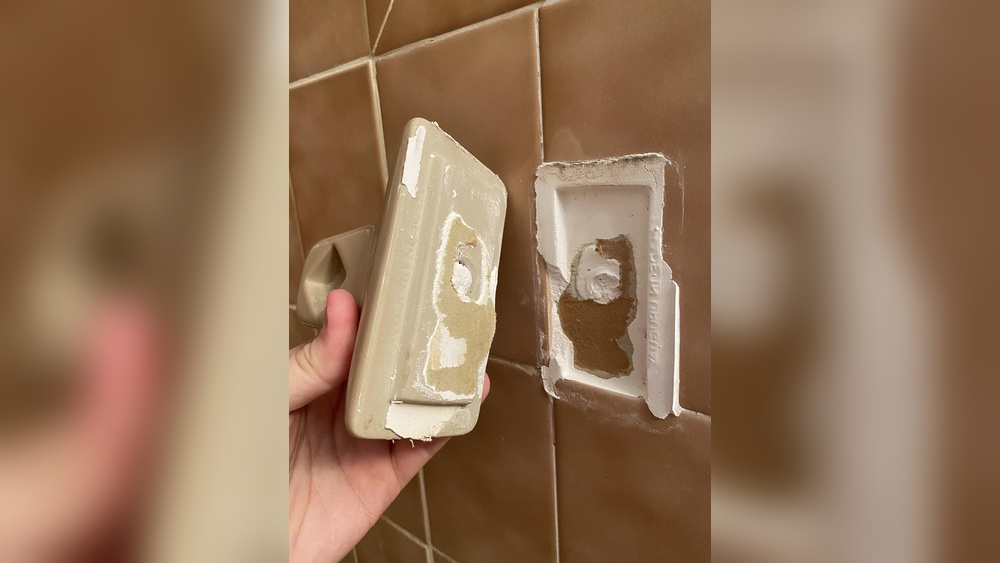
Credit: www.reddit.com
Preparing The Surface
Preparing the surface is the first step to securely glue a towel rack. It ensures the adhesive sticks well and the rack stays in place. Proper surface preparation avoids future problems like falling or loosening.
Cleaning The Wall And Rack
Start by wiping the wall and rack with a damp cloth. Remove all dust, dirt, and grease spots. Use mild soap if needed. A clean surface helps glue hold stronger. Avoid using harsh chemicals that can damage paint or material.
Sanding For Better Grip
Lightly sand the wall area and the back of the rack. Use fine-grit sandpaper for this step. Sanding creates a rough texture for better glue grip. Do not over-sand; just enough to remove shine and smoothness.
Drying And Dust Removal
After sanding, wipe the surface with a dry cloth. Make sure no dust remains on the wall or rack. Allow both surfaces to dry completely before applying glue. Moisture can weaken the bond and cause failure.
Positioning The Towel Rack
Positioning the towel rack is a key step before gluing. This step ensures the rack is straight and at the right height. Proper placement helps the rack look good and work well. Take time to do this carefully. A poorly placed rack can be awkward and unstable. Use tools and simple methods to find the perfect spot.
Marking The Placement
Start by deciding where the towel rack should go. Consider the height that suits everyone using it. Hold the rack against the wall at this height. Use a pencil to mark the top and bottom edges. Mark the spots where the rack’s mounting points will touch the wall. These marks guide you during gluing and help keep the rack in place.
Using A Level For Accuracy
A level helps keep the towel rack straight. Place the level on top of the rack. Adjust the rack until the bubble is centered between the lines. This confirms the rack is perfectly horizontal. Straight racks look better and hold towels evenly. Check the level marks twice before gluing. This step prevents crooked racks and future problems.
Temporary Support Methods
Temporary support holds the towel rack while glue dries. Use painter’s tape to secure the rack to the wall. Another option is to use small blocks or wedges under the rack. These supports stop the rack from slipping or falling. Keep the supports in place until the glue fully sets. This ensures a strong and lasting bond for your towel rack.
Applying The Glue
Applying the glue correctly is key to a strong towel rack bond. The glue holds the rack firmly to the wall or base. Take your time with this step to avoid weak spots or mess. A neat and even glue application makes the rack last longer.
Proper Glue Application Techniques
Start by cleaning the surfaces to remove dust and dirt. Use a cloth to wipe both the rack and the wall area. Next, apply glue in small, even dots or a thin line. Avoid using too much glue to prevent drips. Spread the glue gently with a brush or a stick for better coverage. Make sure the glue covers all areas that will touch each other.
Avoiding Common Mistakes
Do not rush the glue application. Applying too much glue can cause a mess and weak bonding. Avoid using glue on wet or dirty surfaces. Never skip surface cleaning; it reduces glue strength. Do not move the rack too soon after gluing. Let the glue set to create a strong hold. Use only glue suitable for your towel rack material.
Clamping Or Supporting The Rack
Hold the towel rack firmly against the wall after applying glue. Use clamps or tape to keep it in place. Support the rack to prevent any movement while drying. Keep it steady for the glue to cure properly. Follow the glue’s instructions for drying time. Patience now means a secure towel rack later.
Curing And Final Checks
After gluing your towel rack, curing and final checks are important steps. These ensure a strong, lasting bond. Taking time here prevents future problems. Be patient and thorough for the best results.
Recommended Drying Times
Let the glue dry fully before using the rack. Most glues need 24 hours to cure. Some types may require up to 48 hours. Check the glue package for exact times. Avoid moving or testing the rack early. Proper drying time makes the bond stronger.
Testing The Hold Strength
After drying, test the rack carefully. Apply light pressure first to check stability. Gradually increase pressure to see if it holds. Do not pull or hang heavy items yet. If the rack stays firm, the glue worked well. This step helps avoid accidents later.
Troubleshooting Weak Bonds
If the rack feels loose, the bond may be weak. Clean off old glue and dry the surface again. Apply fresh glue and press firmly. Use clamps or tape to hold the rack in place. Wait the full drying time before testing again. Weak bonds need fixing early to keep the rack safe.

Credit: www.amazon.com
Alternative Mounting Options
Alternative mounting options offer flexibility when attaching a towel rack. Not every wall supports screws or strong glue alone. These methods help secure your rack safely and neatly without complex tools. Choose the option that suits your wall type and towel rack style best.
Using Adhesive Strips
Adhesive strips provide a simple way to mount a towel rack. They stick firmly to smooth surfaces like tiles or glass. Press the strip firmly on the wall and rack, then wait for it to set. These strips leave no holes and remove cleanly. Ideal for renters or those avoiding wall damage.
Combining Glue With Screws
Glue alone might not hold heavy racks over time. Adding screws gives extra strength and security. First, apply glue to the rack base. Then, fix the rack with screws into wall studs or anchors. This method reduces stress on the glue and keeps the rack stable.
When To Consult A Professional
Some walls require expert help for mounting towel racks. Brick, concrete, or uneven surfaces can be tricky. A professional ensures the rack is safe and well-placed. Seek advice if unsure about your wall type or mounting method. This prevents damage and ensures long-lasting results.
Frequently Asked Questions
How Do I Prepare The Wall For Gluing A Towel Rack?
Clean the wall surface thoroughly to remove dust and grease. Use rubbing alcohol for best results. Ensure the wall is dry before applying adhesive.
What Type Of Glue Works Best For Towel Racks?
Use a strong, waterproof adhesive like epoxy or construction adhesive. These glues provide a durable bond suitable for bathroom humidity.
How Long Does The Glue Take To Set For Towel Racks?
Most adhesives require 24 hours to fully cure. Avoid hanging towels during this time to ensure a secure hold.
Can I Glue A Towel Rack On Tile Or Painted Walls?
Yes, but ensure the surface is clean and dry. For tile, roughen the area slightly to improve adhesion before gluing.
Conclusion
Gluing a towel rack can save time and effort. Choose the right glue and clean the surface well. Press the rack firmly and wait for it to dry. This method works best on smooth walls. Avoid heavy towels to keep the rack secure.
A simple step-by-step approach makes the job easy. Try this quick fix before drilling holes. Enjoy a neat and tidy bathroom space.