Are you ready to boost your home security with the Arlo Essential Video Doorbell? Installing it yourself might sound tricky, but it’s simpler than you think.
Imagine seeing who’s at your door from anywhere, right on your phone. In this guide, you’ll get clear, step-by-step instructions that make setup quick and stress-free. Keep reading, and you’ll have your new doorbell up and running in no time—giving you peace of mind and control over your front door like never before.
Prepare For Installation
Preparing for the installation of your Arlo Essential Video Doorbell is the first step toward a smooth setup. Taking time to get ready helps avoid delays and problems during installation. This section guides you through what you need to check and gather before starting.
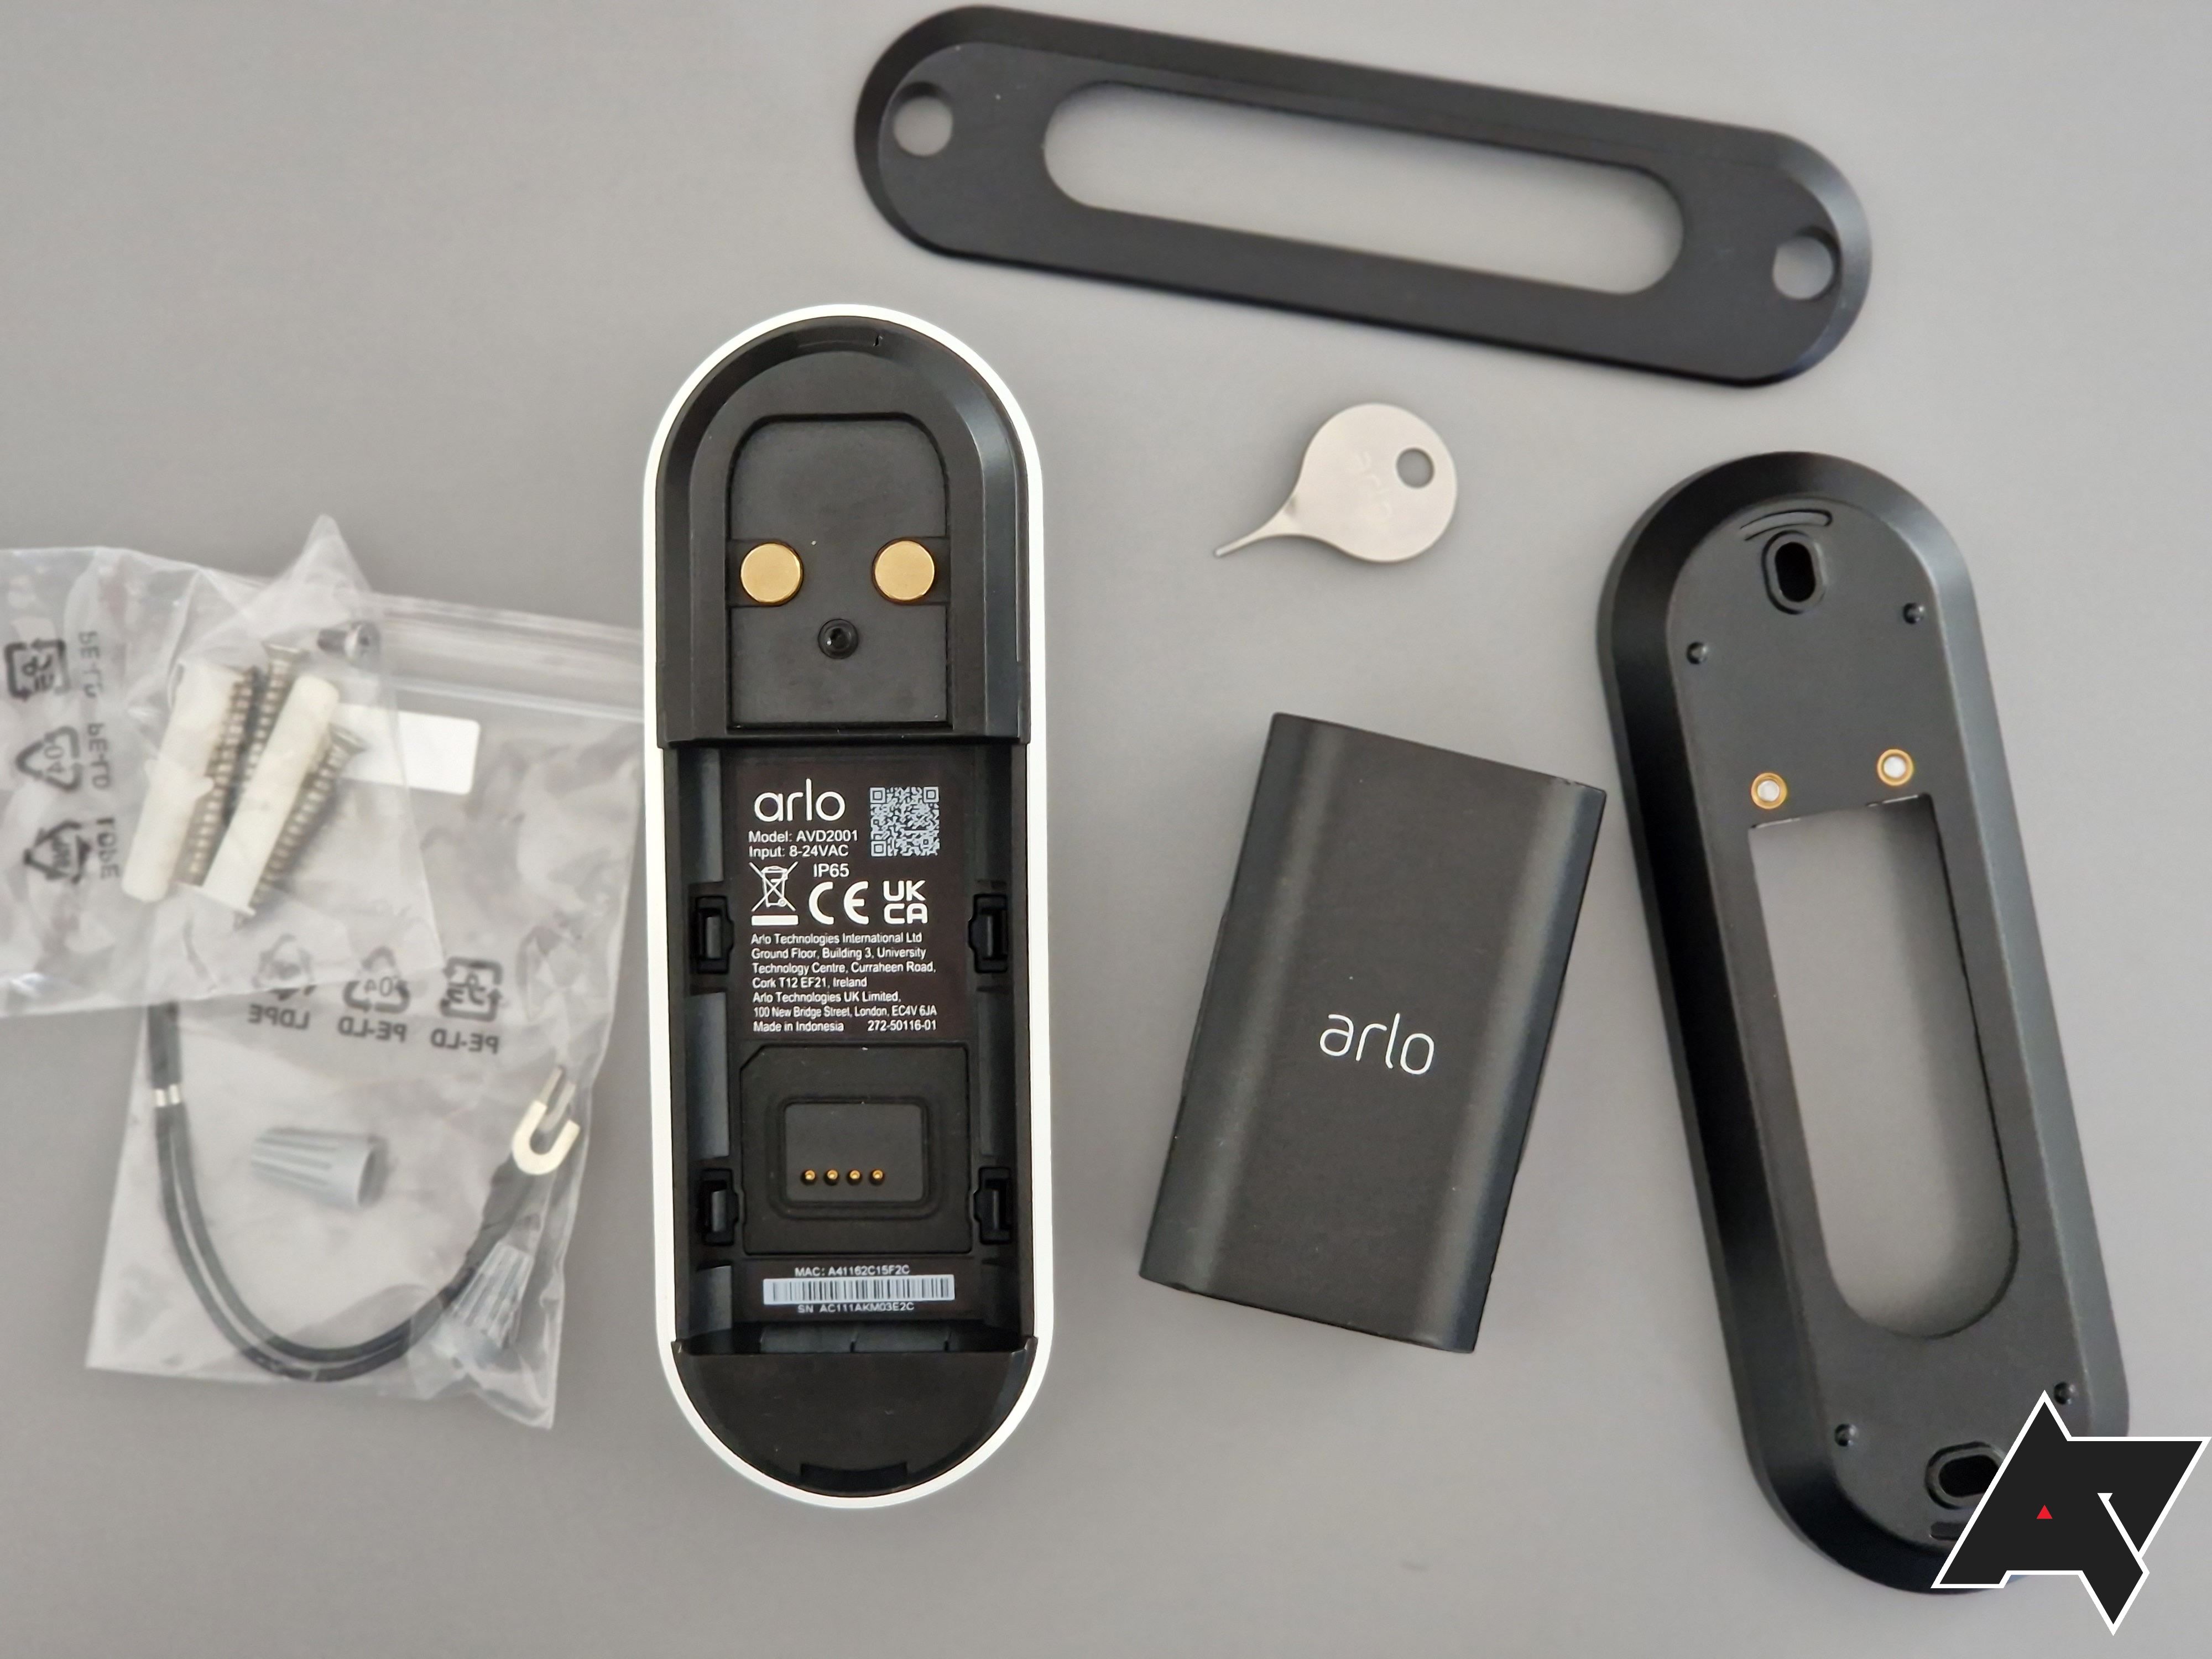
Check Package Contents
Open the box carefully. Make sure all parts are included. The package should have the doorbell, mounting bracket, screws, anchors, and a quick start guide. Missing items can stop the installation. Check everything against the list in the manual.
Gather Necessary Tools
Prepare tools before you start. You will need a drill, screwdriver, and a level. A pencil helps mark drill points. Having tools ready saves time and effort. Avoid searching for tools during installation.
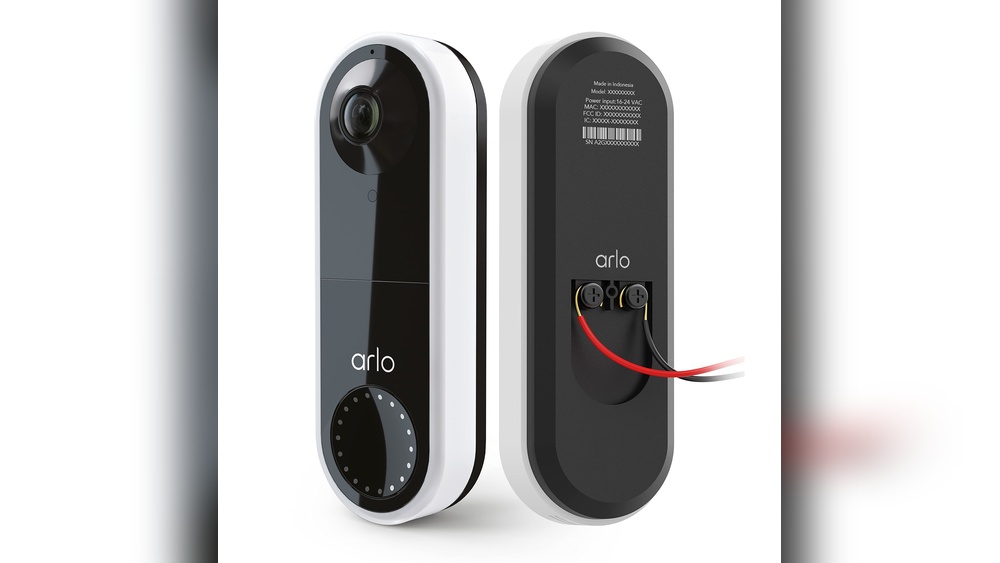
Verify Compatibility
Check if the doorbell fits your home setup. It works with most wired doorbell systems. Confirm your existing doorbell is compatible. Verify your Wi-Fi strength near the door. Good signal is key for video quality. This step ensures the doorbell works properly after installation.

Credit: kb.arlo.com
Power Off Existing Doorbell
Powering off your existing doorbell is a key step before installing the Arlo Essential Video Doorbell. This step keeps you safe from electric shocks. It also prevents damage to your new device. Follow these simple instructions to turn off the power correctly.
Locate Circuit Breaker
Start by finding your home’s main electrical panel. This panel usually sits in the basement, garage, or utility room. Open the panel door carefully. Look for the breaker labeled “Doorbell” or “Chime.” If you cannot find a label, check the breaker list or manual for guidance.
Turn Off Power Safely
Flip the identified breaker switch to the OFF position. This action stops electricity flow to the doorbell circuit. Use a non-contact voltage tester to confirm power is off. Test the wires at the doorbell location. No light or beep means the power is off and safe to work on.
Remove Old Doorbell
Removing your old doorbell is the first step to install the Arlo Essential Video Doorbell. This process prepares your door for the new device. It also ensures safety by disconnecting power and wires properly. Follow the steps carefully to avoid any damage or injury.
Take your time. Keep your tools handy. A smooth removal makes installation easier and faster.
Unscrew Old Doorbell
Start by locating the screws holding the old doorbell. Use a screwdriver to remove them. Hold the doorbell firmly while unscrewing. This prevents it from falling and breaking. Keep the screws in a safe place. You might need them later.
Disconnect Wires
After removing the doorbell, find the wires connected to it. Carefully pull the wires apart. Use a voltage tester to make sure power is off. Twist wire nuts to loosen connections if needed. Keep the wires straight and untangled. This makes connecting the Arlo doorbell easier.
Mount Arlo Doorbell
Mounting the Arlo Essential Video Doorbell is a key step in securing your home. It ensures the doorbell stays in place and works correctly. Follow these simple steps to mount your doorbell quickly and safely. Each step is easy to follow and uses basic tools.
Attach Mounting Plate
Start by placing the mounting plate on your wall or door frame. Use a pencil to mark where the screws will go. Drill small holes at the marks. Align the plate and screw it tightly to the surface. Make sure the plate is secure and level.
Connect Wires To Terminals
Turn off the power at your circuit breaker. Pull the existing doorbell wires through the mounting plate opening. Attach the wires to the doorbell terminals. Tighten the screws on the terminals to hold the wires firmly. Double-check the connections to avoid loose wires.
Secure Doorbell To Plate
Place the Arlo doorbell onto the mounting plate. Press it until it clicks or fits snugly. Use the provided screws to lock the doorbell in place. Confirm the doorbell is fixed firmly and does not move. Restore power and test the doorbell to ensure proper function.
Restore Power
Restoring power is essential after installing your Arlo Essential Video Doorbell. Without power, the doorbell cannot function or connect properly. Follow the steps below to ensure your doorbell receives power safely and correctly.
Turn On Circuit Breaker
Locate your home’s circuit breaker panel. Find the switch labeled for your doorbell or front door area. Flip the switch to the “On” position. This action restores electricity to the doorbell wiring. Check that the breaker stays in the “On” position. If it trips again, there may be a wiring issue to address.
Check Doorbell Power
Use a voltage tester to check the doorbell wires. Carefully touch the tester to the wires connected to the doorbell. The tester should show a voltage between 16 and 24 volts. This range powers most doorbells, including the Arlo Essential. If there is no voltage, recheck the breaker or wiring. Confirm the wires connect tightly to the doorbell terminals.
Credit: www.security.org
Set Up In Arlo App
Setting up the Arlo Essential Video Doorbell in the Arlo app is simple. The app guides you through each step. This ensures your doorbell works smoothly. Follow the instructions carefully for best results.
Download And Open App
Start by downloading the Arlo app. It is available on both Android and iOS devices. Search for “Arlo” in your app store. Install the app and open it once done. Create an account or log in if you already have one.
Add New Device
Inside the app, find the option to add a new device. Tap the plus (+) icon to begin. Select “Video Doorbell” from the list of devices. Follow the on-screen prompts to proceed. The app will ask you to scan a QR code on your doorbell.
Connect To Wi-fi
Next, connect your doorbell to Wi-Fi. Choose your home Wi-Fi network from the list. Enter the password carefully to avoid errors. The doorbell will connect and sync with the app. Wait for confirmation before moving forward.
Test Doorbell Function
Testing the doorbell function is an important step after installing the Arlo Essential Video Doorbell. It ensures everything works properly. You can check if the button sends alerts and if the video feed is clear. This step helps avoid any issues later.
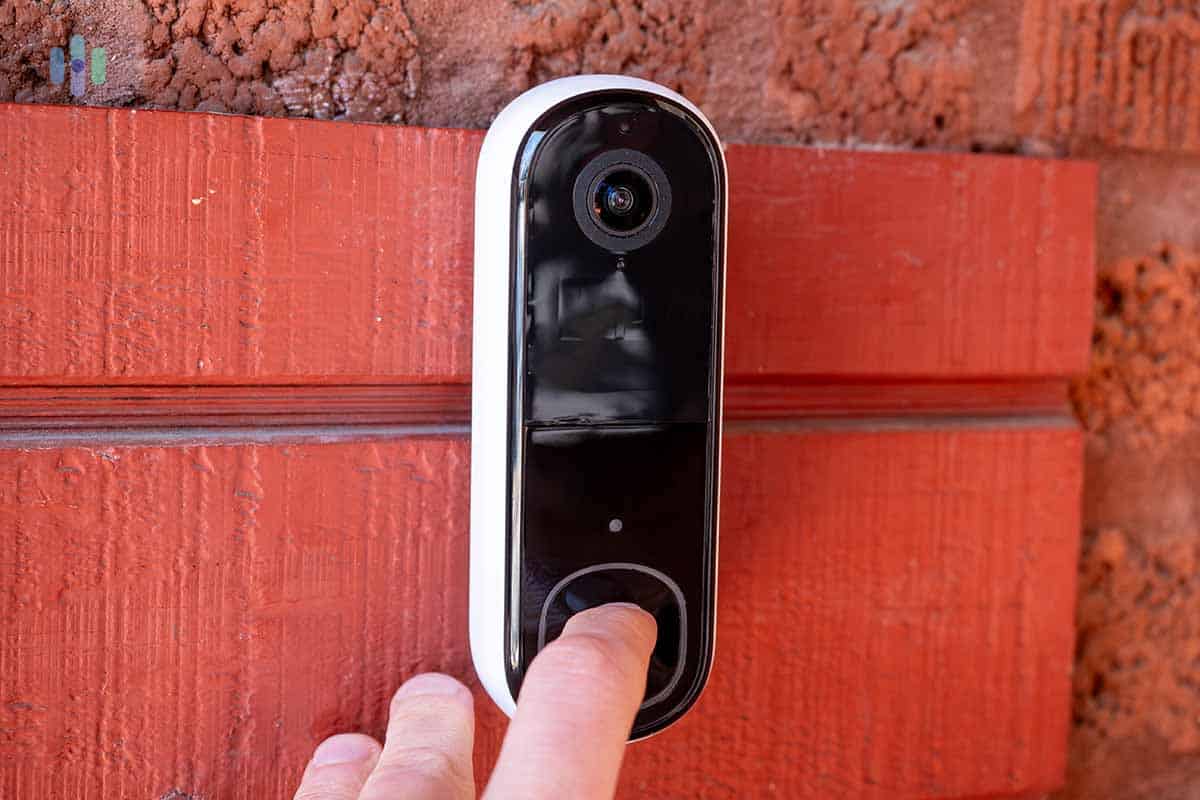
Press Doorbell Button
Press the doorbell button once. Listen for the chime sound inside your home. The sound means the doorbell is working. If you do not hear the chime, check the power or connection. Test the button a few times to be sure it responds every time.
Verify Notifications And Video Feed
Open the Arlo app on your phone. Check for a notification from the doorbell. Tap the notification to view the live video feed. Make sure the video is clear and shows the correct area. Confirm you can hear any sound from outside. This step confirms the doorbell and camera work well together.
Troubleshooting Tips
Troubleshooting can help fix common issues during Arlo Essential Video Doorbell setup. Problems may occur with wiring, app connection, or Wi-Fi. Knowing how to solve these helps you get the doorbell working fast. Follow these simple tips for smooth installation and use.
Common Installation Issues
Sometimes the doorbell does not power on. Check the wires and connections first. Loose or wrong wiring blocks power flow. Make sure the doorbell is connected to the correct voltage. Also, the mounting surface must be flat and stable. Uneven walls cause sensor problems. Use the level tool for proper alignment.
The app may not detect the doorbell. Restart the app and your phone. Close other apps to avoid interference. Check if your phone’s Bluetooth is on. Bluetooth helps with initial setup and connection.
Wi-fi Connectivity Solutions
Weak Wi-Fi signals cause slow or no video feed. Place your router close to the doorbell. Avoid thick walls or metal objects between them. Use a Wi-Fi extender to boost the signal if needed. Ensure your network uses 2.4 GHz, not 5 GHz, for better range. Enter the correct Wi-Fi password during setup. Mistyped passwords cause connection failure.
Resetting The Doorbell
Reset the doorbell to fix persistent problems. Find the reset button near the doorbell’s back or side. Press and hold it for 10 seconds until the light blinks. This clears old settings and allows a fresh start. After reset, redo the setup steps in the app. Resetting often solves app connection and Wi-Fi issues.
Credit: kdfoundation.org
Frequently Asked Questions
How Do I Install The Arlo Essential Video Doorbell?
To install, first turn off power at the breaker. Mount the doorbell using the included screws and bracket. Connect the wires, restore power, and follow the app instructions for setup and configuration.
What Tools Are Needed For Arlo Doorbell Installation?
You will need a drill, screwdriver, wire strippers, and a voltage tester. These tools help with mounting and safe electrical connections during installation.
Can I Install Arlo Essential Doorbell Without Professional Help?
Yes, the doorbell is designed for DIY installation with clear instructions. Basic electrical knowledge is recommended for safety and proper wiring.
How Long Does The Arlo Doorbell Installation Take?
Installation typically takes 20 to 30 minutes, depending on your experience. Follow the step-by-step guide in the app for a smooth process.
Conclusion
Installing the Arlo Essential Video Doorbell is simple and quick. Follow each step carefully to ensure proper setup. Test the doorbell to check video and sound quality. Adjust settings to match your needs. Enjoy better security and peace of mind at home.
Keep your device updated for the best performance. This guide helps you protect your home with ease.