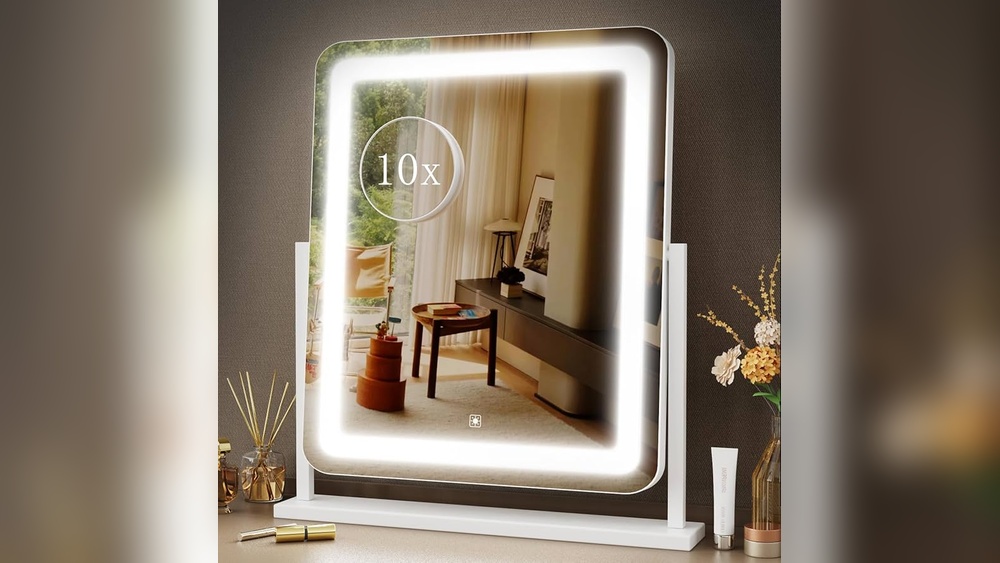

Imagine looking into your mirror and not just seeing your reflection, but also getting the weather, news, and your daily schedule—all at a simple touch. That’s exactly what a smart touch mirror can do for you.
If you’ve ever wanted to add a high-tech boost to your home without spending a fortune, this guide is made for you. You don’t need to be a tech expert to build one. Keep reading, and you’ll discover easy steps to transform an ordinary mirror into a smart, interactive hub that fits perfectly into your daily routine.
Ready to amaze yourself and everyone who visits? Let’s get started!
Credit: biharstatebarcouncil.com
Materials And Tools Needed
Building a smart touch mirror needs specific materials and tools. Gathering these items first helps the project run smoothly. Each part plays a key role in the mirror’s function and look.
Mirror And Display Options
Start with a two-way glass or acrylic mirror. This lets you see the reflection and the display behind it. For the display, use an LCD or LED screen. Size the screen to fit the mirror frame. Make sure the display has good brightness and resolution.
Microcontroller And Sensors
Choose a microcontroller like Raspberry Pi or Arduino. It controls the mirror’s software and hardware. Add a touch sensor or infrared sensor. These detect your hand movements and touches. Some projects use a webcam for motion sensing.
Power Supply And Wiring
Use a stable power supply to run the display and microcontroller. Check voltage and current requirements carefully. Prepare wires for connecting all parts. Use insulated wires to avoid short circuits. Consider adding a switch for easy power control.
Additional Components
Include a frame to hold the mirror and display. Use wood or metal for durability. Add speakers if you want sound features. Cooling fans can help prevent overheating. Small tools like screwdrivers and glue are also needed.
Planning Your Smart Mirror
Planning your smart mirror is the first step in creating a useful and stylish device. Good planning saves time and avoids mistakes. It helps you choose the right parts and design features. Think about the size, software, and how users will interact with the mirror. These choices shape the final look and function of your smart mirror.
Choosing Mirror Size And Frame
Pick a mirror size that fits your space well. A large mirror shows more information but needs more power. Small mirrors are easier to place but show less data. The frame style also matters. Choose a frame that matches your room’s design. Frames can be wooden, metal, or plastic. Make sure the frame holds the electronics securely.
Selecting Software And Interface
Software controls what your mirror shows and how it works. Find software that is easy to install and update. Many smart mirrors use open-source software. This software often supports weather, news, and calendar features. The interface should be simple and clear. Use large fonts and clear icons for easy reading. Check if the software works with your hardware.
Designing User Interaction
Think about how people will use your smart mirror. Will it respond to touch, voice, or gestures? Touch screens need good sensitivity and durability. Voice control requires a microphone and good noise filtering. Gestures use cameras or sensors to detect movement. Choose one or combine methods for better control. The interaction should feel natural and not confuse users.
Preparing The Mirror
Preparing the mirror is the first step to build your smart touch mirror. This part needs careful attention. You must handle the mirror and electronic parts with care. A clean workspace helps avoid mistakes and damage.
Each step in preparing the mirror sets the base for a good final product. This section explains how to remove the backing, mount the display, and ensure touch sensitivity.
Removing The Backing
Start by removing the mirror’s backing carefully. Use a flat tool to lift the edges gently. Avoid scratching the mirror surface. Keep the removed backing safe for later use or disposal.
Make sure no dust or dirt gets on the mirror once the backing is off. Clean the surface with a soft cloth if needed. A clean mirror helps the display show clearly.
Mounting The Display
Place the display screen behind the mirror. Align it so the screen fits perfectly. Use strong double-sided tape or brackets to hold the display in place.
Check that the screen is secure and does not move. A steady display ensures better image quality. Connect the display cables carefully without bending them.
Ensuring Touch Sensitivity
Test the touch function before final assembly. Use a touch sensor or overlay on the mirror’s surface. Make sure the touch works through the mirror glass.
If touch is not sensitive enough, adjust the sensor’s position. Clean the sensor and mirror to avoid interference. Good touch sensitivity makes your smart mirror easy to use.
Credit: www.reddit.com
Setting Up Electronics
Setting up the electronics is a key step in making a smart touch mirror. This part brings your mirror to life. Proper connections and wiring create a smooth working system.
Start by organizing your components. Keep tools and parts close. It helps to avoid confusion and mistakes.
Connecting Microcontroller
Choose a microcontroller that fits your project needs. Popular choices include Arduino or Raspberry Pi. Connect it to the mirror’s display and input devices. Use the correct pins for power and data. Secure connections prevent errors. Double-check each link before powering on.
Wiring Sensors And Touch Components
Sensors detect touch and other inputs. Wire them carefully to the microcontroller. Use clear labels to track each wire. Avoid loose connections that cause glitches. Test each sensor after wiring to ensure it works. Touch components must respond quickly for a good user experience.
Power Management
Power your smart mirror safely and efficiently. Use a reliable power supply matching your device’s voltage. Add a power regulator if needed. Protect circuits with fuses or switches. Organize wires to avoid shorts and damage. Proper power setup ensures long-lasting performance.
Installing Software
Installing software is the key step to bring your smart touch mirror to life. It turns the hardware into an interactive device. This step involves selecting the right system, installing useful apps, and setting up touch controls. Each part must work well for a smooth experience.
Choosing The Operating System
Pick an operating system that fits your mirror’s hardware. Raspberry Pi users often choose Raspbian or Raspberry Pi OS. Others may prefer Linux distributions like Ubuntu. Windows can work but may need more power. The OS should support touch input and smart mirror apps.
Installing Smart Mirror Applications
Install software that shows useful info on your mirror. MagicMirror² is a popular choice. It displays weather, news, calendar, and more. Download the app from its official site or GitHub. Follow the setup instructions carefully. Add modules for extra features like traffic or reminders.
Configuring Touch Controls
Set up the touch screen to respond smoothly. Calibrate the touch panel using tools in your OS. Adjust sensitivity so taps register correctly. Test gestures like swipe and tap for ease of use. Ensure the touch works with all mirror apps. Proper touch setup improves your daily experience.
Assembly And Final Touches
After gathering all parts, it is time to put your smart touch mirror together. This step turns your project into a real, working device. Careful assembly ensures the mirror looks good and works well. Follow each step to avoid mistakes and keep your mirror safe.
Assembling Mirror Frame
Start by preparing the mirror frame. Place the two-way glass into the frame carefully. Make sure the glass fits snugly without gaps. Then, position the smart display behind the glass. Align it so the screen shows clearly through the glass. Secure the display inside the frame using screws or brackets. Check that all edges are tight and even.
Securing Components
Next, fix the electronic parts inside the frame. Attach the touch sensor to the glass or display. Connect all cables, including power and data lines. Use tape or clips to hold wires in place. Avoid loose cables that can cause damage later. Place the control board in a safe spot inside the frame. Double-check all connections before closing the frame.
Testing Functionality
Power on your smart mirror to test its features. Touch the glass to see if the sensor works. Check the display for clear images and correct brightness. Test any apps or widgets you installed. Look for delays or errors in response. Fix any issues by adjusting connections or settings. Your mirror is ready once all parts work smoothly.
Troubleshooting Tips
Troubleshooting is key to keeping your smart touch mirror working well. Problems can happen with hardware or software. Fixing these issues helps your mirror stay useful and responsive. Follow these tips to solve common problems quickly.
Common Hardware Issues
Check all cables and connections first. Loose wires cause power or touch problems. Make sure the screen is clean. Dirt and smudges can block touch sensors. If the mirror does not turn on, test the power supply. Replace any broken parts carefully. Use the right tools to avoid damage.
Software Glitches
Restart your mirror to clear minor bugs. Update the software to the latest version. Updates fix many errors and improve performance. Remove any apps that cause crashes. Reset the software settings if problems persist. Keep backup copies of your data before resetting.
Improving Touch Responsiveness
Calibrate the touch screen regularly. This keeps touch detection accurate. Avoid using sharp objects on the screen. Use only your finger or a stylus made for touchscreens. Adjust the touch sensitivity in settings if possible. Clean the screen often to remove dust and oils.

Credit: www.amazon.com
Customization Ideas
Customizing your smart touch mirror makes it truly yours. It lets you add features that fit your daily life. Simple changes can make your mirror more helpful and fun. Here are some ideas to personalize your smart mirror easily.
Adding Voice Control
Voice control lets you use your mirror hands-free. Speak commands to check the weather or play music. Use simple voice assistants like Google Assistant or Amazon Alexa. This feature makes your mirror easier and safer to use. No need to touch the screen with wet or dirty hands.
Integrating Smart Home Features
Connect your smart mirror to other smart devices at home. Control lights, thermostats, or security cameras from your mirror. This central control saves time and adds convenience. Your mirror becomes a hub for managing your home’s tech.
Personalizing Display Content
Choose what information shows on your mirror’s screen. Add your calendar, news updates, or daily reminders. Use photos or art as background images. Tailor the layout and colors to match your style. This way, your mirror feels personal and useful every day.
Frequently Asked Questions
What Materials Are Needed To Build A Smart Touch Mirror?
To build a smart touch mirror, you need a two-way mirror, a monitor or tablet, a frame, and a microcontroller. Additional items include touch sensors, cables, and software for customization. These components work together to display information behind the mirror surface.
How Does A Smart Touch Mirror Detect Touch?
A smart touch mirror uses capacitive or infrared touch sensors behind the glass. These sensors detect finger movements or touches on the mirror surface. The touch signals are then processed by the microcontroller to interact with the displayed interface seamlessly.
Can I Customize The Display On A Smart Touch Mirror?
Yes, you can customize the display using software like MagicMirror² or custom apps. These allow you to add widgets like weather, news, calendar, and notifications. Customization enhances usability and personalizes the mirror according to your preferences.
Is Technical Knowledge Required To Assemble A Smart Touch Mirror?
Basic technical knowledge helps but is not mandatory. Many tutorials guide you through wiring, software installation, and assembly. Patience and careful following of instructions are key to successfully building your smart touch mirror.
Conclusion
Creating a smart touch mirror can be fun and useful. It blends technology with everyday life. You can see your reflection and get information fast. The steps are clear and easy to follow. This project fits well in any home or office.
It saves time and adds style to your space. Start small and add features as you learn. Enjoy the process and make it your own. A smart mirror brings convenience right to your wall. Try it today and see the difference.