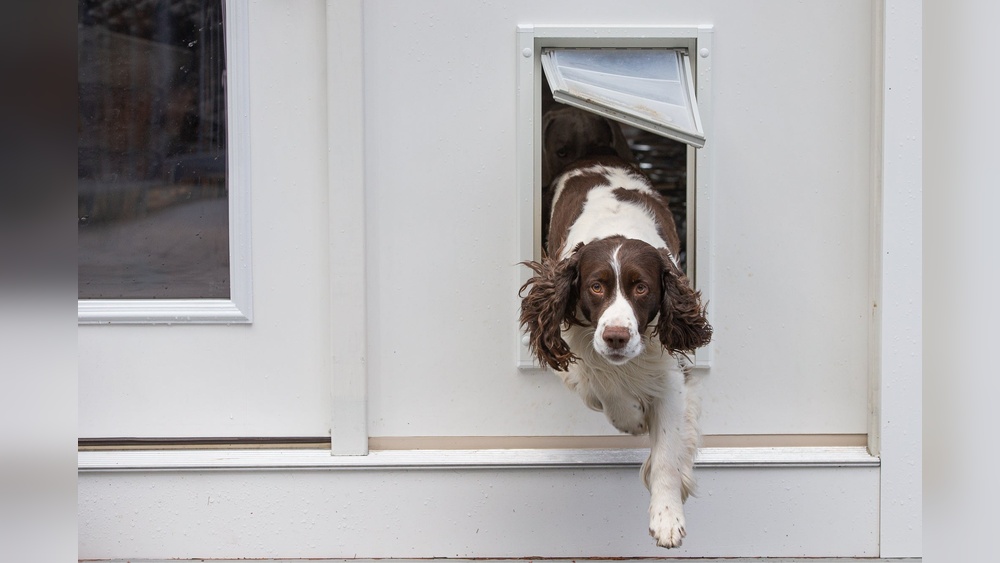
Are you tired of constantly opening the door for your pet? Imagine giving your furry friend the freedom to come and go as they please, without any hassle for you.
Making your own pet door is easier than you might think—and it saves you money too. In this guide, you’ll discover simple steps to create a pet door that fits your home and your pet’s needs perfectly. Keep reading, and by the end, you’ll have all the tools and tips to make your pet’s life, and yours, much more convenient.
Choosing The Right Pet Door
Choosing the right pet door is a key step in making your own pet door. The perfect door fits your pet’s size and lifestyle. It also matches the space where you want to install it. Picking the right type, size, and material ensures your pet can move freely and safely.
Types Of Pet Doors
There are several types of pet doors to consider. Manual flaps are simple and budget-friendly. Magnetic flaps offer a better seal against weather. Electronic doors use sensors to allow only your pet inside. Sliding glass pet doors fit into existing glass doors. Choose a type that suits your pet’s habits and your home’s layout.
Sizing Your Pet Door
Measure your pet carefully before choosing a door size. Measure height from the floor to the pet’s shoulders. Measure width at the widest part of the body. The door should be slightly bigger than your pet. This helps your pet enter and exit without trouble. A well-sized door keeps energy loss low and avoids gaps.
Material Options
Pet doors come in different materials. Plastic doors are lightweight and easy to install. Metal doors are strong and last longer. Some doors combine metal frames with plastic flaps. Consider the weather and your pet’s strength when picking material. Choose a material that fits your home’s style and your pet’s needs.

Credit: www.youtube.com
Tools And Materials Needed
Creating your own pet door is a fun and rewarding project. To build it successfully, gather the right tools and materials first. This step helps save time and ensures a smooth process. Safety is also important. Prepare the right gear before starting.
Essential Tools
You need a few basic tools for this project. A measuring tape helps get exact door size. A pencil marks where to cut. A jigsaw or handsaw cuts the door panel. A drill makes holes for screws. Screwdrivers tighten screws. Sandpaper smooths rough edges. A level keeps the door straight. Clamps hold pieces steady while working.
Required Materials
Choose materials that fit your pet and door type. A plastic or metal flap works well for most pets. A wooden or plastic frame holds the flap. Weatherstripping keeps drafts out. Screws secure the door parts. Hinges attach the flap to the frame. A template helps cut the right shape. Paint or sealant protects wood from weather.
Safety Gear
Protect yourself with safety gear during the build. Safety glasses guard your eyes from dust and debris. Work gloves protect your hands from cuts. A dust mask stops inhaling sawdust. Ear protection is useful when using loud tools. Wear sturdy shoes to avoid injury from dropped tools.
Preparing The Installation Area
Preparing the installation area is the first step in making your own pet door. This phase sets the foundation for a smooth and secure fit. Taking time to prepare helps avoid mistakes and ensures the door works well for your pet.
Selecting The Location
Choose a spot where your pet can easily reach. Consider your pet’s size and usual routes. The location should be safe and convenient. Avoid areas with heavy foot traffic or hazards. A door near a familiar outdoor space works best.
Measuring And Marking
Measure your pet’s height and width carefully. Use these dimensions to mark the door’s outline. Mark both inside and outside walls if possible. Use a pencil for clear but erasable lines. Double-check measurements before cutting to avoid errors.
Checking For Obstructions
Look inside the wall for wiring, pipes, or studs. Use a stud finder or tap to detect hidden objects. Clear any obstacles that could block the pet door. This step prevents damage and keeps your home safe. Ensure the space is free for easy installation.
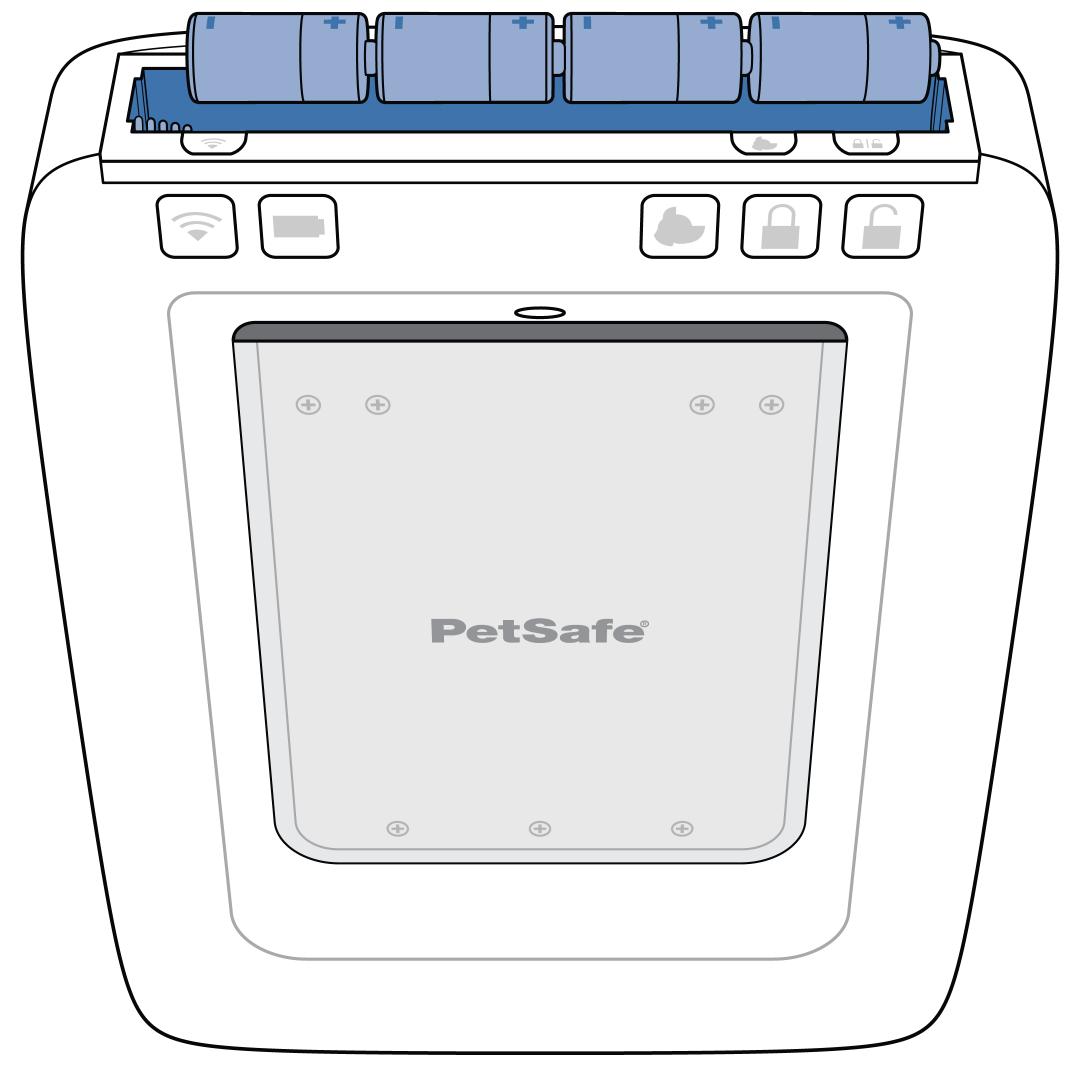
Credit: support.petsafe.net
Cutting The Opening
Cutting the opening for your pet door is an important step. It requires care and precision. A well-cut hole ensures the door fits perfectly. Take your time to measure and cut carefully. Safety is also key during this process.
Marking The Cut Lines
Start by measuring your pet door size. Use a pencil to mark the outline on the door or wall. Double-check measurements before marking. Make straight, clear lines for easy cutting. Accurate marks help avoid mistakes.
Drilling Starter Holes
Drill holes at each corner inside the marked lines. These holes make it easier to insert the saw blade. Use a drill bit that matches your saw size. Drill slowly to prevent cracking or splintering. Clean out any dust before cutting.
Using The Saw Safely
Wear safety goggles and gloves before cutting. Insert the saw blade into a starter hole. Follow the marked lines slowly and steadily. Keep your hands clear of the blade path. Stop often to check your progress. Smooth the edges after cutting with sandpaper.
Installing The Pet Door Frame
Installing the pet door frame is a key step in making your own pet door. The frame holds the door securely in place. It ensures your pet can use the door safely and easily. Proper installation helps prevent drafts and keeps your home energy efficient.
Positioning The Frame
Start by placing the frame in the cut-out hole. Check that it is level and straight. Measure twice to avoid mistakes. The frame should fit snugly without gaps. Hold the frame firmly while preparing to secure it.
Securing With Screws
Use screws to attach the frame to the door or wall. Choose screws that fit the frame holes. Drive screws evenly on all sides. Avoid over-tightening to prevent damage. The frame should feel stable and fixed.
Sealing And Insulating
Seal around the frame with weatherproof caulk. This blocks air and moisture from entering. Add insulation if needed for colder areas. Check that seals are tight and smooth. Proper sealing keeps your home comfortable and dry.

Credit: www.youtube.com
Finishing Touches
After installing your pet door, some final steps improve its use and life. These finishing touches help your pet feel comfortable and keep the door working well. Taking time with these tasks makes the whole project worth it.
Testing The Door Function
Check the pet door to see how well it opens and closes. Push the flap gently to ensure it swings easily. Make sure it seals tightly to keep out weather and bugs. Observe for any gaps or stiffness. Adjust hinges or seals if needed. A smooth function saves trouble later.
Training Your Pet
Show your pet how to use the door. Stand by the door and call your pet through it. Use treats or toys to encourage passage. Repeat several times to build confidence. Praise your pet when they use the door alone. Keep sessions short and positive for best results.
Maintaining The Door
Clean the flap and frame regularly to prevent dirt buildup. Check screws and hinges monthly to tighten if loose. Replace worn parts to avoid damage. Lubricate moving parts lightly to keep smooth action. Regular care extends your pet door’s life and keeps it safe.
Frequently Asked Questions
How Do I Choose The Right Size For A Pet Door?
Measure your pet’s height and width at the shoulders. Add a few inches for comfort. Choose a door size matching these dimensions for easy access and safety.
What Materials Are Best For Making A Pet Door?
Use sturdy materials like wood or plastic for the frame. Select a flexible, weather-resistant flap, such as vinyl or rubber, for durability and insulation.
Can I Install A Pet Door In Any Type Of Door?
Yes, pet doors can be installed in wooden, metal, or glass doors. Ensure you use the correct installation method and tools for the door type.
How Do I Ensure The Pet Door Is Weatherproof?
Seal edges with weather stripping or silicone. Choose a flap with good insulation. This prevents drafts and keeps your home energy-efficient.
Conclusion
Making your own pet door can save money and fit your needs. You only need some basic tools and a little patience. Follow the steps carefully for a safe and sturdy door. Your pet will enjoy easy access to the outdoors.
This project adds convenience to your home life. Try it yourself and see how simple it can be. Small efforts bring big rewards. Your pet will thank you every day.